.
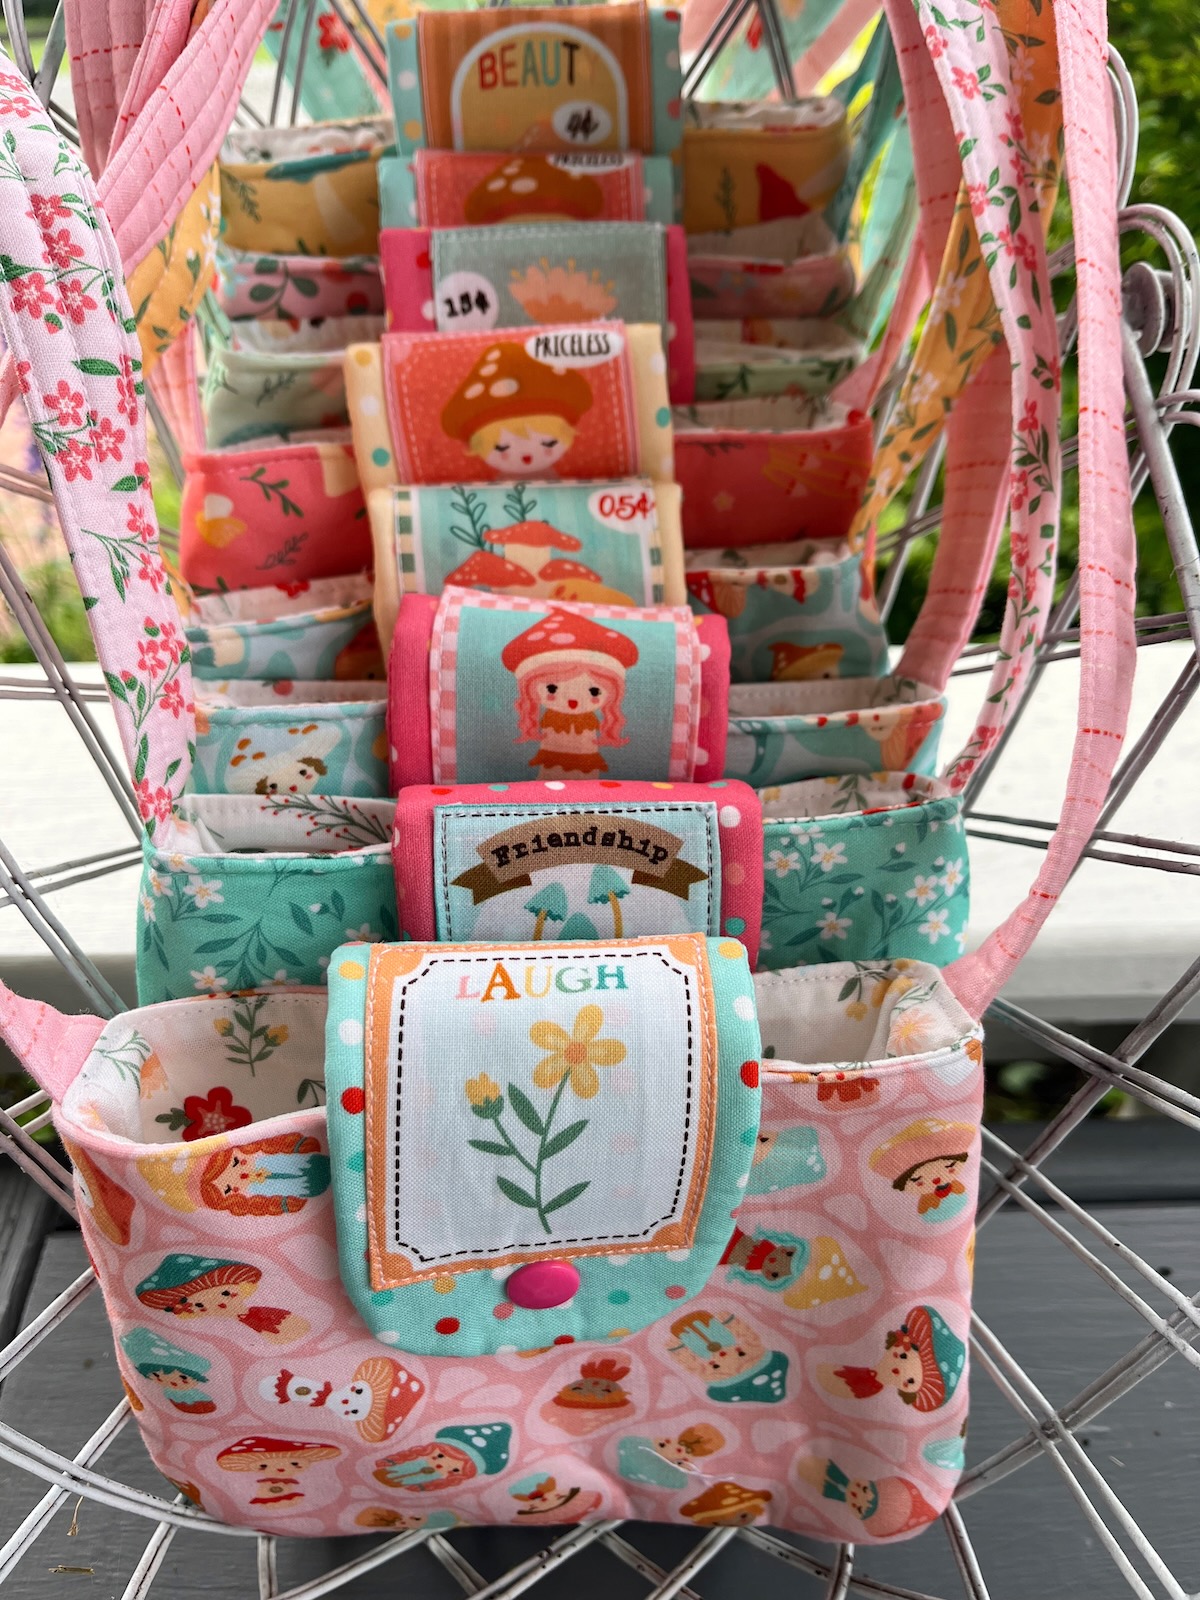
Hello Farmgirls! Just admit that we never really grow out of adorable little party purses, especially for those darling little girls in our lives!!! How about we sit down and make some today and you can have them ready to gift the next time a tea party is in the works!
I made up this pattern a number of years ago when my grand-girls were little and I’ve revamped it a bit through the years and lost count of how many I’ve made, gifted and sold! I’m here to step you through the fast process!
.
Needed Supplies:
- Fabric (several contrasting prints is the best)
- Fusible Fleece or Quilt Batting
- Snaps and Snap Installer
- Sewing Binder Clips (or pins)
- Pattern (you can download it by clicking here)
- Sewing Binder Clips
.
Instructions:
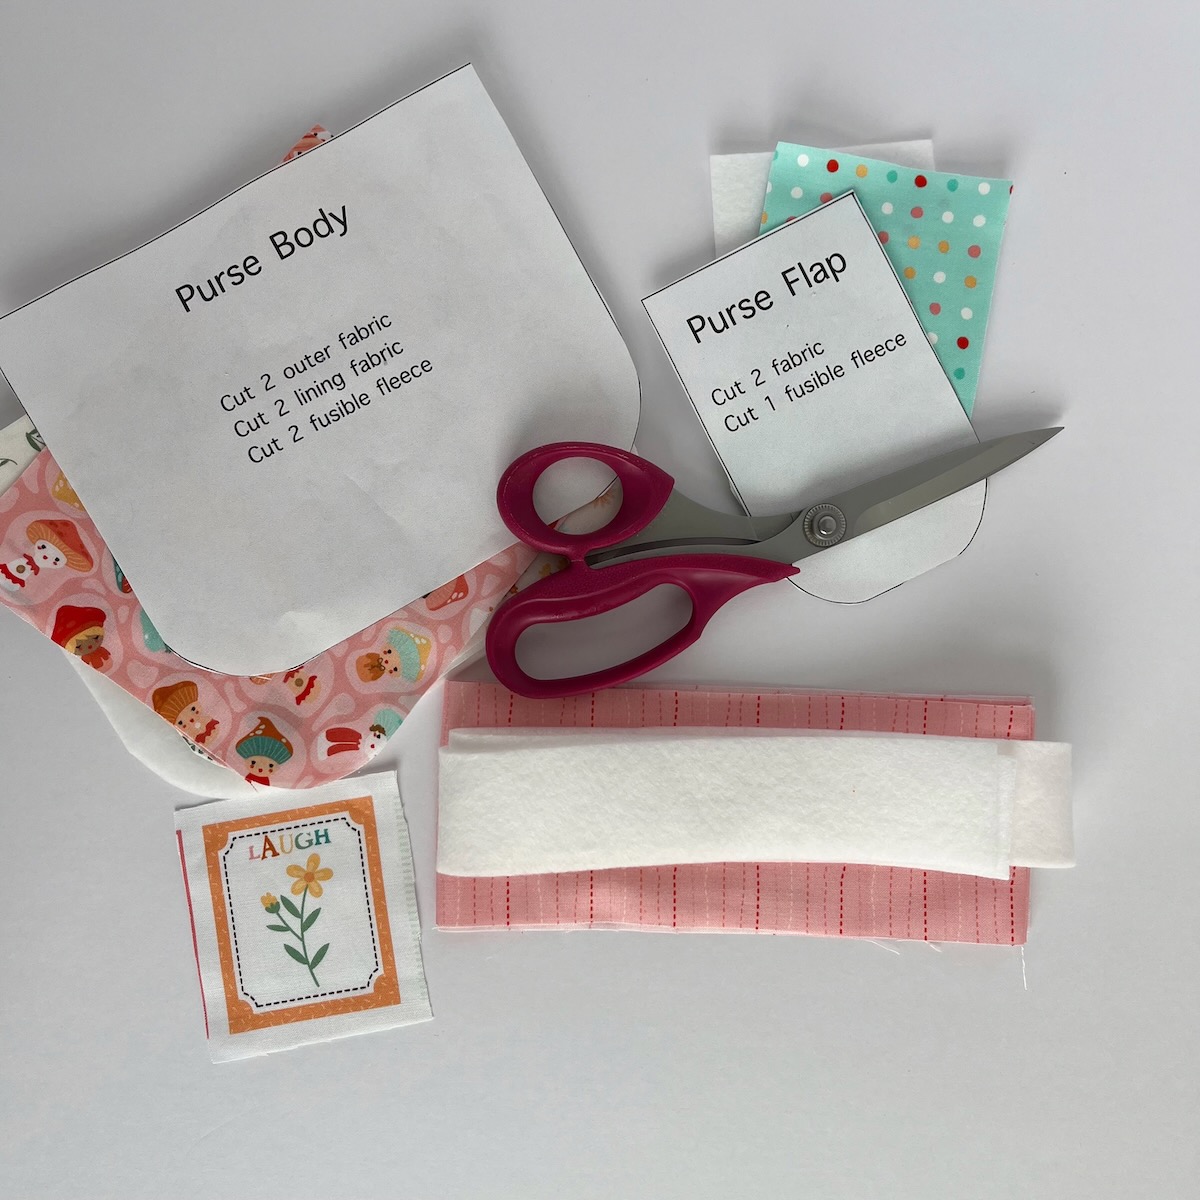
Step One: Download and print your tea party purse pattern. Cut your fabric using the appropriate pattern piece and the dimensions for the strap. Do the same with fusible fleece. Adhere fusible fleece to wrong sides of the purse body and one piece to the wrong side of the purse flap. Set aside.
.
.
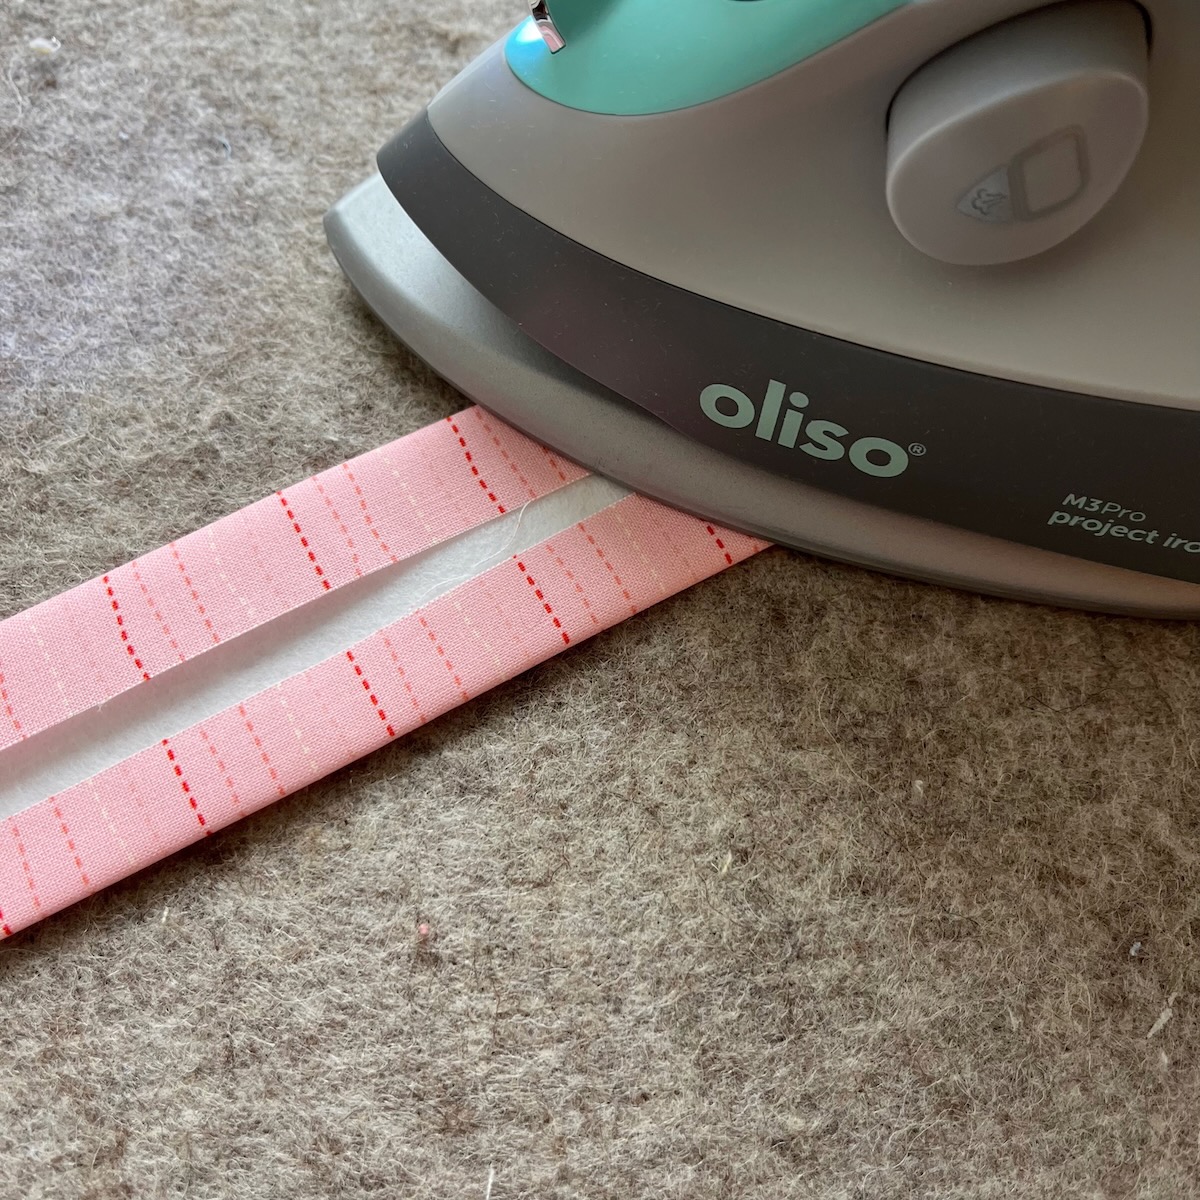
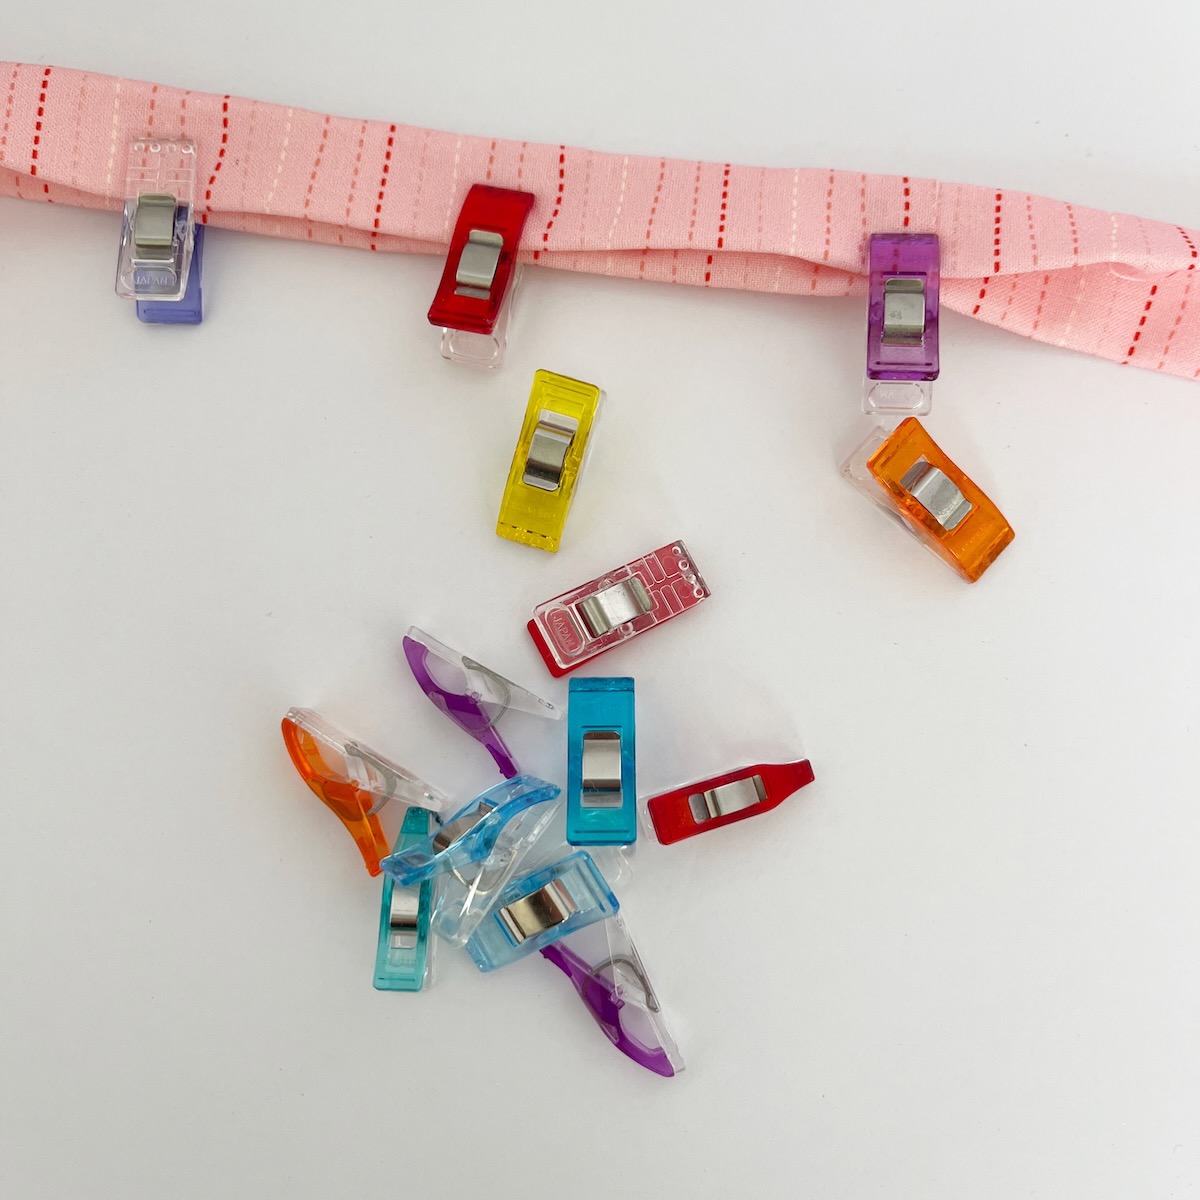
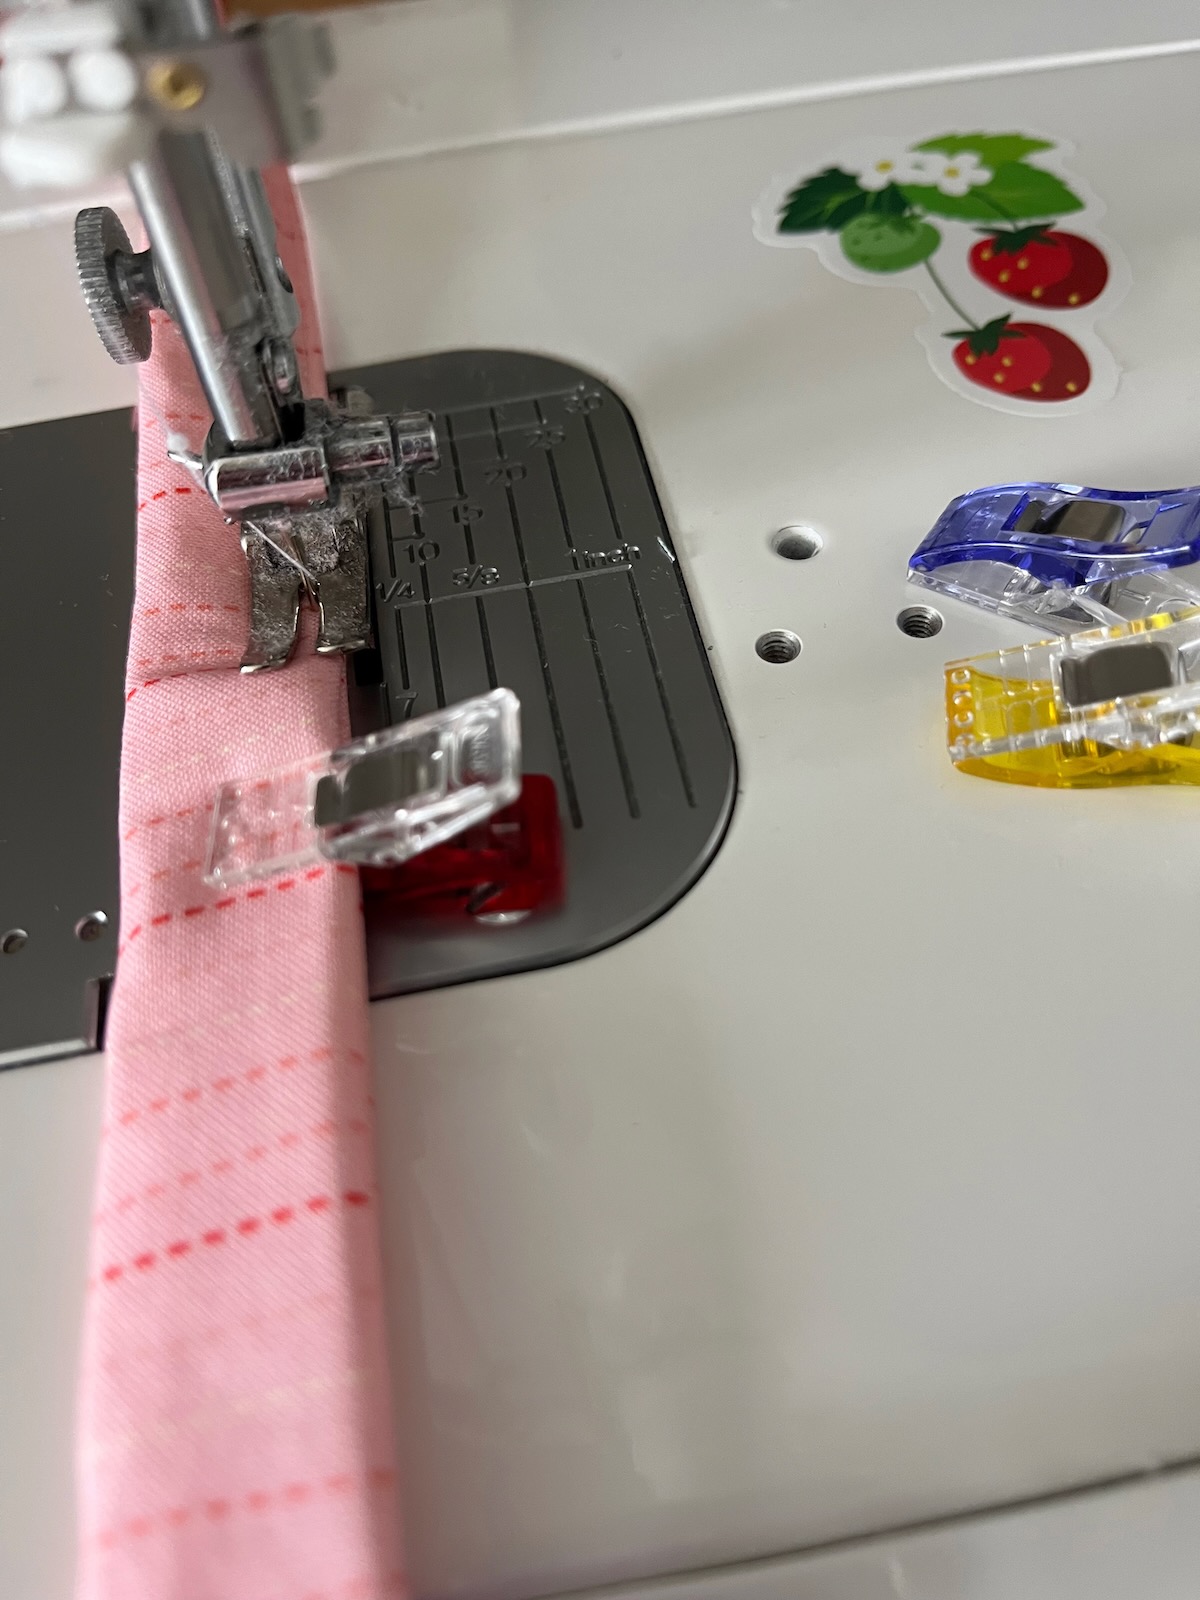
Step Two: Lets start with the purse strap! Fuse your 1.5 inch x 30 inch piece of fusible fleece down the center of the wrong side of the strap. Fold each long edge of the strap towards the center of the fusible fleece and iron in place. Fold the entire length in half and press in place. Use wonder clips to hold it firmly. Sew 1/8 inch from each long edge and down the middle of the strap. Set aside for now.
.
.
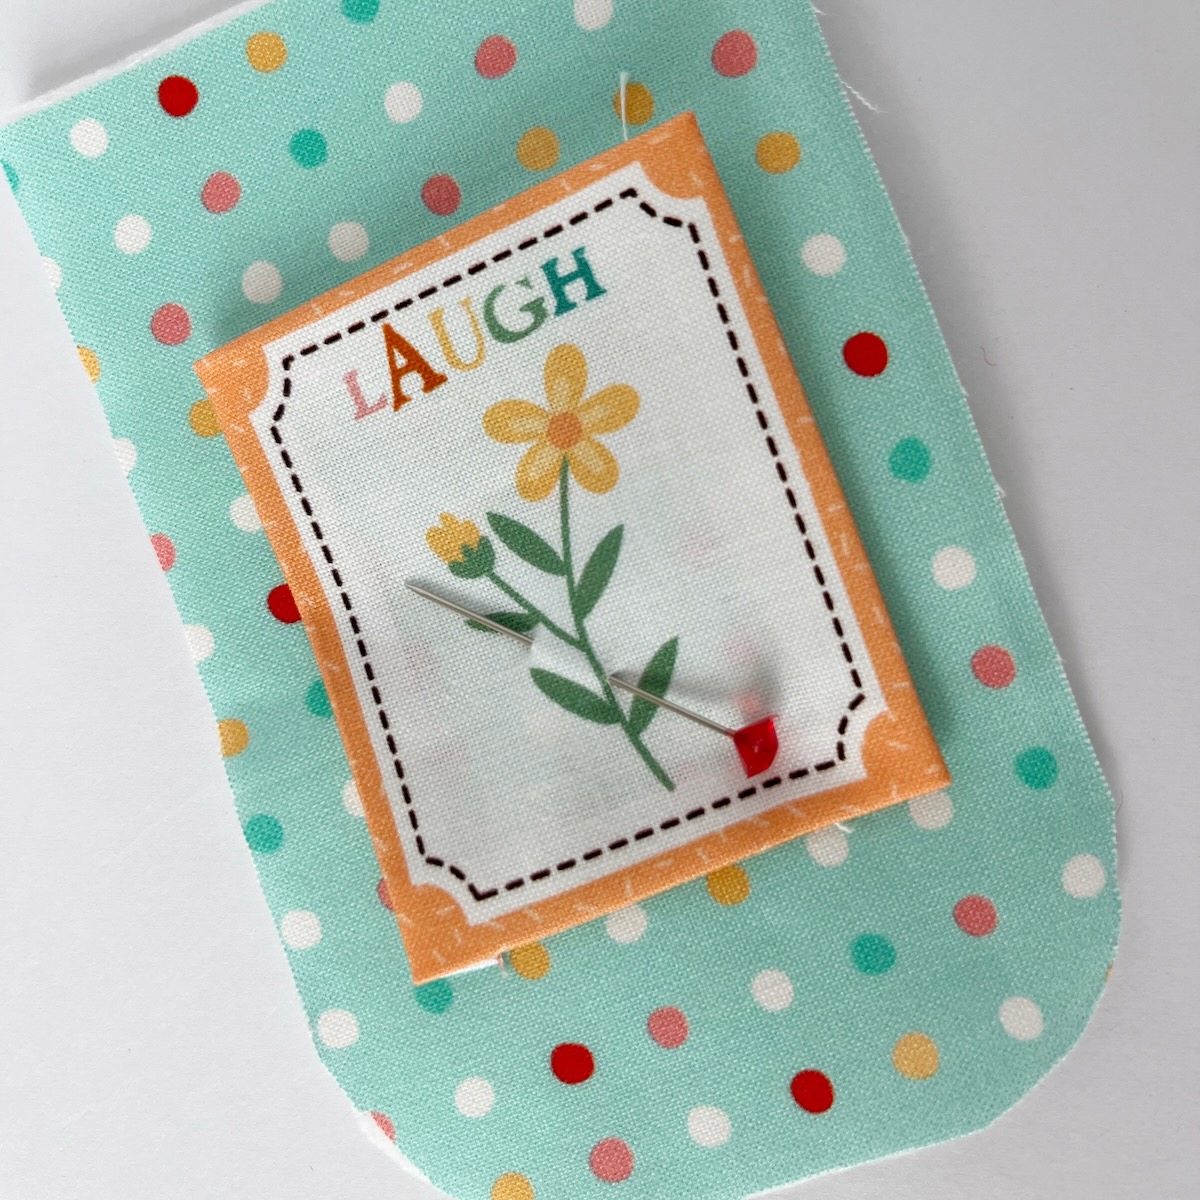
Step Three: I had a little decorative fabric piece to attach to the front of the purse flap. This is completely optional; however, if you have something similar this is the time to sew it on! Simply center it to the front of the flap piece and sew around it.
.
.
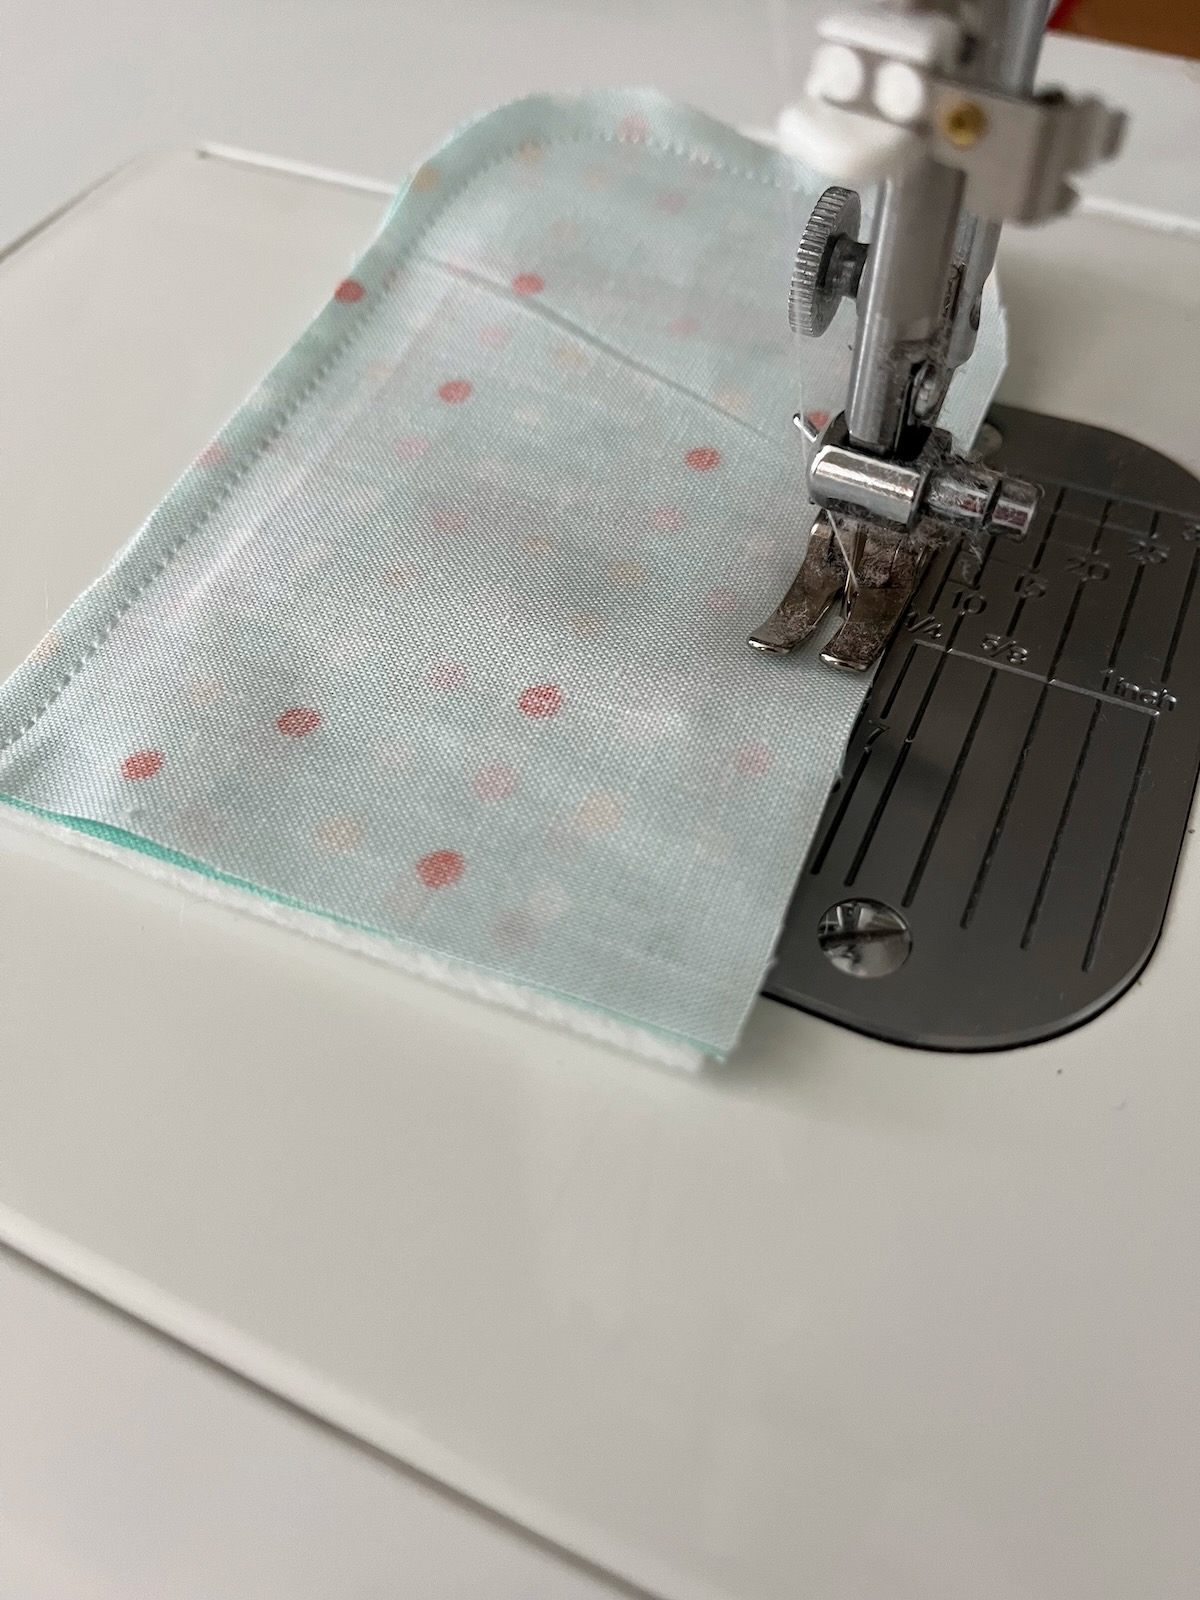
Step Four: Lay your flap pieces right sides together and sew 1/4 inch seam around the edge, leaving the top open for turning. Once sewn, turn right side out, pushing the rounded corners out. Press the entire flap.
.
.
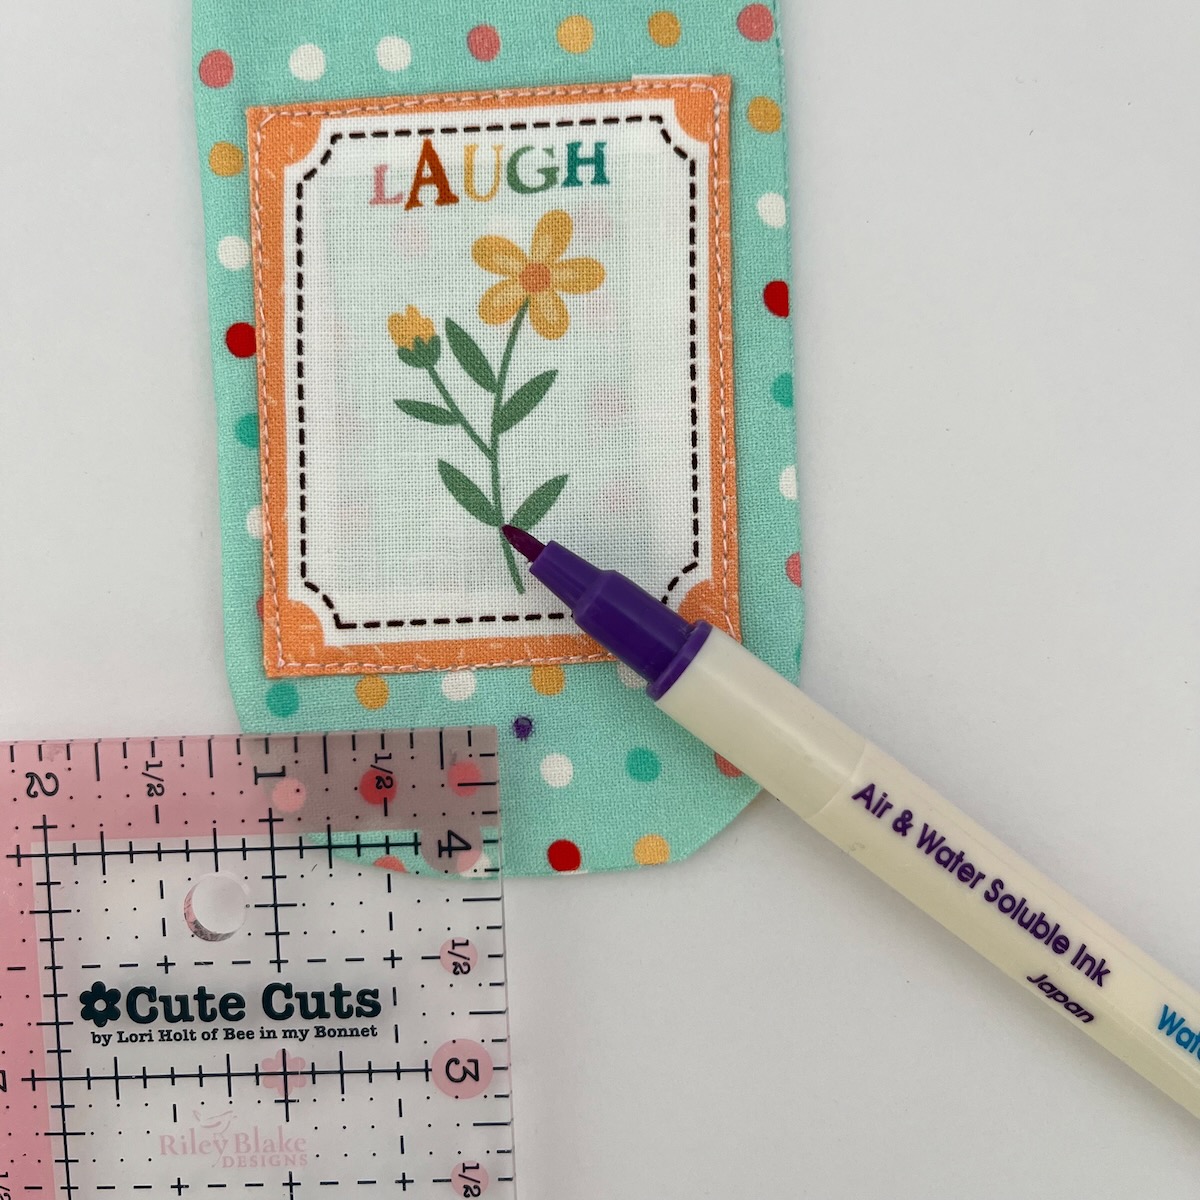
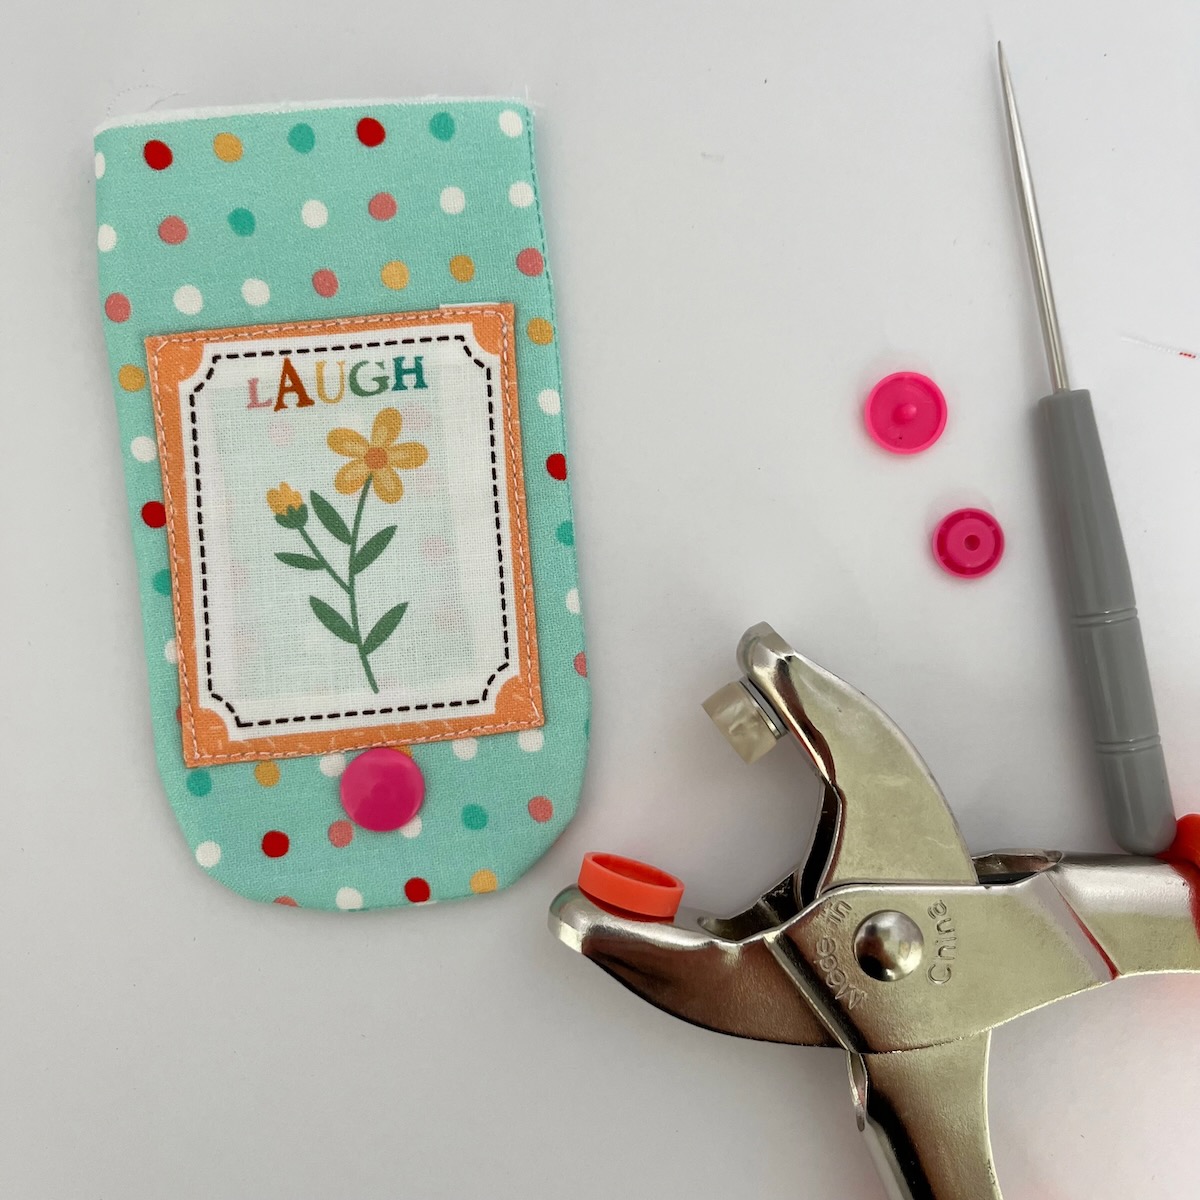
Step Five: Mark a dot at the center of the front of your flap, approximately 3/4″ from the bottom edge. Use your snap kit to attach a male snap at that location.
.
.
Step Six: Repeat the above steps on the outer front of the purse. Place your snap in the center of the purse front, approximately 3 inches from the bottom edge. You will use the female side of the snap for this one.
.
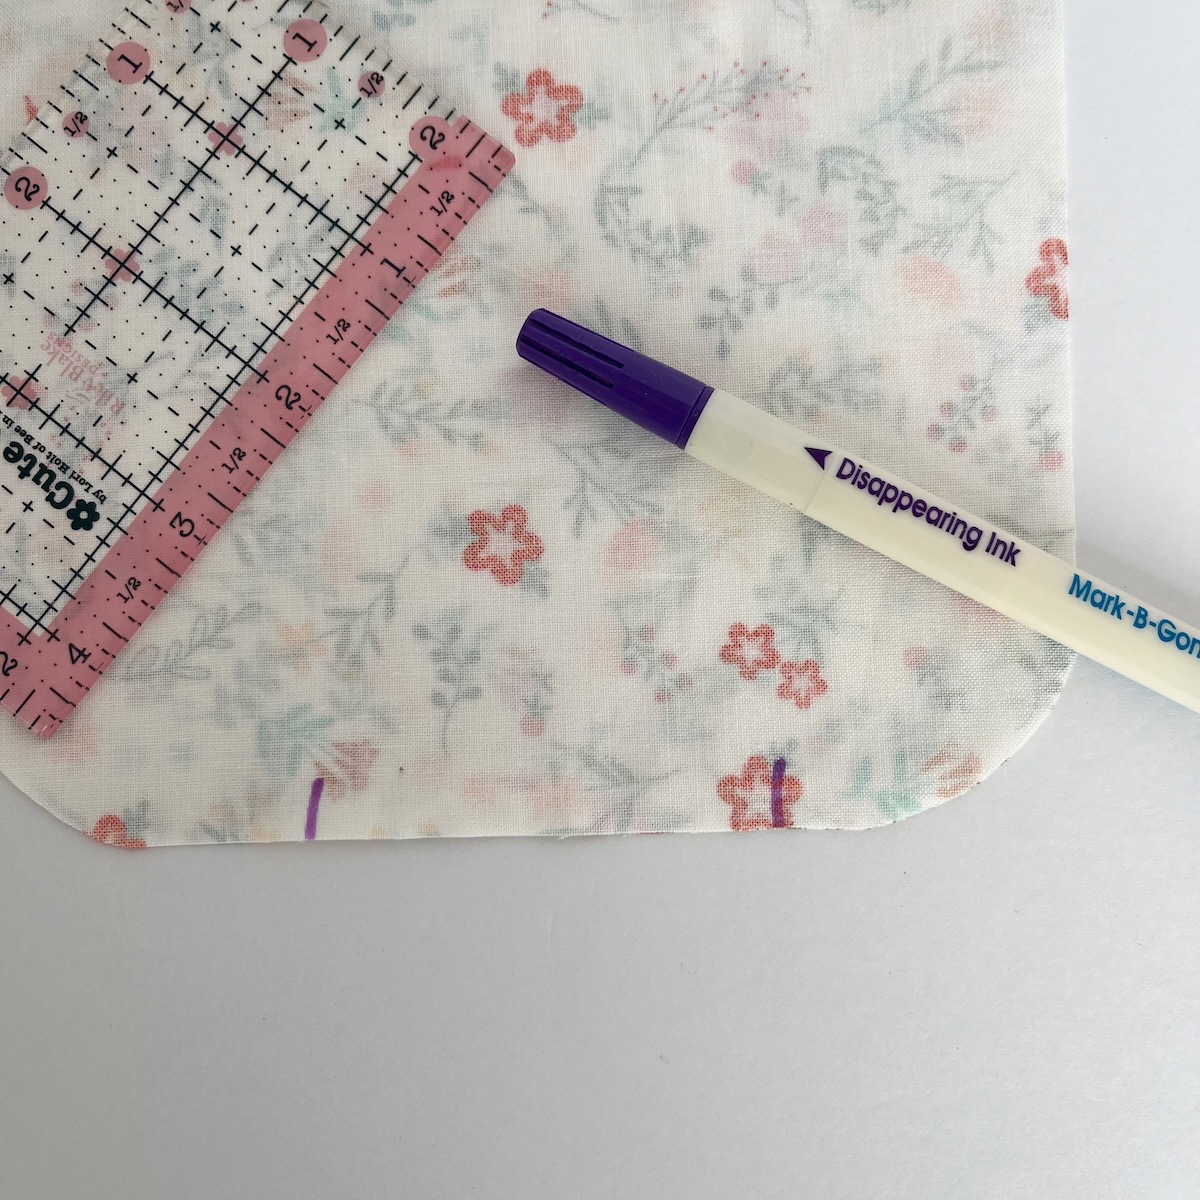
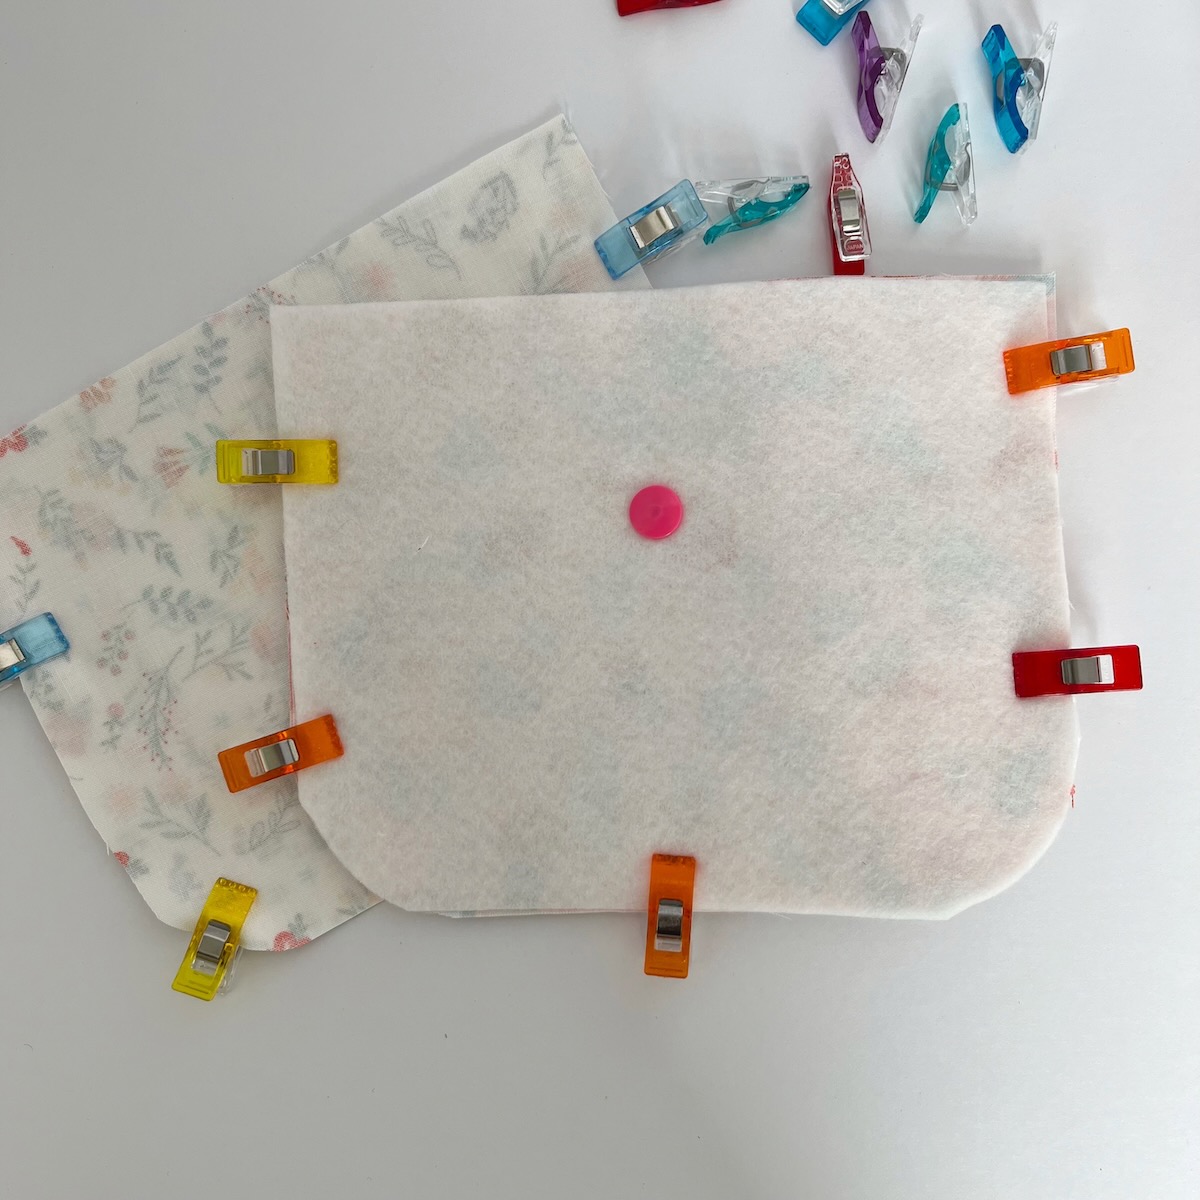
Step Seven: Take one of your purse lining pieces and mark two lines at the bottom of the lining, approximately 2 inches apart. Place your outer bag pieces and your lining pieces right sides together and hold in place with the sewing binder clips.
.
.
Step Eight: Sew around the sides and bottom of both the lining and the outer purse, leaving the top open. Do not sew between the marks that you just placed on the bottom edge of the lining. You will need this opening for turning the purse right side out.
.
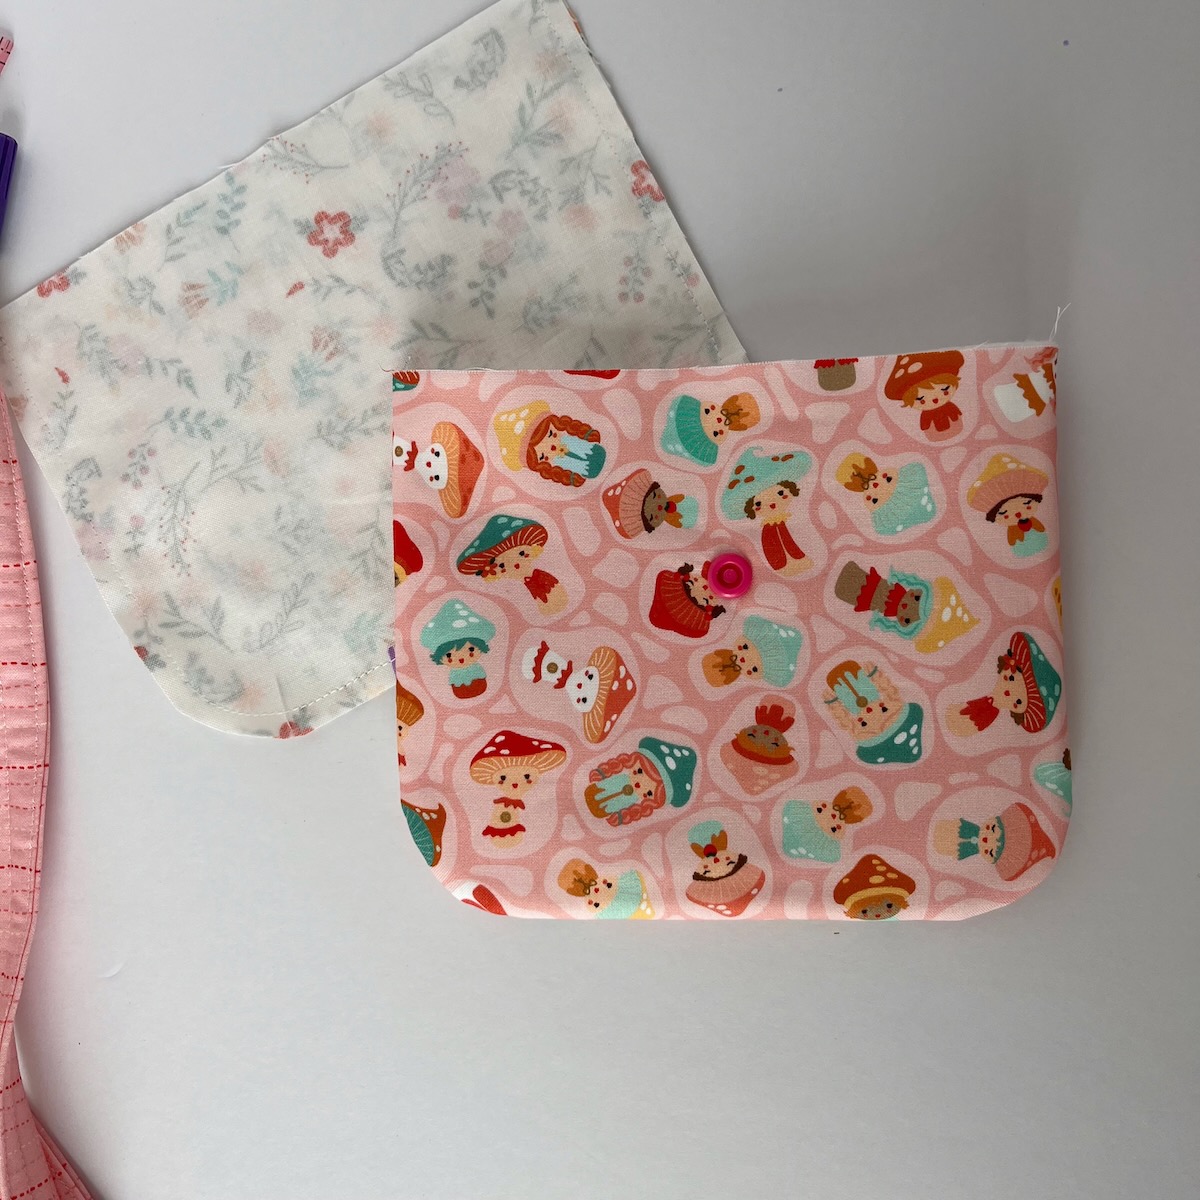
Step Nine: Turn the main purse body right side out, carefully pushing all the rounded corners out. Press with your iron. Leave the purse lining wrong side out.
.
.
Step Ten: Attach the handles to the outside of the purse: Use a binder clip to hold each handle end at the side seam of the purse. Check (and double check!) that your handle is not twisted at the bottom. Sew a scant 1/4 inch to hold in place.
.
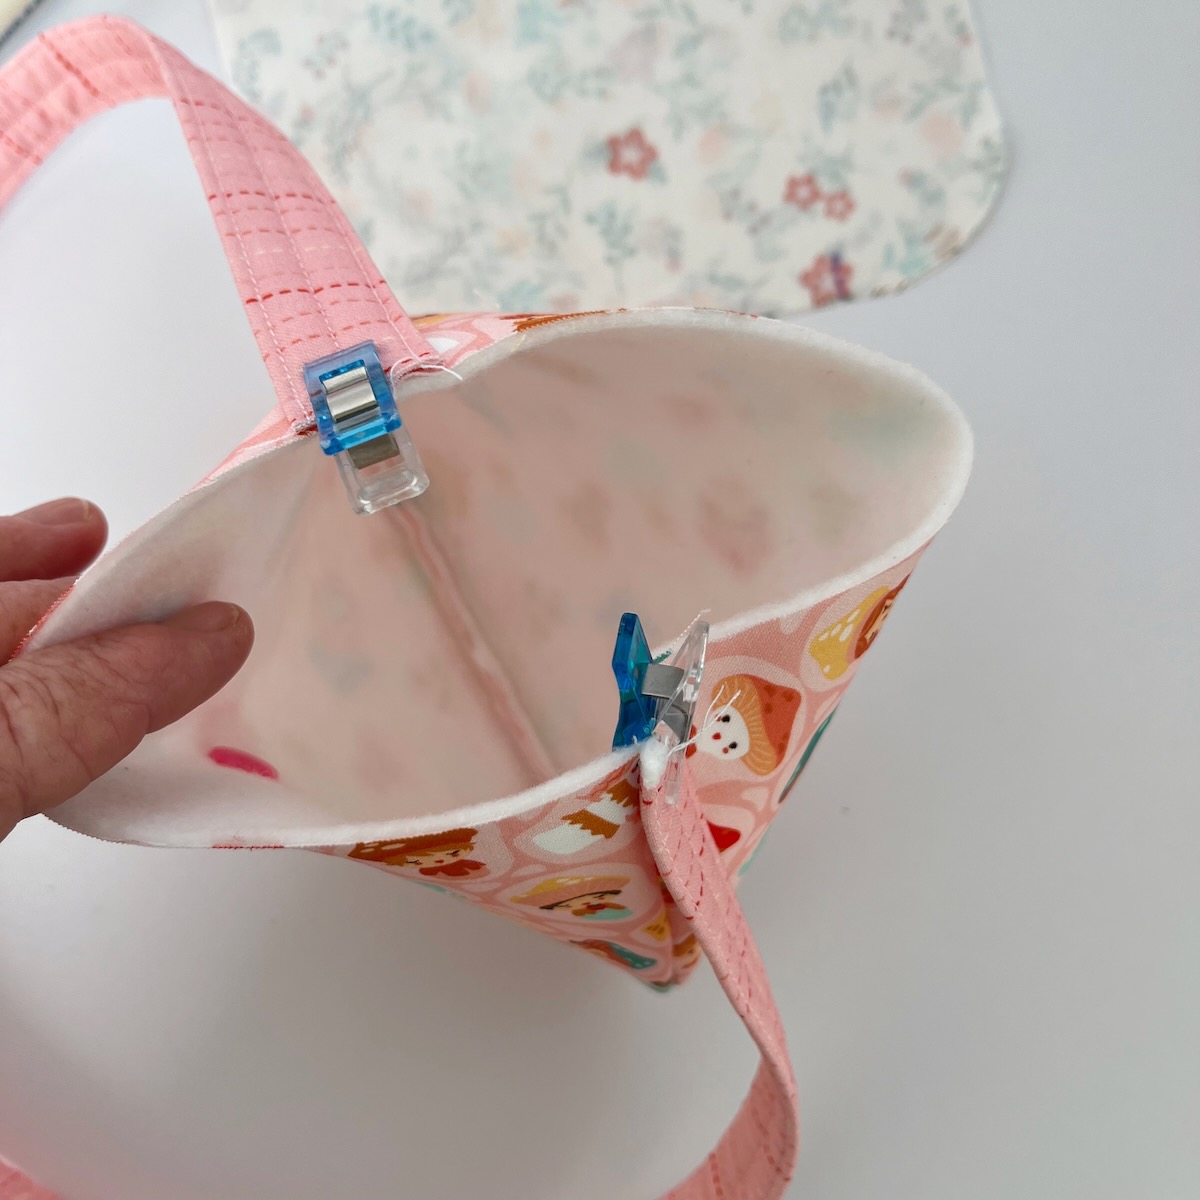
.
Step Eleven: Center the flap at the back top edge of the purse. Make sure that the front of the flap is facing the back of the purse. This will ensure that when the flap comes to the forward, the snap will be where it is supposed to be! (I like to use a ruler to find the center and mark it for sewing.) Sew with a scant 1/4 inch to hold in place.
.
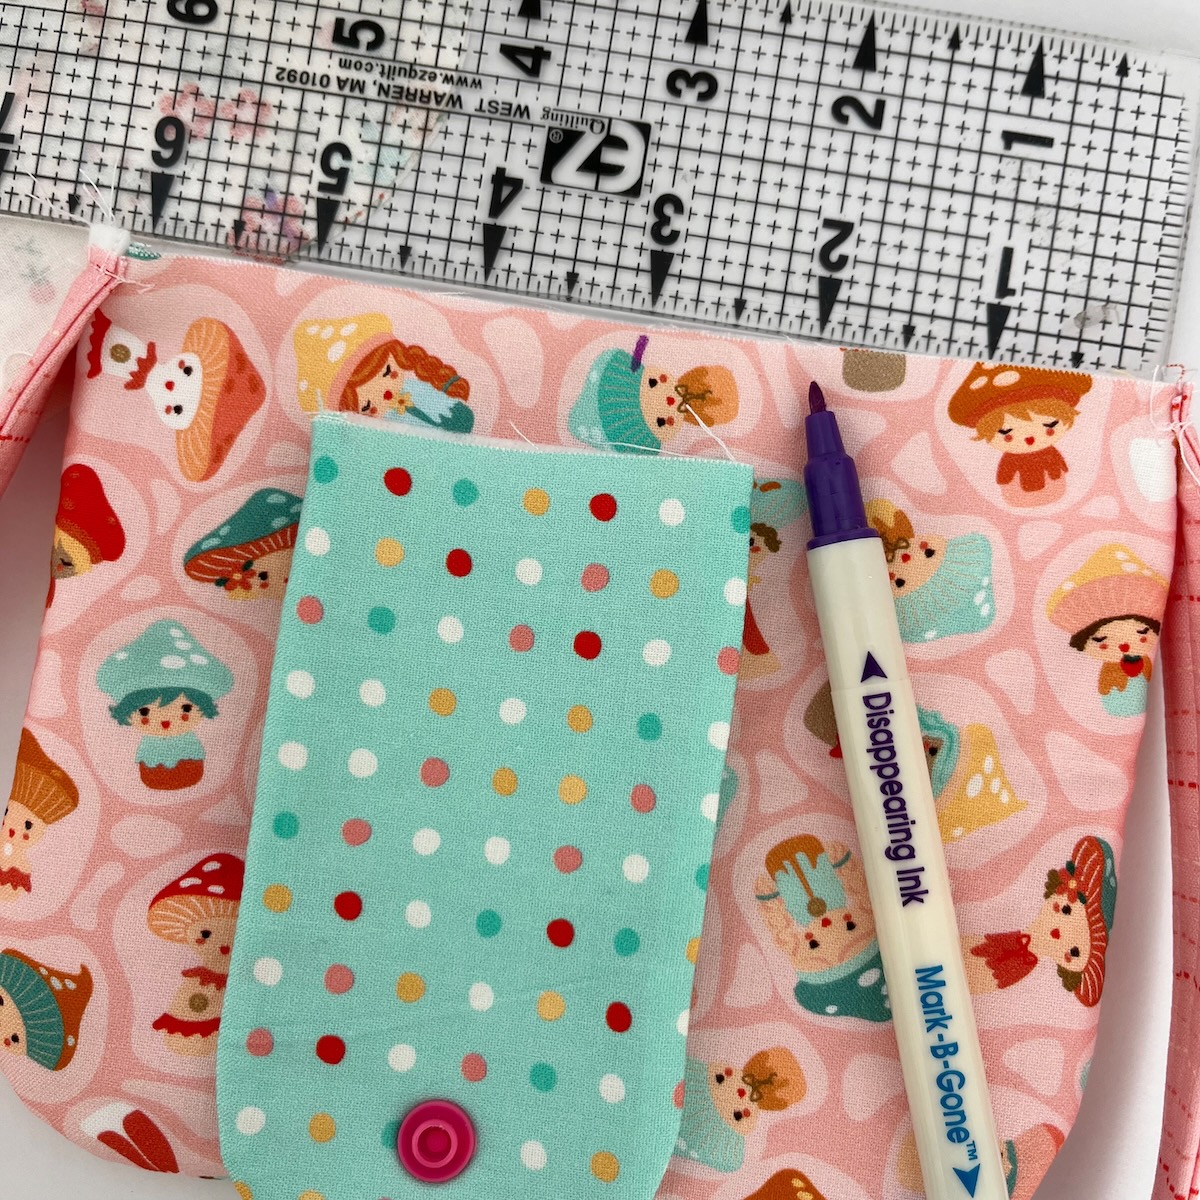
.
Step Twelve: Place the entire outer purse inside the lining, making sure right sides are together. (To make this easier, you can pull the purse strap through the opening in the lining.) Line up the top edge, matching side seams. Use binder clips to hold in place. Sew a 1/4 inch seam all around the top edge. Turn the bag right side out by pushing through the opening in the bottom of the lining.
.
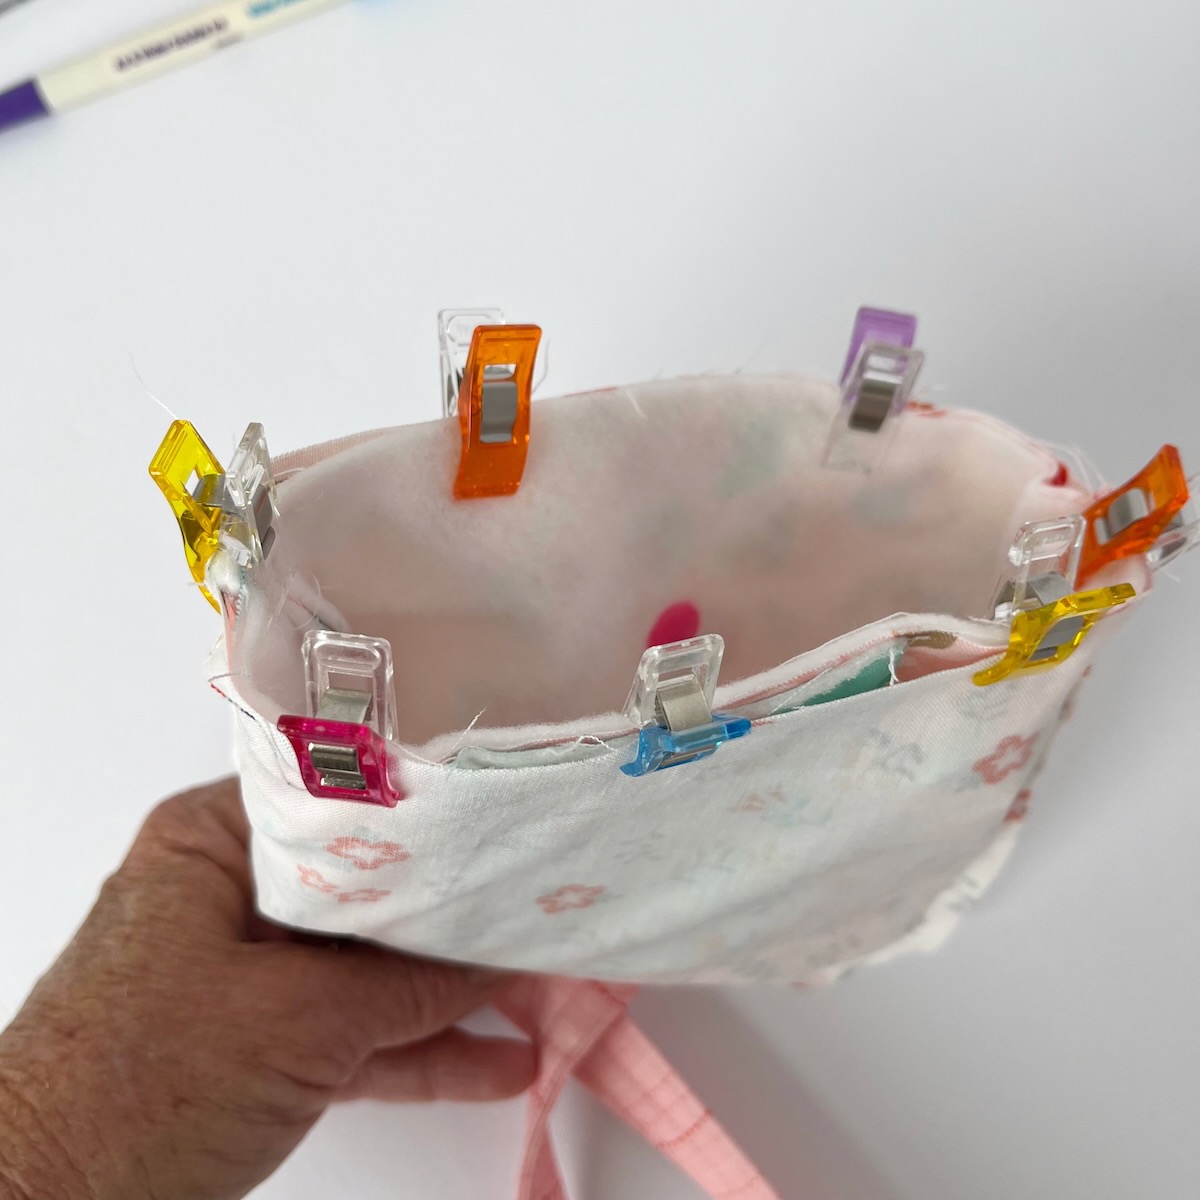
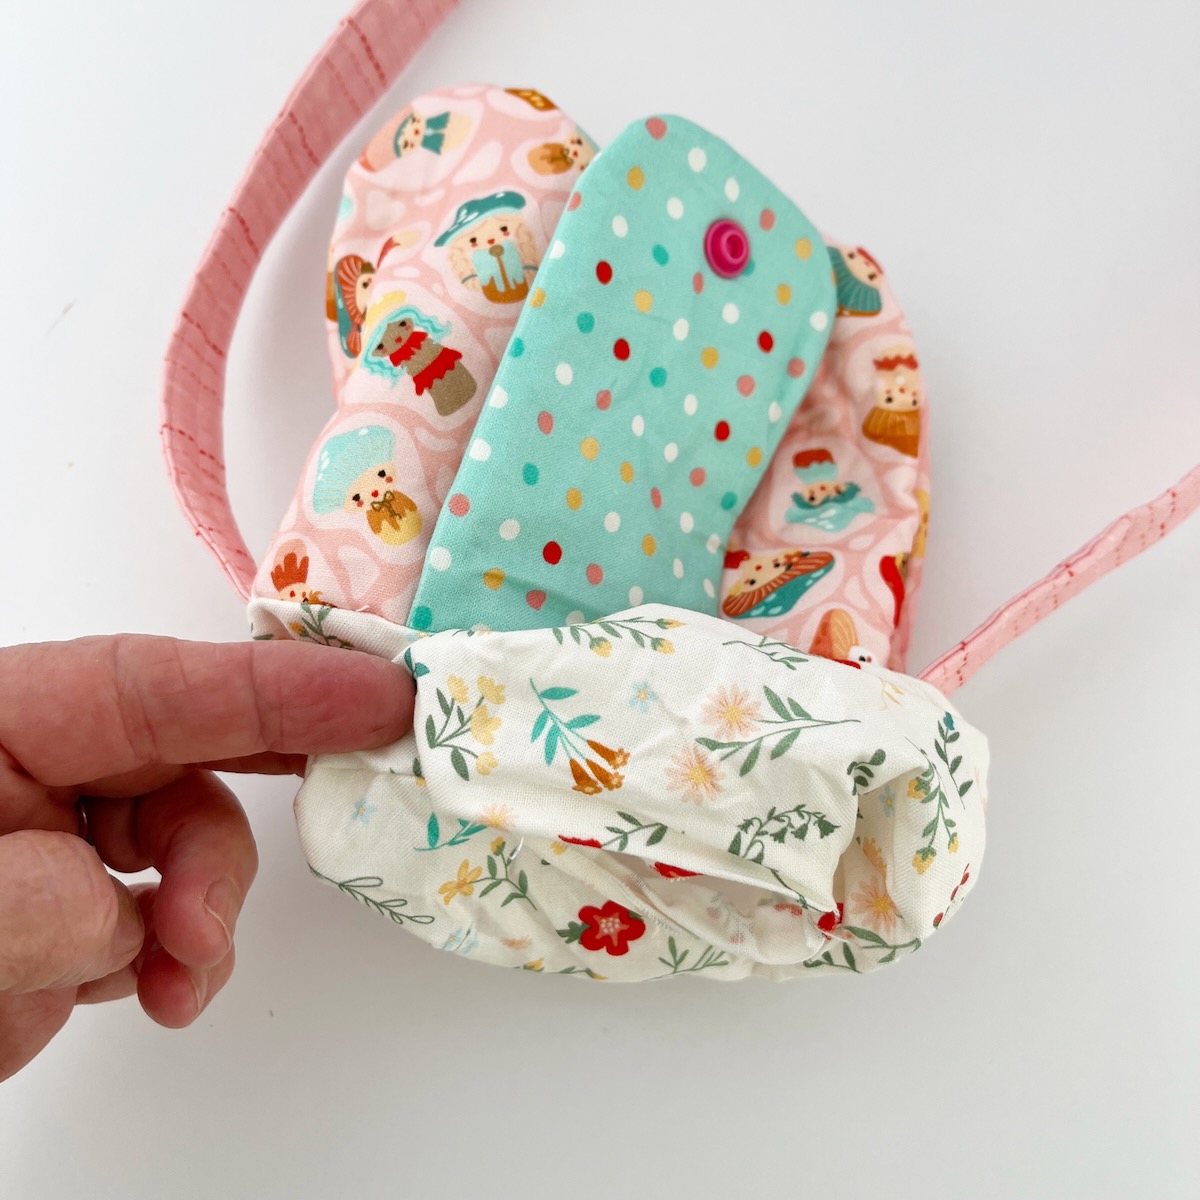
.
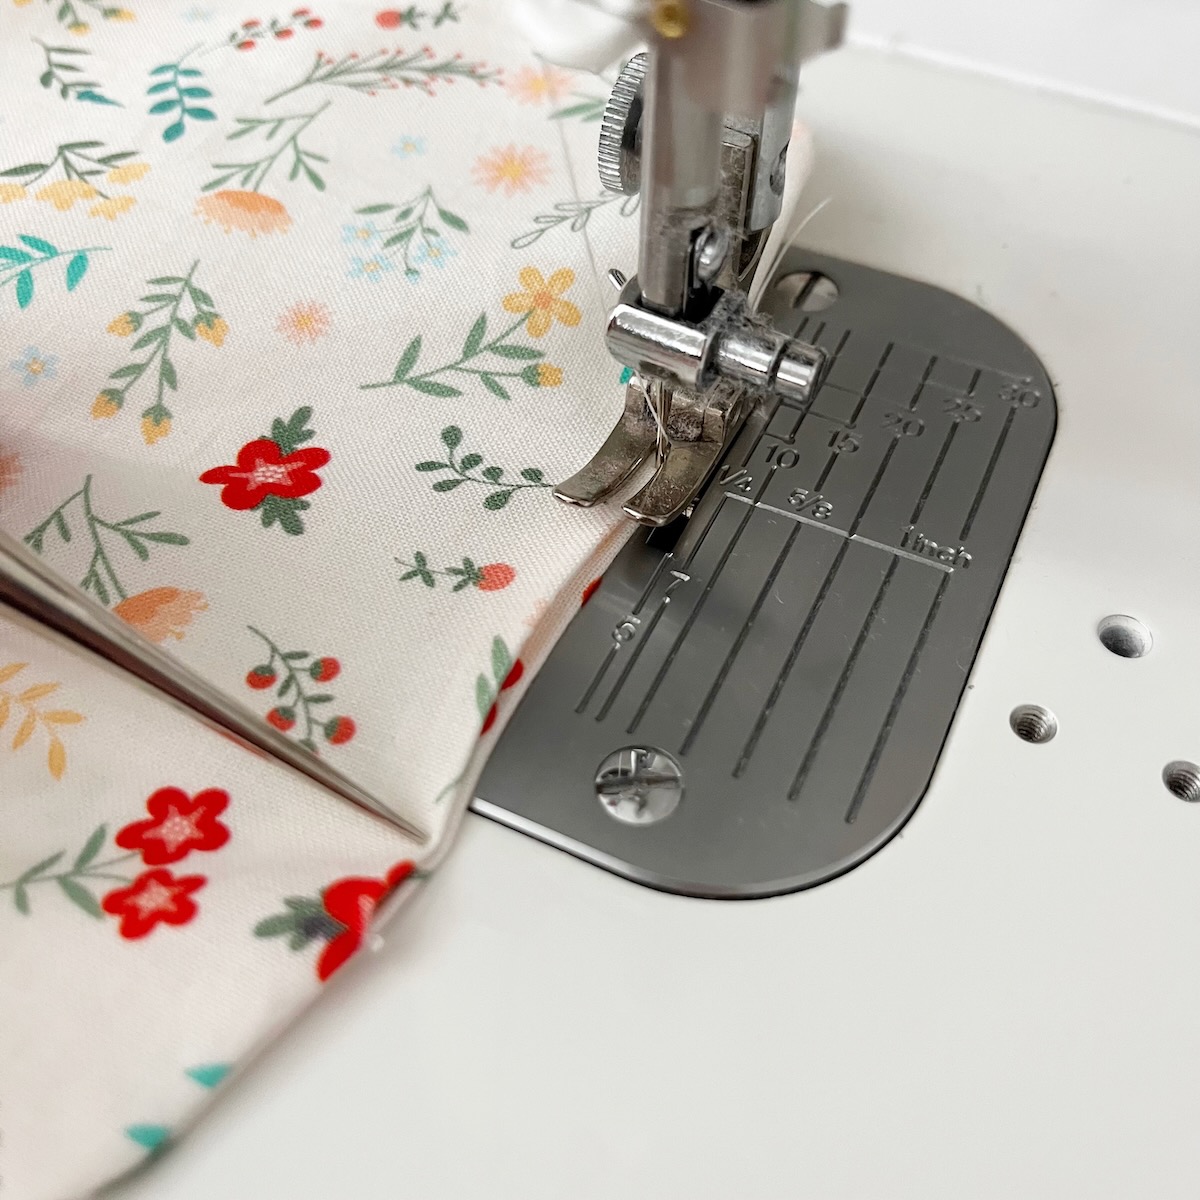
Step Fourteen: Press the bottom seam opening making sure raw edges are pushed to the inside and sew closed with a scant 1/4 inch seam. This does not have to be perfect, as you really will not see this stitching.
.
.
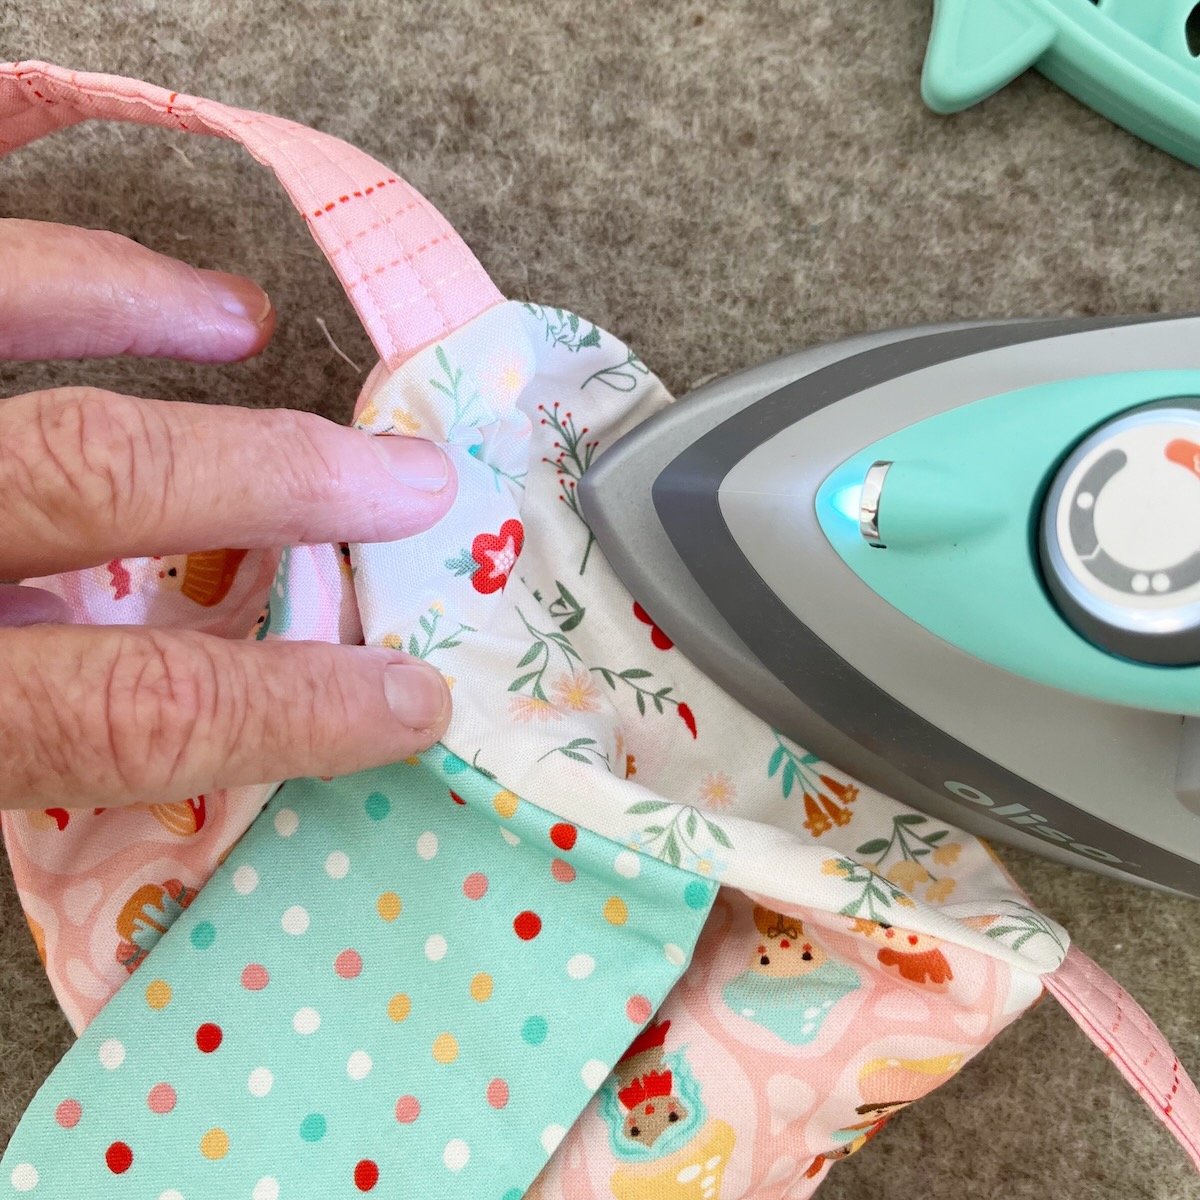
Step Fifteen: Push the lining to the inside of the bag, pushing out all the corners. Carefully iron the top edge of the bag, ensuring that the seam is smooth.
.
.
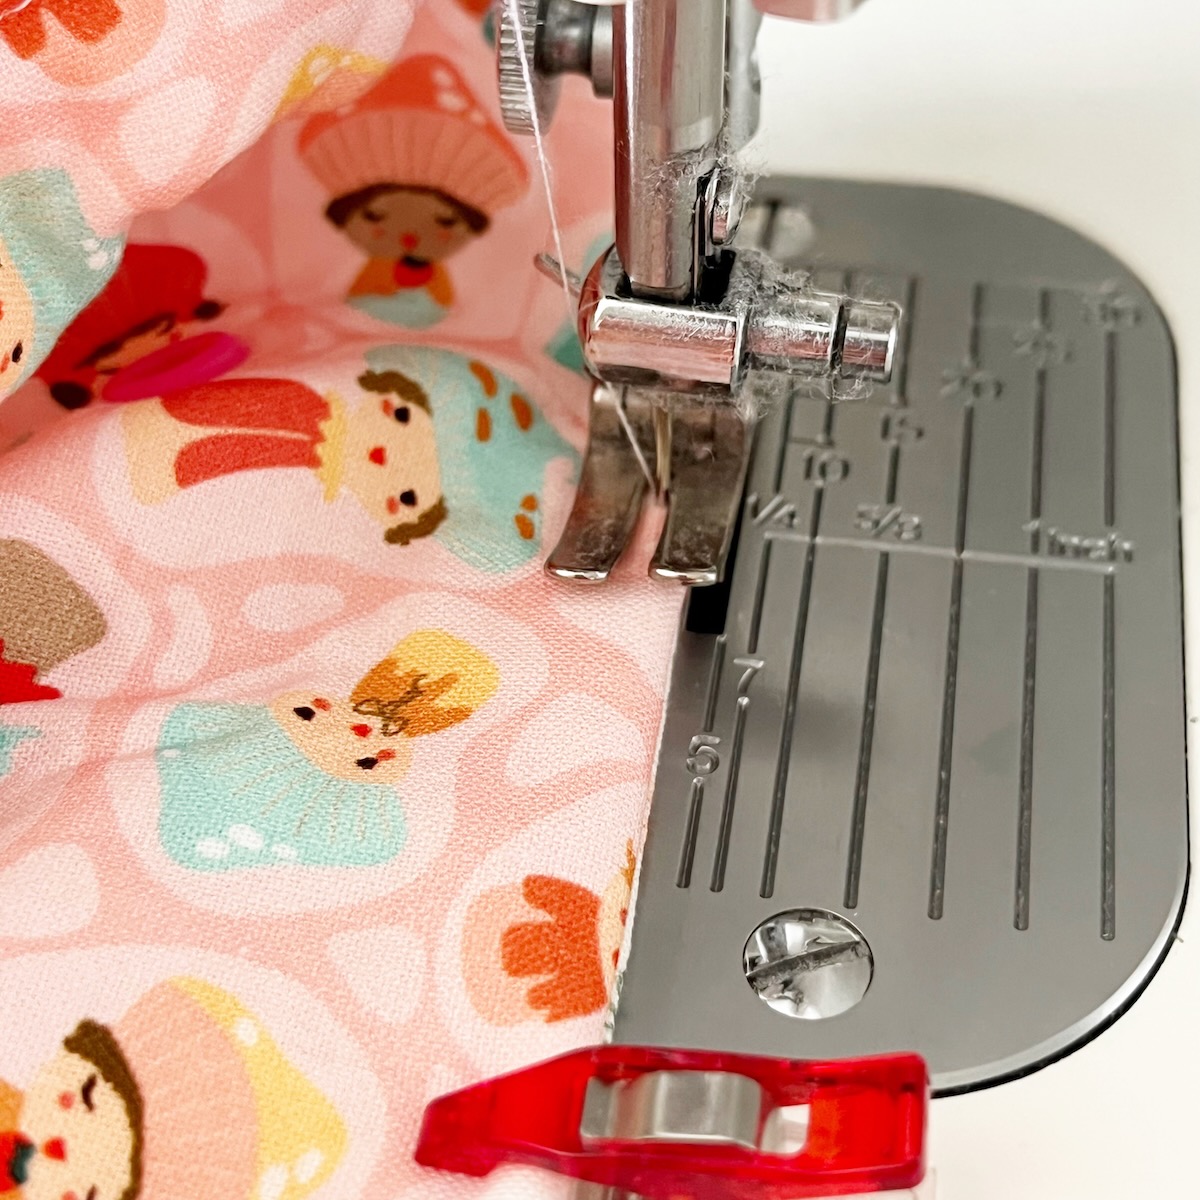
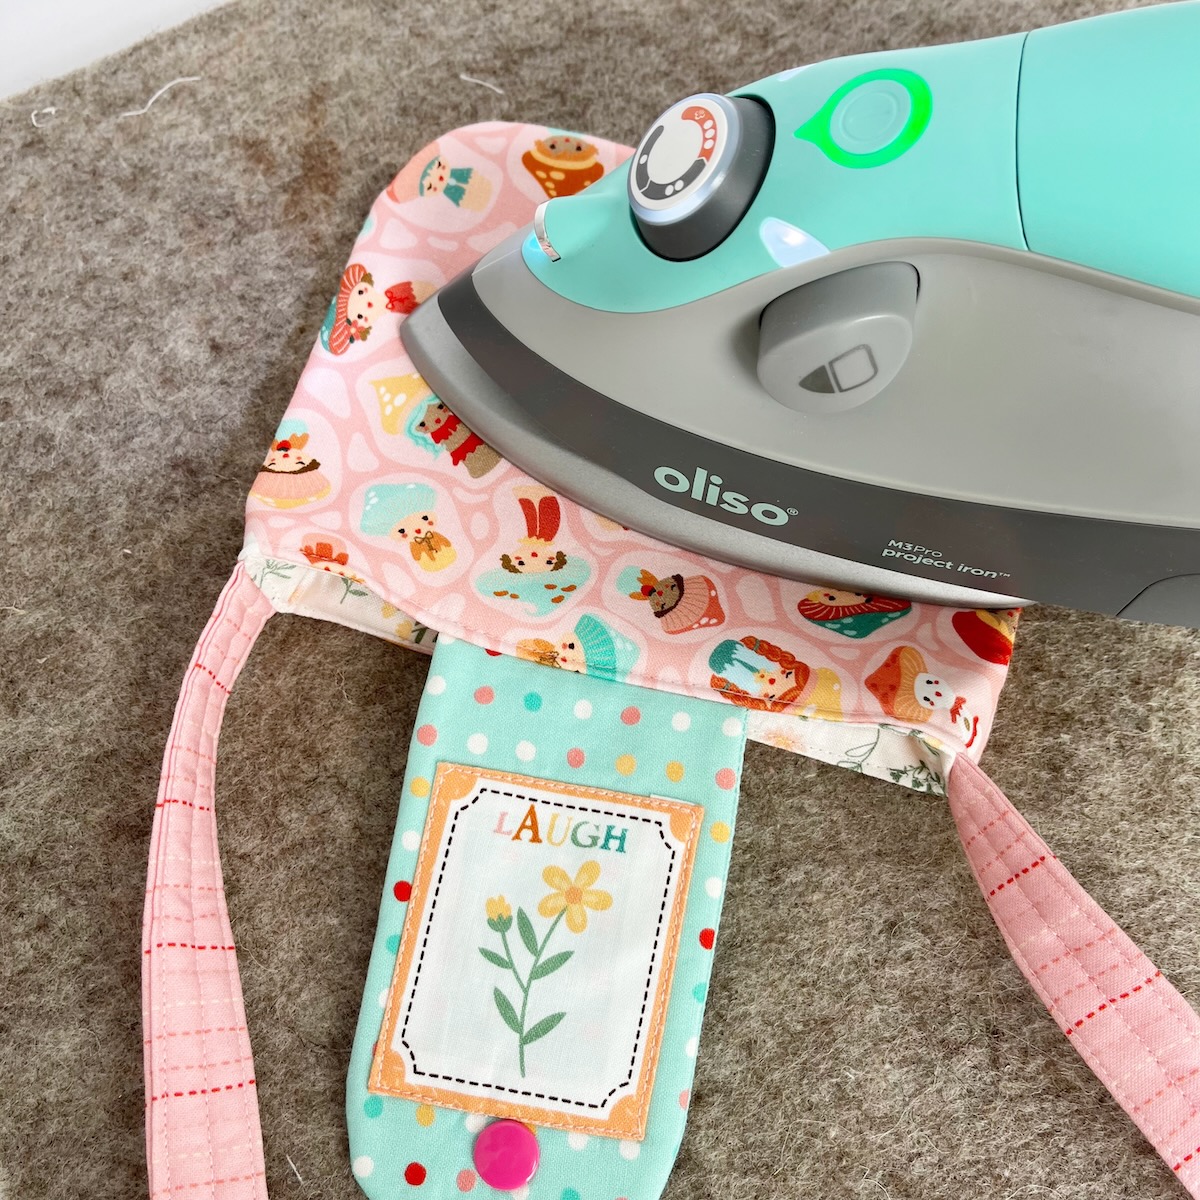
Step Seventeen: Sew a 1/8 inch top stitch around the entire top edge of the bag. This holds it smoothly together! Press the bag until all the wrinkles are out!
.
.
And YAY!!! Your sweet little Tea Party Purse is finished!
.
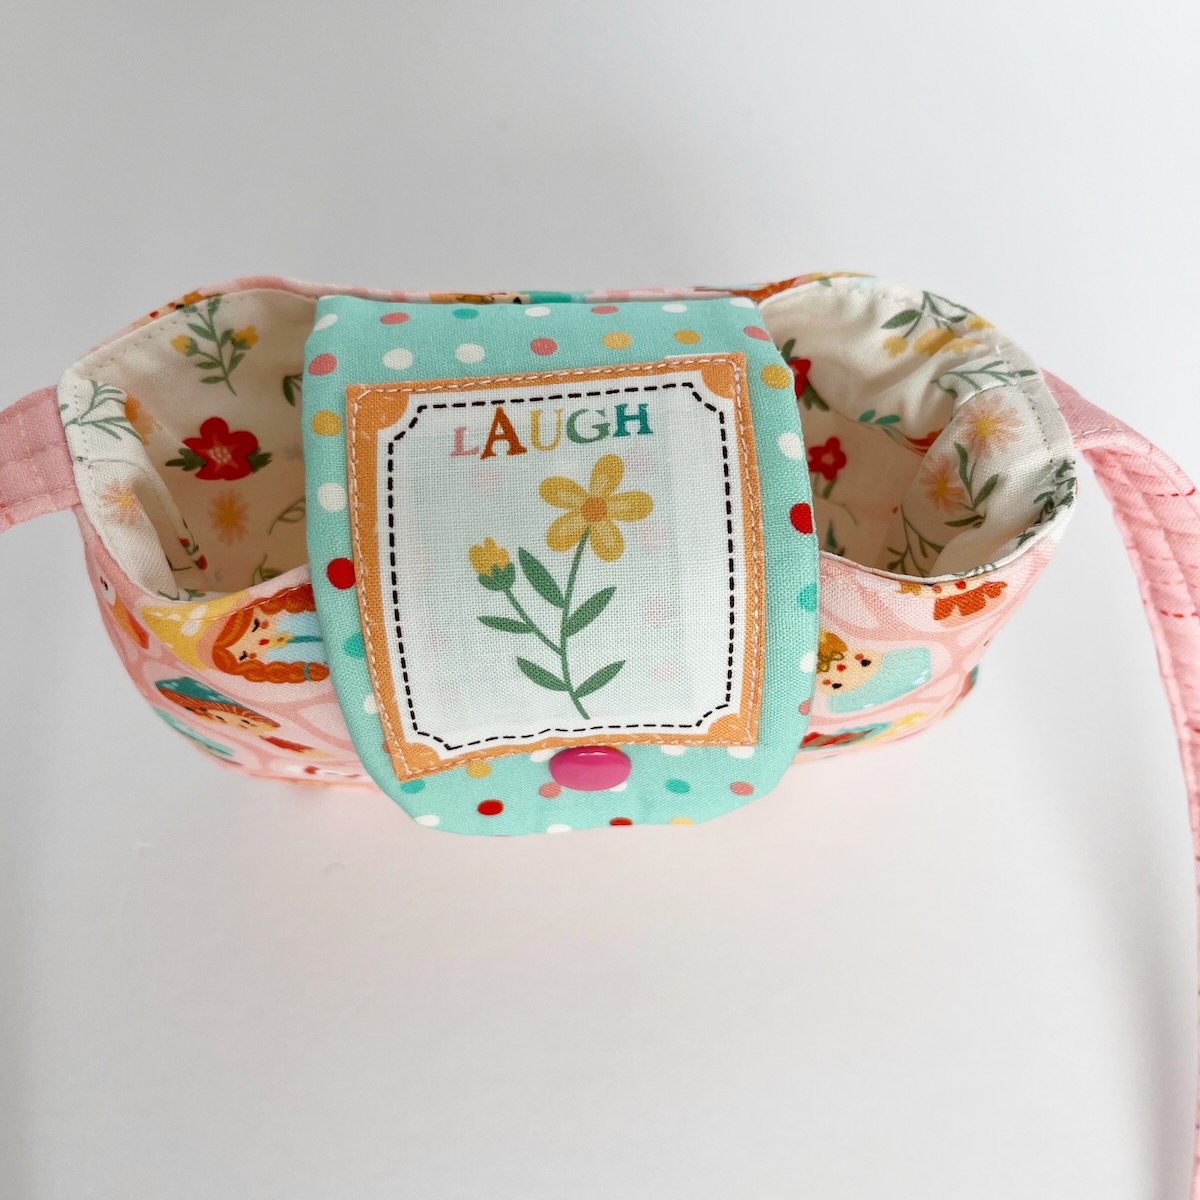
.
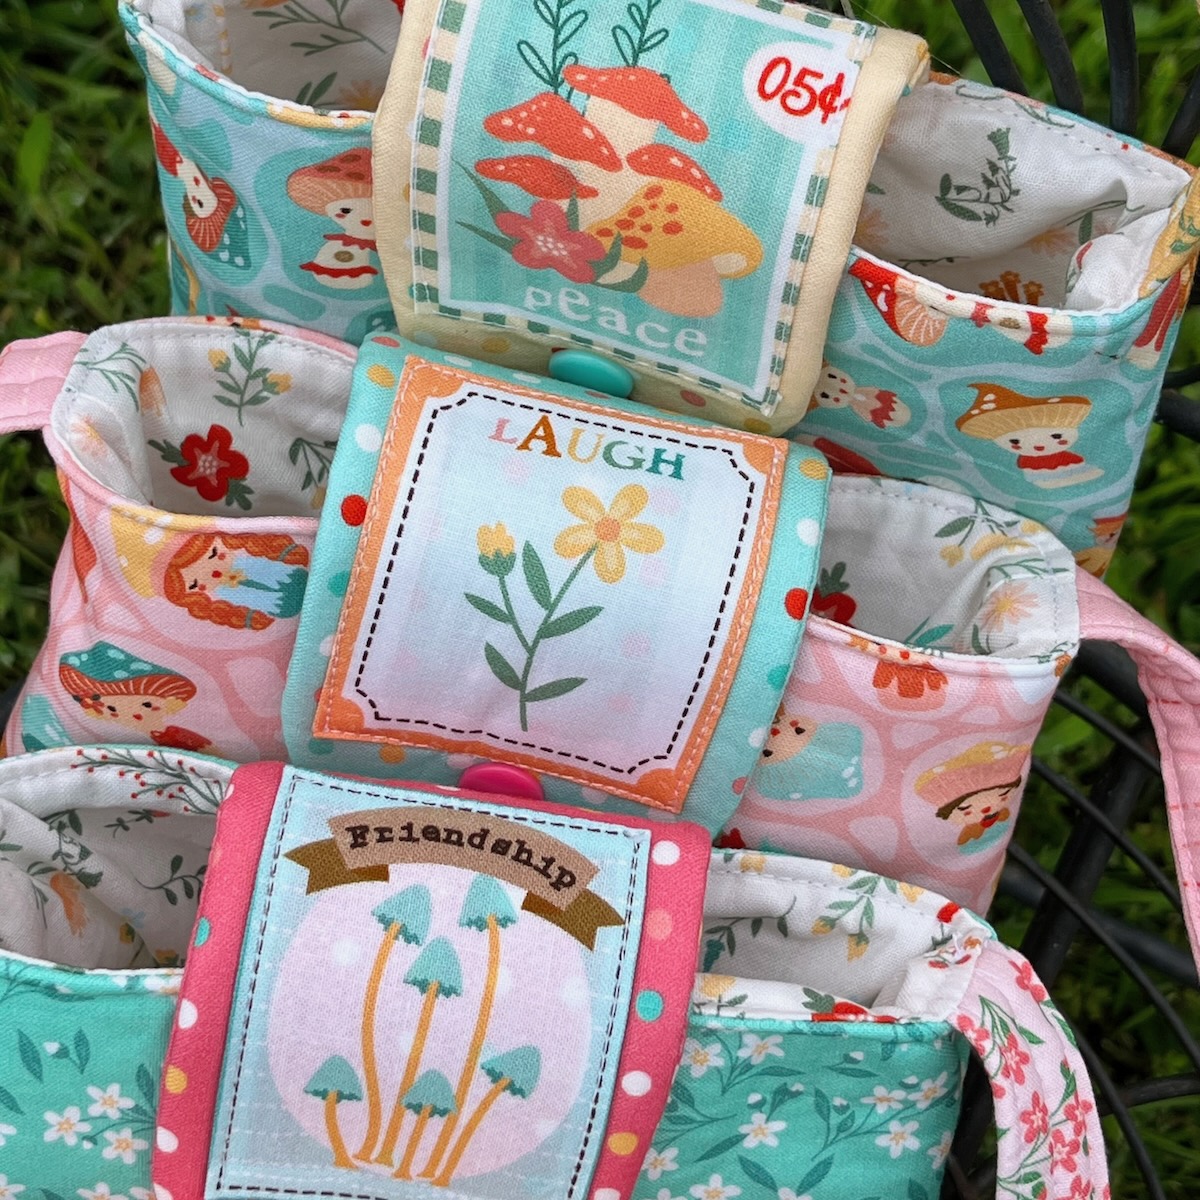
I made a list of the little girls that I knew would love one of these purses and I had so much making them all. I did assembly line sewing and it was so fast! I think you’ll love sewing (and gifting) them!
.


This is darling. I have a 6 year old granddaughter and 3 great granddaughters, ages 7, 4, and 2. They will adore these!
Hi lovely little handmade purses.
Do you ever sell the finished product?
I’d buy several if you do.
Thank you for sharing!! ☺
this is so cute. thank you for sharing.
thank you for the pattern. Hae a wonderful day.
Dori these are sew cute. Thank you for sharing. This is something the littles can make as well.
Hugs,
donna
Your writing is a gift!
Oh Dori, the cheery colors and fun patterns…inside and out – I would have LOVED to make this when my daughter was little! But you know, they’re so stinkin’ cute, who says we have to be little…looks like it would hold my phone and a little mad money – what else does a “big” girl need?!