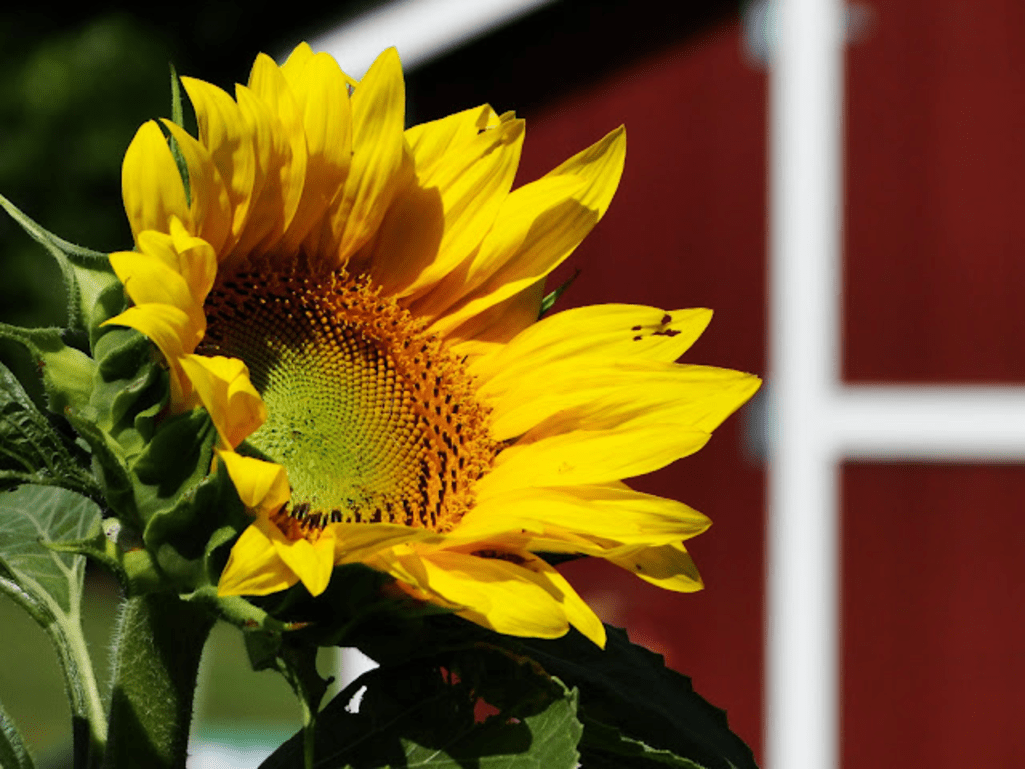
Mid-summer…these early harvest days have a busyness to them that begins early and ends late. There are gardens to tend, beans to snap, and corn to shuck. Weeds need pulling, grass needs mowing, and hay needs stacking. July days are hot and sun-soaked, and by day’s end, often come with rumblings of thunder bringing much-needed rain.
For me, being outdoors in the heat and humidity of summer is not a favorite way to spend the day. On particularly hot days you just might catch me putting my entire head under the outdoor faucet to cool down (and hoping no surprise visitor drops by!) How’s that saying go? “Farm hair, don’t care!”.
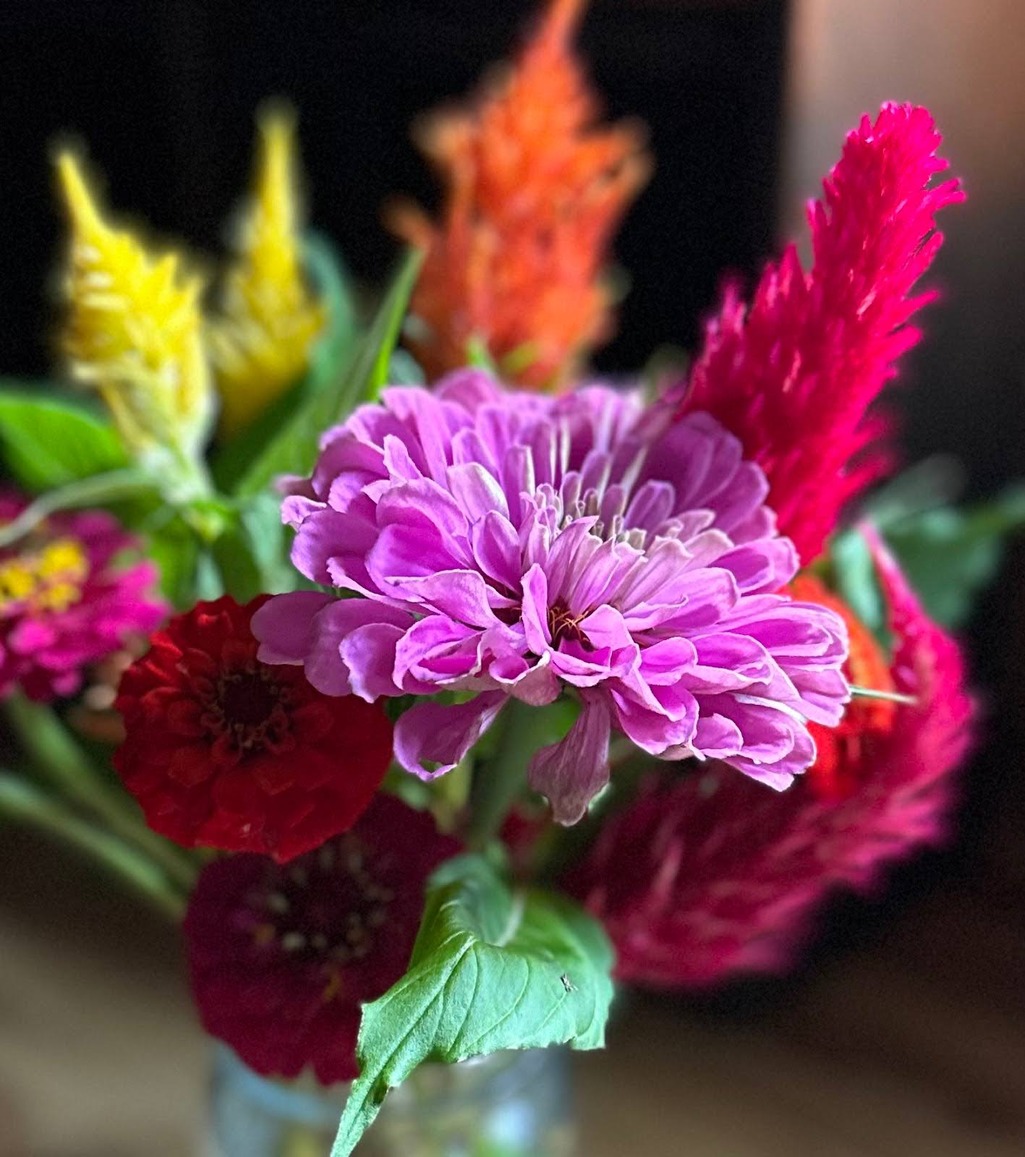
However; along with all the summertime must-do’s, it’s important to slow down and not miss the abundance of summertime beauty. Taking time to appreciate the fields of wildflowers, graceful barn swallows skimming low over the fields, and the quiet, delicate butterflies in search of nectar…enjoy every moment.
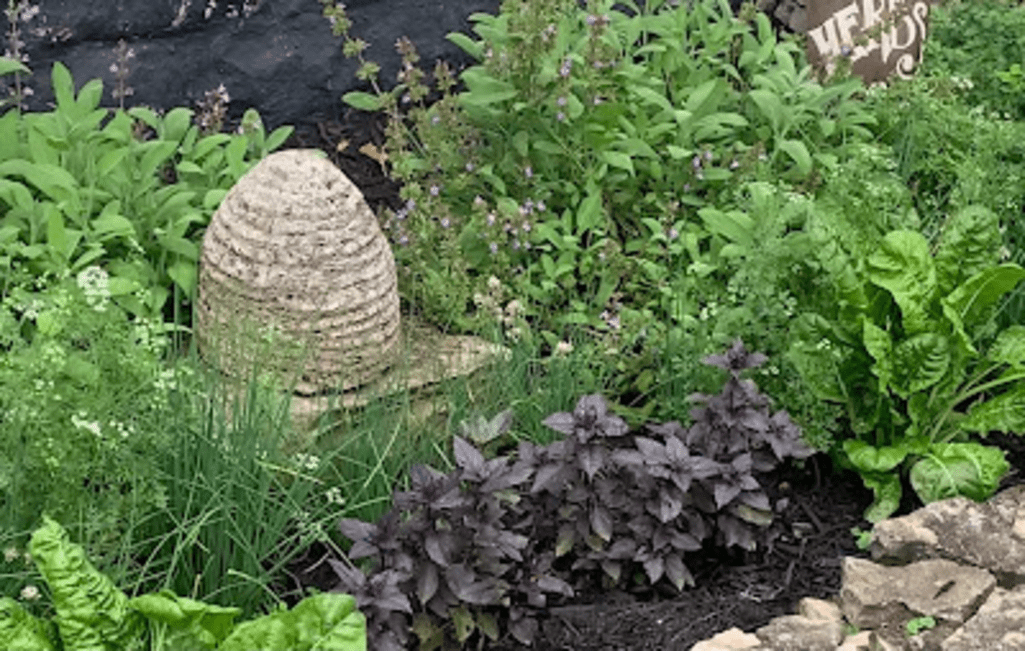
One of the best things about summer are fresh, fragrant herbs. Several years ago, I decided I’d like a little herb garden beside the steps that go up to the kitchen. Loving history as I do, I just couldn’t resist doing a little detective work…what kinds of herbs might have been grown here when the house was built in 1864? It didn’t take long to find out that those ladies in calico were planting the same herbs that we enjoy today…rosemary, thyme, basil, chives, mint, sage, marjoram, and oregano. So I got to work! Herbs grow quickly, easily, and don’t take up much room…soon I had a little garden planted right outside the kitchen making it easy to snip my very own herbs whenever a recipe called for them.
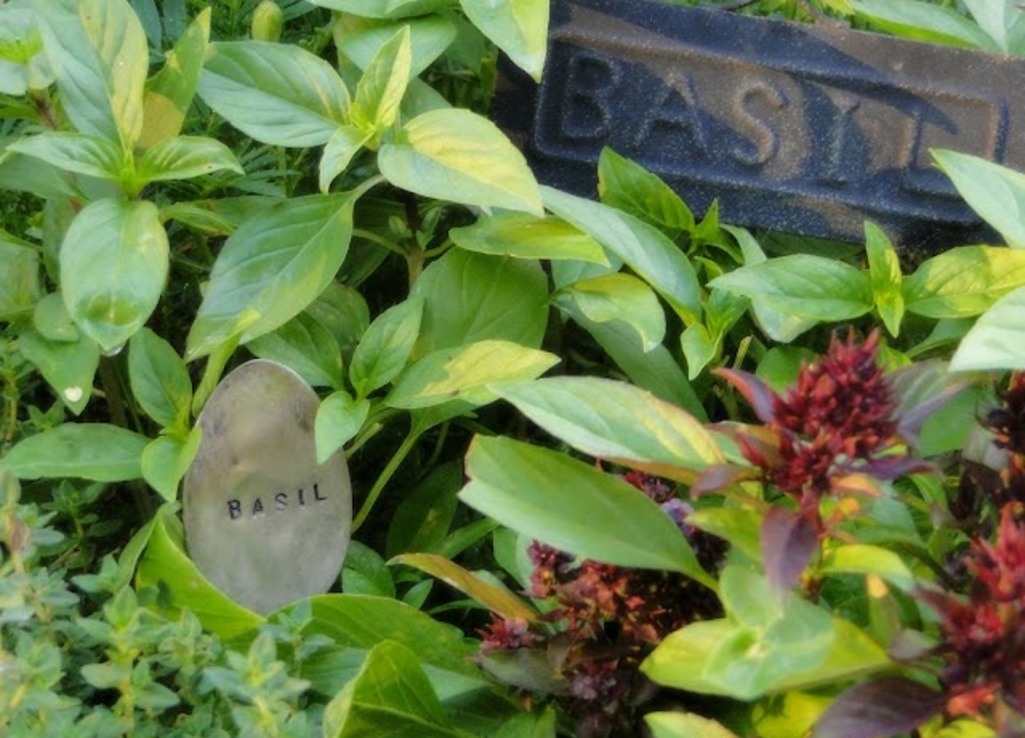
As the seasons begin to change, I want to hold onto those fresh herbs as much as possible to use throughout fall and winter. After all, Mom’s Thanksgiving sage stuffing just wouldn’t be the same without sage.
Again, time to get busy…for me the absolute easiest way to preserve herbs is to air-dry them. A sharp pair of scissors make quick work of cutting bunches of herbs, then I secure them with a rubber band (making sure it’s snug because herbs will shrink as they dry). After I have several bunches, I hang them upside down from a wooden laundry drying rack. They could also be placed in an attic, or any warm spot that has a little air circulation. Once the herbs are completely dry, usually a couple of weeks, I crumble the leaves and store them in a lidded container.
You can also use a dehydrator if you have one handy (be sure to read through your dehydrator’s unique instructions). Much quicker than air-drying herbs, just place a single layer of herbs on each tray and turn the temperature to the lowest heat setting. You should have dried herbs in 3 to 4 hours.
Lastly, the oven is a perfect way to dry herbs…and the quickest method! Lay the herb leaves on parchment paper or a silicone baking mat, turn the oven to its lowest temperature, and set the timer for 30 minutes. Each oven is a little bit different, so it’s a good idea to check their progress from time to time.
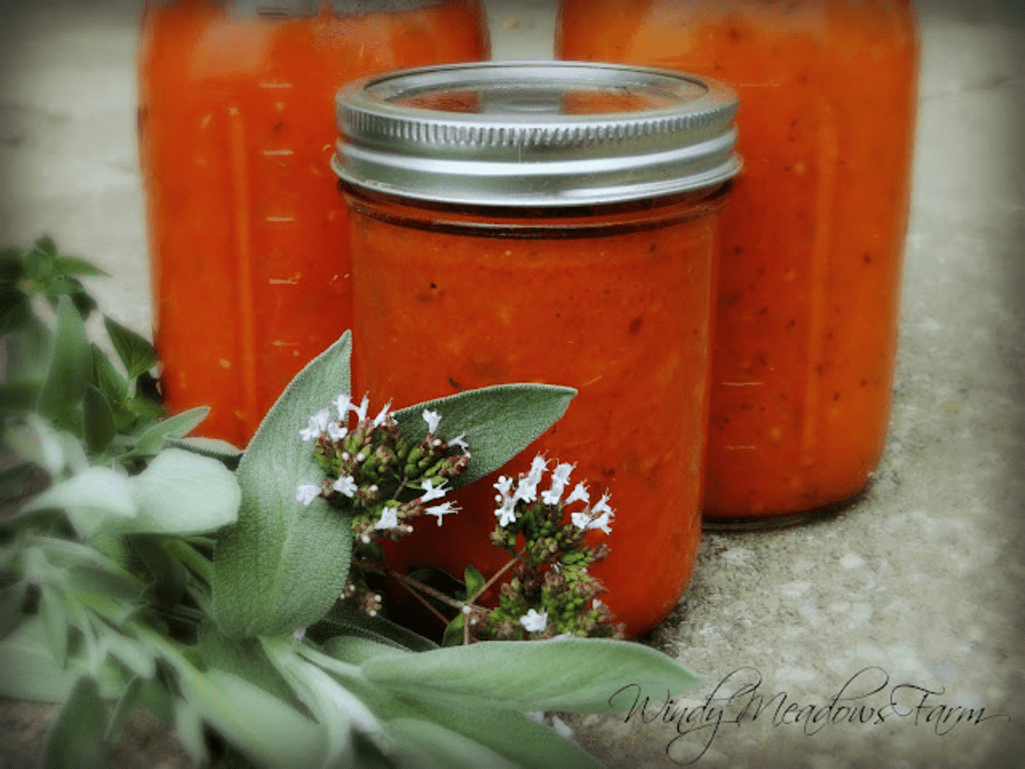
What about using herbs in recipes? Absolutely, that’s a great way to enjoy them when the winter winds blow and the summer garden is months away.
In the next few weeks there will be so many tomatoes in the garden that I’ll find I’m working myself into a good old-fashioned frenzy. Luckily, I have a herb & tomato sauce recipe that saves the day. The ingredient amounts are flexible, so whether I have a market basket or a bushel basket of tomatoes, I can still make sauce in no time.
No seeding tomatoes, no standing over a hot stove, no stirring sauce…in a little more than an hour, I’m done!
Oven-Roasted Pasta Sauce:
- Quarter as many tomatoes as will fit on a 13”x9” baking sheet. (no need to core or peel the tomatoes, just slice off the stem end.)
- Add peeled garlic cloves to taste.
- Sprinkle with chopped, fresh herbs…oregano, garlic chives, rosemary, basil, or tarragon.
- Drizzle with olive oil, balsamic vinegar, salt & pepper; stir to coat tomatoes.
- Place the baking sheet into an oven set at 400-degrees Fahrenheit for 45 minutes.
- Remove the baking sheet from oven and cool tomatoes slightly.
- Spoon tomatoes into a blender and purée.
- Add a peeled, quartered onion, a pinch of sugar, and blend until smooth.
- Spoon into freezer-safe containers and freeze.
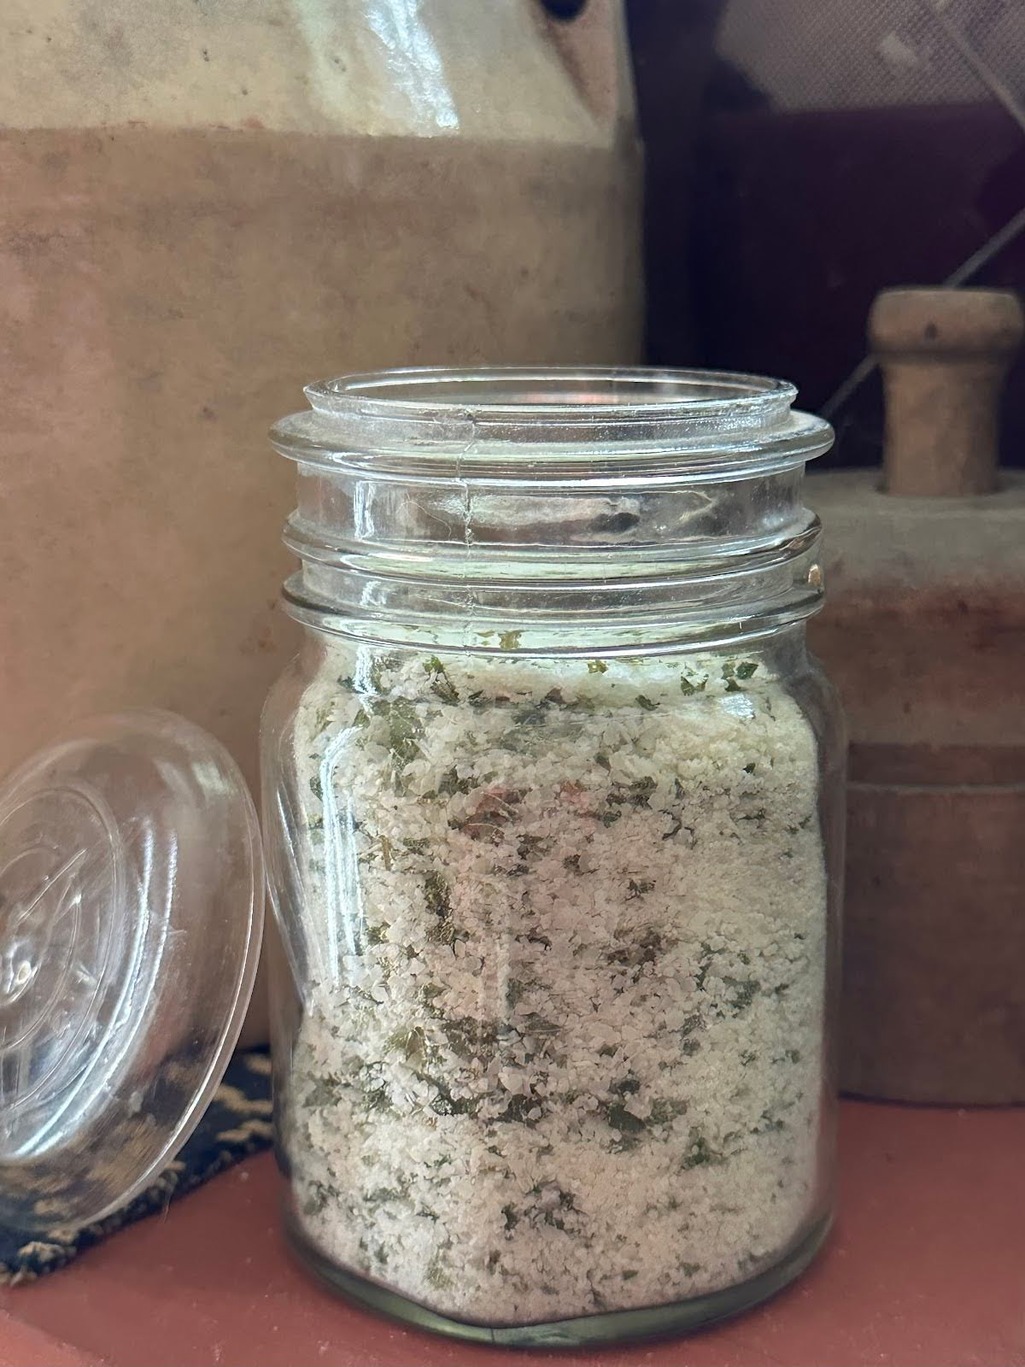
Herb Salts
Herb salts are nearly effortless to make…they may look fancy and seem complicated, but truly, they’re not. This is the recipe I use each summer and it only has two ingredients!
fresh herbs
1 cup coarse salt
Start by gathering your herbs…just one type, or a mix of your favorites. Wash well and lay on a paper towel to dry for about an hour.
Snip herbs using kitchen scissors and pack them into a 1/3 measuring cup. Toss the herbs into a food processor. (You can always add more herbs if you’d like a stronger flavor.)
The salt you choose can be any coarse salt, sea salt, or flaky sea salt. Add 1 cup to the food processor over the herbs.
Pulse them together, just long enough to break up the herbs.
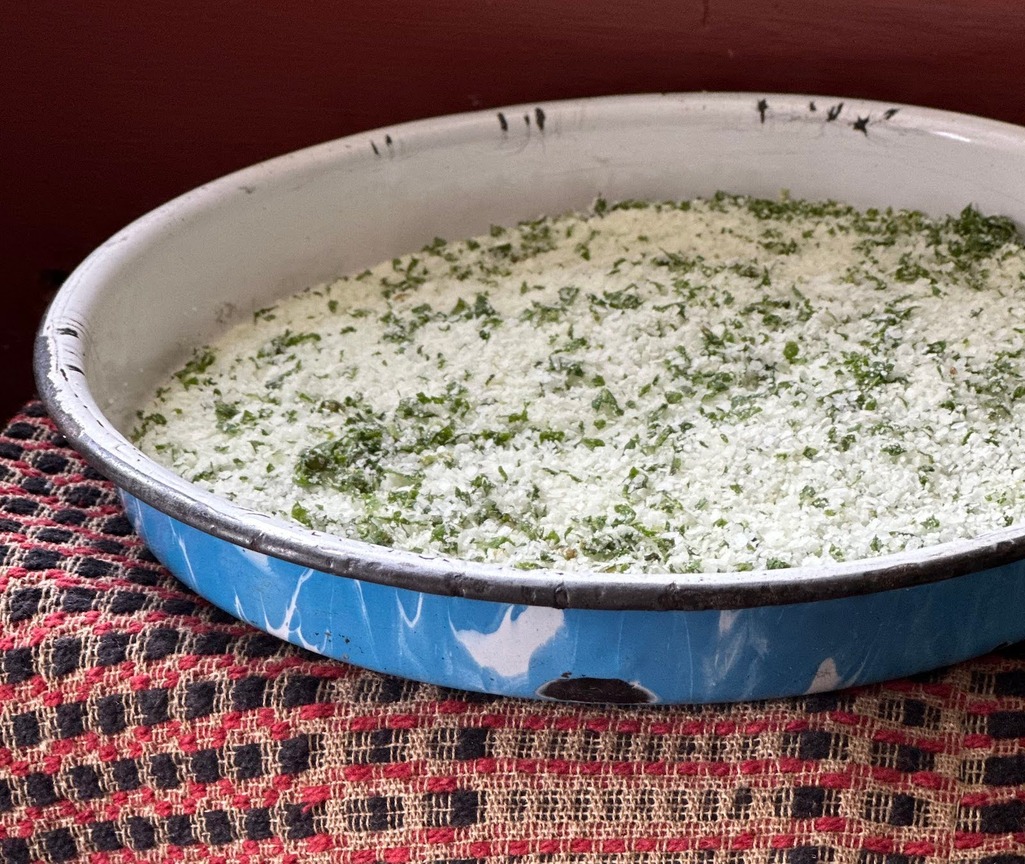
Spread the mixture on a rimmed baking sheet, bake for 30 minutes at 200-degrees Fahrenheit, stirring halfway through. Let cool, then store in an airtight glass jar. Herb salts usually don’t require refrigeration as long as the herbs are completely dry, but you can always refrigerate yours if you’d like.

A sprig of mint, lemon balm, or chamomile gussies up sparkling water or lemonade, but what about the peppery flavor of rosemary?
I wouldn’t have believed it if I hadn’t tasted it for myself. A good friend shared this punch recipe with me…it’s made with fresh rosemary sprigs steeped with the ingredients. She was right, it’s a keeper!
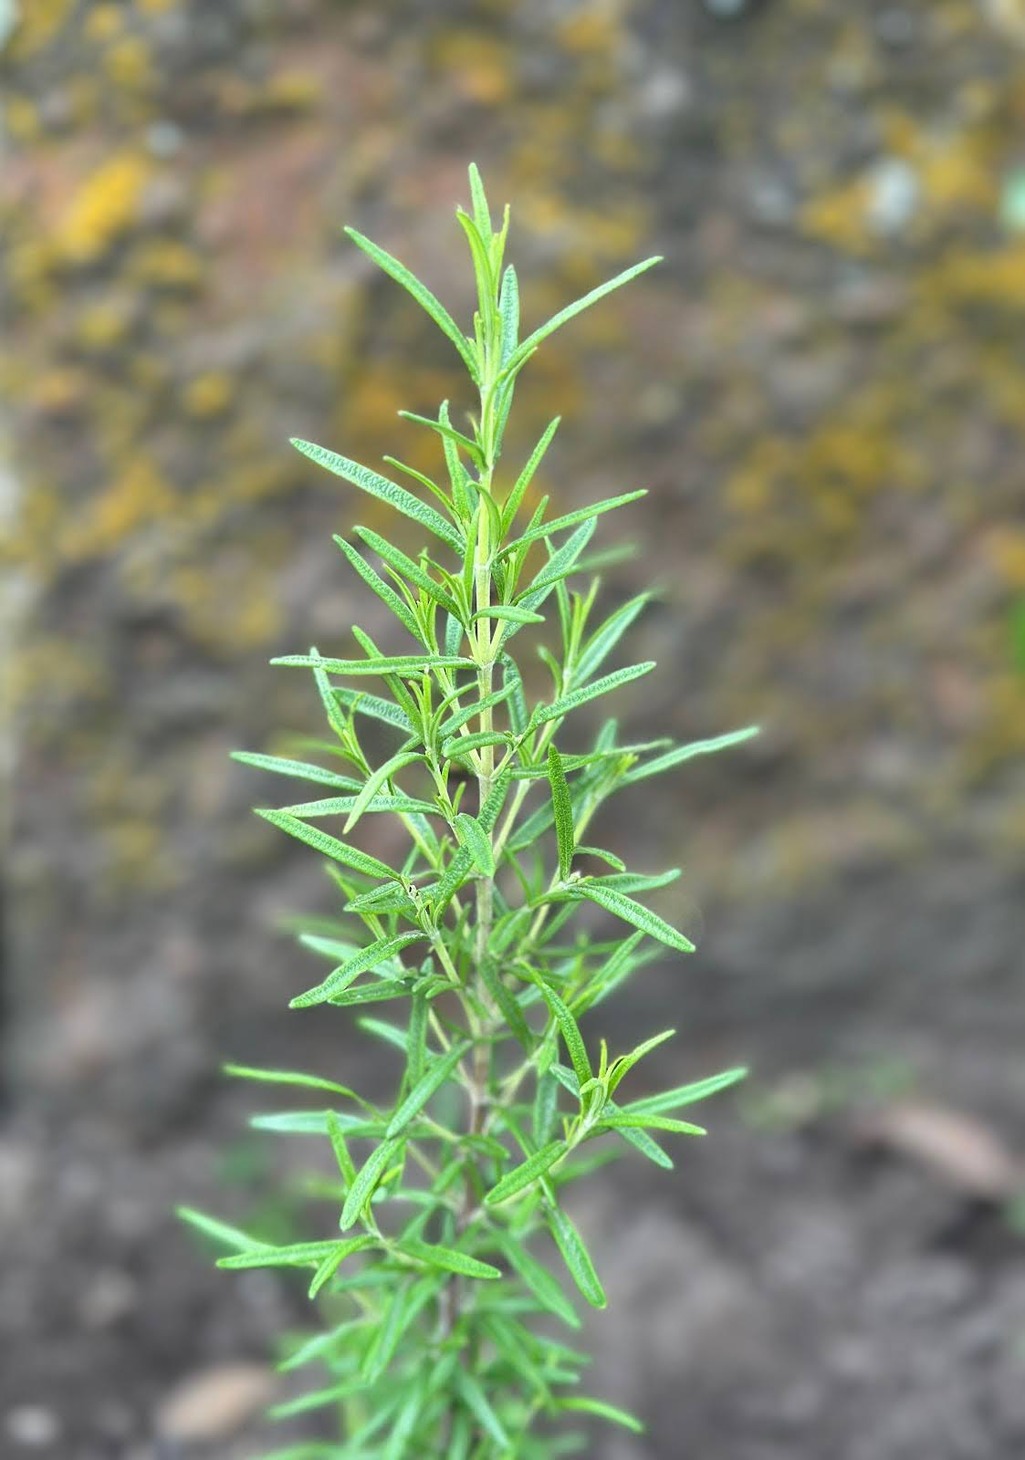
Rosemary-Pineapple Punch
46-oz. can unsweetened pineapple juice
1 c. sugar
1-½ c. fresh lemon juice
2 c. water
4 sprigs fresh rosemary
2 liters ginger ale, chilled
Combine the pineapple juice, sugar, lemon juice, water, and rosemary in a large saucepan. Bring to a simmer, then remove from the heat and steep for 15 minutes. Let mixture cool; remove rosemary and discard. Refrigerate until chilled, then combine with ginger ale. Serves 12.
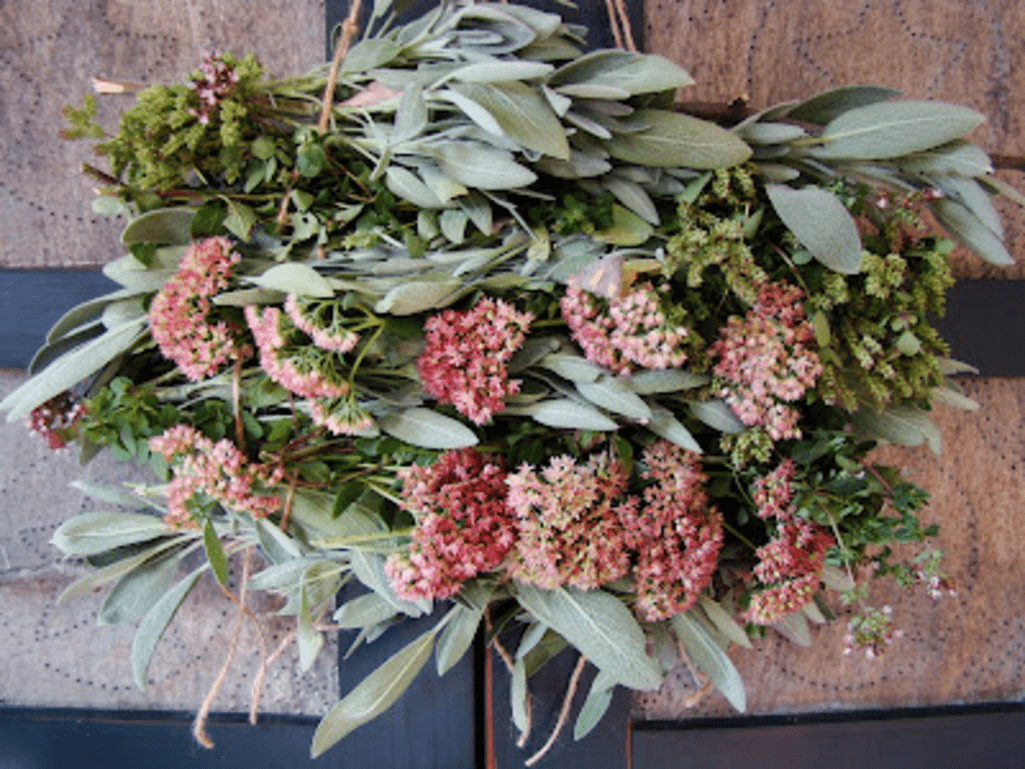
Years ago, I took a class from a sweet lady who lived in an 1800’s farmhouse. She had such charming gardens and her home was trimmed with the prettiest gingerbread making me feel as if I had stepped back in time. She happily shared her flowers and herbs with the class and taught us how to make an herb weaving. Soon I was hooked, and if you made potholders on a little loom as a kid, this will be a snap!
Even if you’ve never used a loom before, no worries…with a little practice, you’ll be a pro in no time. You may already have all that you need: herbs, an empty picture frame (any size will do), scissors, twine, ruler, and 2 sticks a little wider than your frame.
Let’s get started!
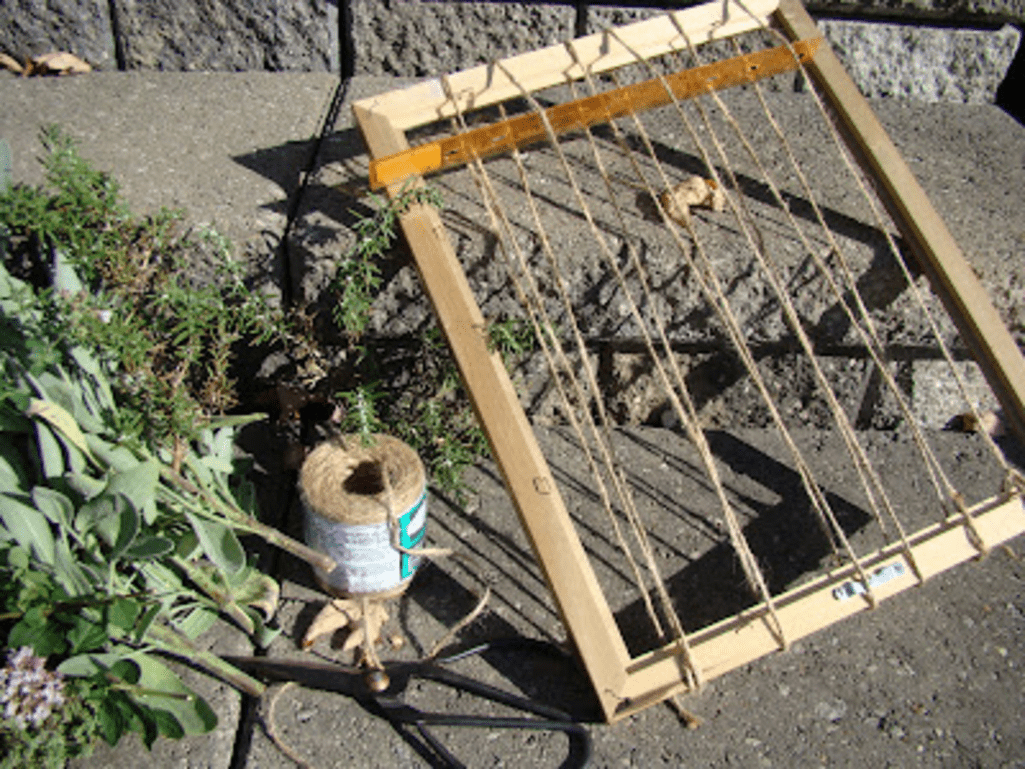
Herb Weaving
To begin, wrap the end of a length of twine around the top left corner of a frame (any size is just fine…this one is an 11×14), then knot the twine. Begin wrapping the twine around the front and back of the frame, top to bottom. You’ll need at least 6 lengths on both sides…you can always add more, but the number on the front and back will need to be the same. Knot the twine at the frame’s bottom right corner, and cut the twine.
Weave a ruler over and under each length of the twine on the front of the frame only, and then turn the ruler on its side. This will create an opening and will be your guide for weaving in the herbs. First, slip one stick through the opening created by the ruler, then push it up snugly against the frame. The sticks will be what help hold the weaving together.
With the stick in place, remove the ruler and weave it in again (through twine on the front of the frame only), but this time, alternating how you begin weaving. For example, if you began with an over/under pattern to add the stick, this time you’ll begin with an under/over pattern. Again, turn the ruler on its side to make the opening larger.
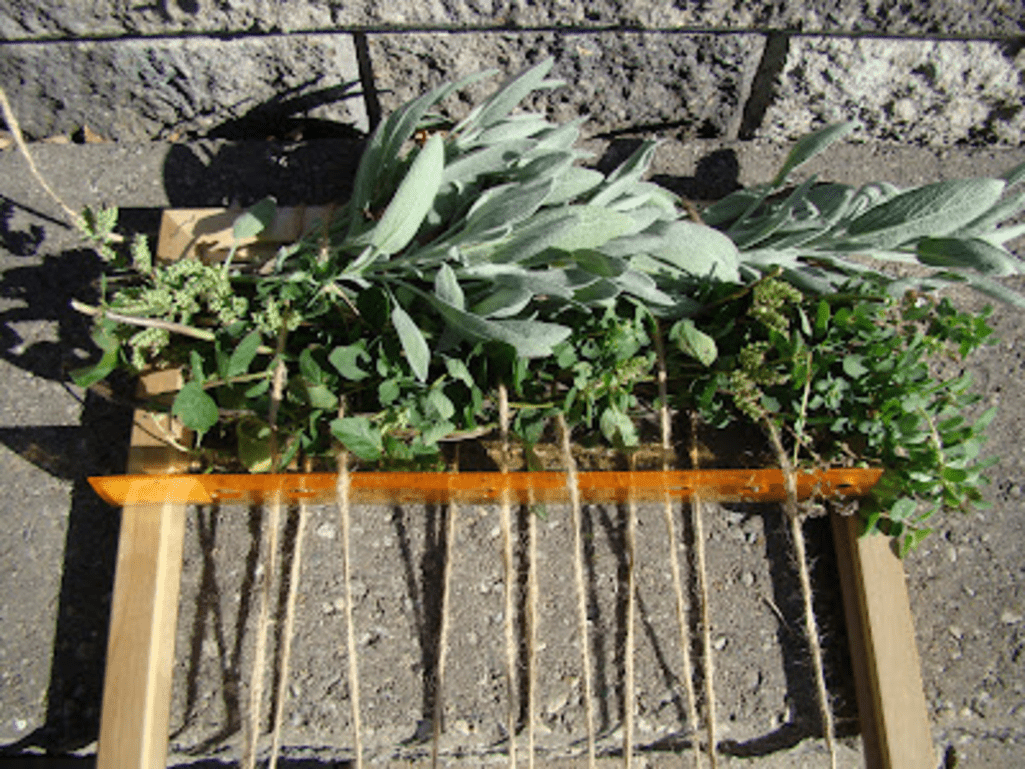
Now it’s time to weave in your first row of herbs. Some tall herbs like sage or rosemary will only take one long sprig, while smaller herbs such as marjoram or oregano may take several shorter sprigs to fill each row. Carefully slide the herbs through the opening made by the ruler, and gently, but securely, push them up so they’re against the stick. As herbs dry they shrink, so it’s important to weave them tightly. You can also weave in some flowers to dry with the herbs…there’s no right or wrong!
After the row is complete, move on to your next rows by sliding the ruler through the twine on the front of the frame, remembering to switch your over/under pattern to the opposite of what you just did on the previous row. Turn the ruler on its side and add herbs. Repeat for additional rows.
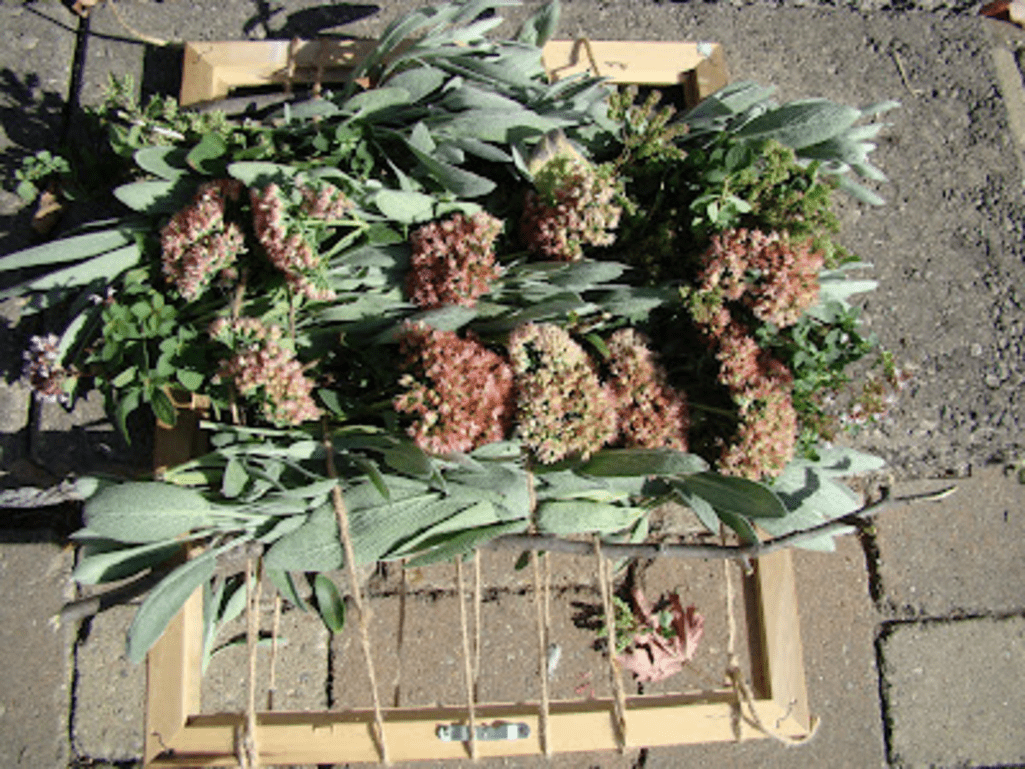
When you’ve woven in all the herbs and are almost to the bottom of the frame, it’s time to weave in your second stick (through the front twine only). Be sure to slide it up so it’s snug against the bottom row of herbs.
Yay, you’re done! Stand back and admire your masterpiece! Now where to hang it? Anywhere indoors that’s handy for you. I keep mine on a cabinet knob so the herbs are right there whenever I’m cooking. In time the herbs will dry, but no worries…they’ll still be fresher than anything you can find on the grocery store shelves.

These sun-kissed days are made for taking to the back roads in search of the juiciest watermelons and plumpest berries. Roadside stands are dressed up with hand-painted signs and polka-dot buntings that easily catch our attention. It’s time for stargazing, homemade lemonade, and old-fashioned porch socials.
Summer – the season is rich, with so many possibilities.
Enjoy every moment!


Love seeing how you weave your herbs! There is nothing like fresh straight from the garden. Thanks for sharing how to easily dry them.
Good morning! You’re so right – fresh is always so nice…and drying them is really easy. The weaving is fun to make with a group of girlfriends…one gal I know used a tall, skinny frame and it was a perfect fit for her old chimney cupboard! Thanks for stopping by to visit, Mary
I love the idea of herb weaving. I’m going to try this. Thank you for sharing this.
Hi Lynette – let me know how yours turns out! I’d love to hear what herbs you used – maybe one weaving with Italian herbs and one with Mediterranean herbs! I like using the frame – there’s so many great designs and colors to choose from. Leaving the frame in place is great for beginners, but there‘s also a way to remove the frame if you want to while the herbs are still fresh – just let me know and I can share those how-to instructions if you’d like them. Mary
I love this post Mary!!! And I’m DYING over the herb weaving. I just want to sit down with YOU and YOUR herbs and learn!
Oh Dori, we need a good, old-fashioned girls only day! Some stitching, some herb weavings, some food…I see a whole lot of fun!
Your posts are just amazing!! Your captured “summer” perfectly! I love your kitchen herb patch. (It’s beautiful as well as fragrant and useful!). My herb garden isn’t outside my door – it’s in my son’s old sandbox LOL, but I love having it. I usually band my herbs together and have started hanging them from the curtain rods in my kitchen, although I do have a little wooden herb drying rack I use as well. Love the sauce and salt recipes as well…will definitely give them a go. And herb weaving…ok, that’s new to me. I’ve heard of and have done lavender wands but it’s different than this. Great ideas, great post! ~Robin~
Hi Robin, always appreciate it when you pop over here! Having your garden in a sandbox is a great idea…it means everything’s contained and keeps most of the weeds out. And yes, I LOVE seeing herbs hanging in windows…it reminds me of a quieter time and simpler life. Just what we all could use more of these days…thanks for the reminder. Mary
I have a large box of tomatoes that need using up, so I will be making the pasta sauce later. Thank you.
Also, the herb weaving looks amazing. What a great idea! Xx
I hope you like the recipe, Jules…be sure to let me know. It’s simple to make the ingredient amounts however you like so it’s just right for you – add or delete anything you please. I’m thinking I may try and cook it down just a little in a Dutch oven to make it thicker for pizza sauce…something we always need around here! Thanks to visiting, Mary
What a lovely picture of summer you have created. The herb weaving is genius! What a beautiful gift it would make as well.
Thank you for reminding me that beyond the heat and humidity, there is much to celebrate about this season. Mighty blessings…
Daisy, my fellow gardener…thanks for coming by to comment! I’m sure you could whip up an herb weaving in no time at all…let me know if you do. And you’re right…the heat and humidity lately have been a trial, but when I hear the mockingbirds at twilight or see the fireflies, it reminds me to take a step back and be grateful. Mary
Such a sweet sweet post and I LOVE the herb weaving. A great idea!
Hi Staci, thanks so much! I’m so grateful for the lady who taught me to make an herb weaving ages ago…she sparked an interest in herbs for a 20-something girl that’s stayed with me for decades. I’m hoping I can share her ideas and pass that love along to someone else. Mary