.
Hello to my sewing farmgirls!
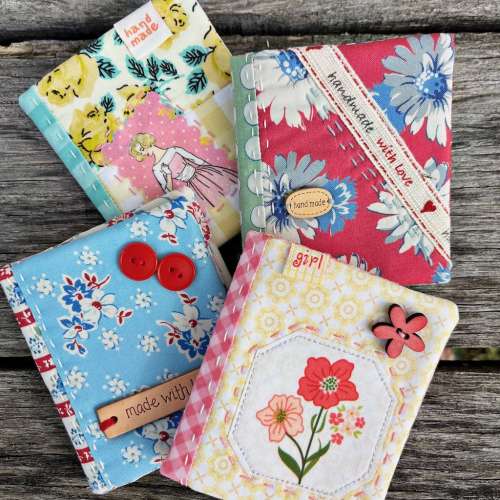
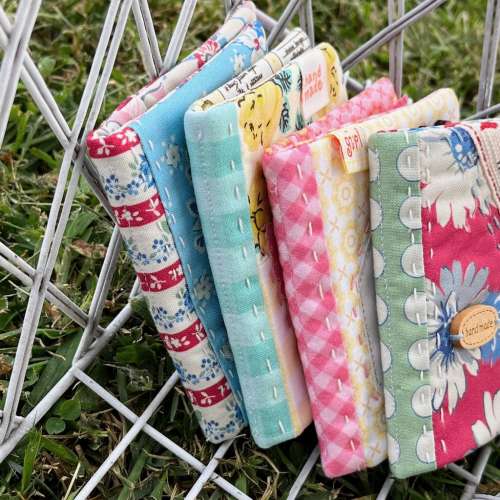
Do you own a needle book for all your little hand sewing projects? If you don’t, then YAY! This blog post is for you! I love little needle books and I have many of them scattered around my house… anywhere that I might sit and do a little sewing; there’s a needle book!
Years ago (like back in 2011) when I first came across a blog post by Amy Sinibaldi about making needle books, I had never even heard of them! She wrote the funnest tutorial on how to make them. Since then there are MANY tutorials and patterns (just search needle books on Pinterest and you’ll see what I’m talking about!). I’ve tried numerous different patterns through the years and I always come back to Amy’s. Hers are simple and sweet; my favorite combination!
.
.
.
I thought I’d step you through a tutorial to make your own; you can also go to Amy’s website here and follow her tutorial as well. (Be sure to read to the end of the post as I have an awesome surprise for you today!!!)
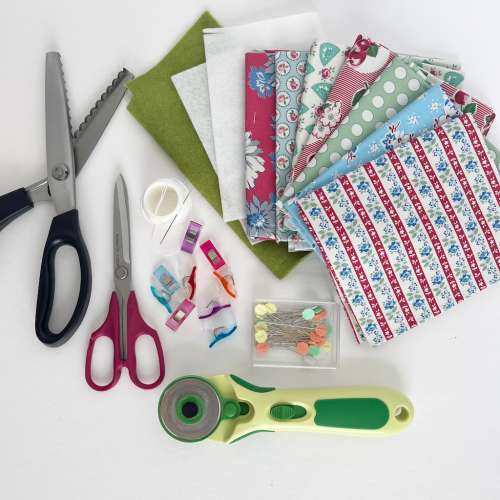
Supplies:
- Fabric Scraps
- Felt Scraps
- Fusible Fleece
- Needle and Thread
- Scissors
- Pinking or Scallop Scissors (optional)
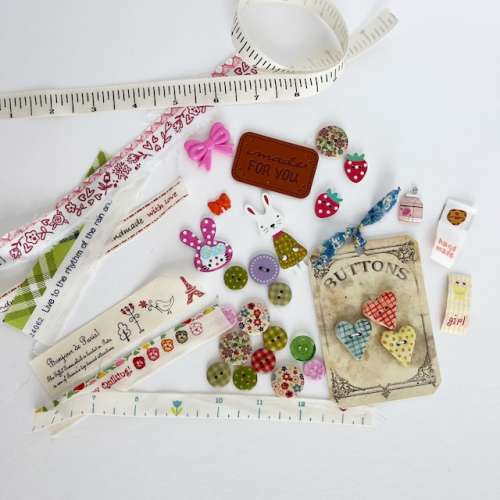
- Embellishments (ribbons, buttons, etc…)
- Wonder Clips
- Rotary Cutter
- Pins
.
.
.
Instructions:
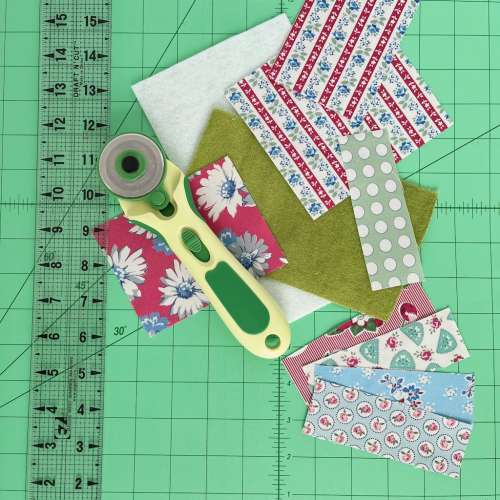
Step One: From fabric scraps cut the following:
For book interior (same fabric): cut one 4.5 inch by 5 inch and one 4.5 inch by 3 inch
For book exterior (different fabrics): cut one 1.5 inches by 4.5 inches (for book spine), four 1.5 inches by 3.5 inches (for book back), one 3.5 inches by 4.5 inches (for book front)
Fusible fleece: cut one 5 inches by 8 inches
Felt: cut one 3.5 inches by 6.5 inches
.
.
Step Two:
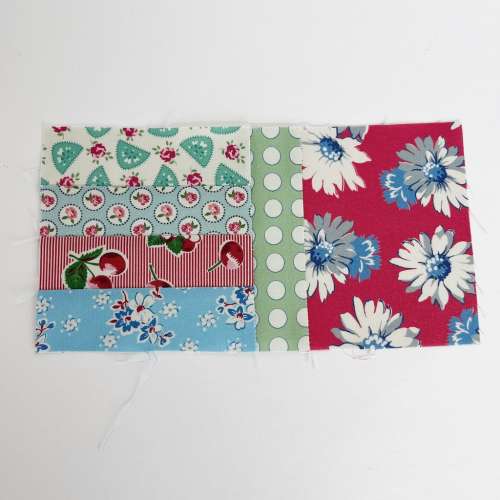
Sew the four strips for book back together on the long edges, using a 1/4 inch seam. Press seams in one direction.
.
Step Three: Sew the back to the spine and then sew the book front to the spine, using a 1/4 inch seam allowance. Press seams. Iron the fusible fleece to the back of your book exterior.
.
.
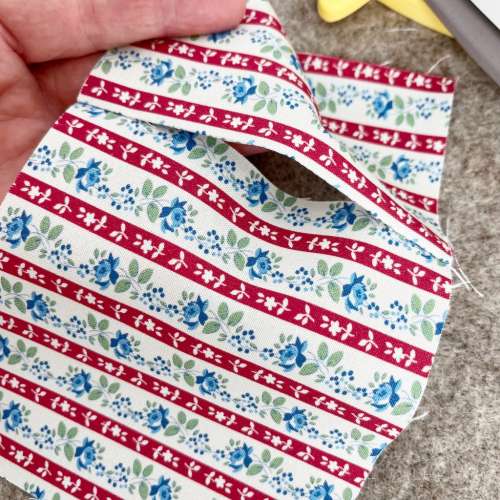
Step Four: Take your two interior pieces and sew them together, leaving an opening in the middle of the seam. (This is where we will turn the book right side out.) Press the seam to one side. Set aside for now.
.
.
Step Five: Hand quilt any way you like on the back and spine of the book. I used Perl Cotton thread for the hand quilting; but you could use embroidery thread or just regular sewing thread. You could also do this with the sewing machine if you prefer!
.
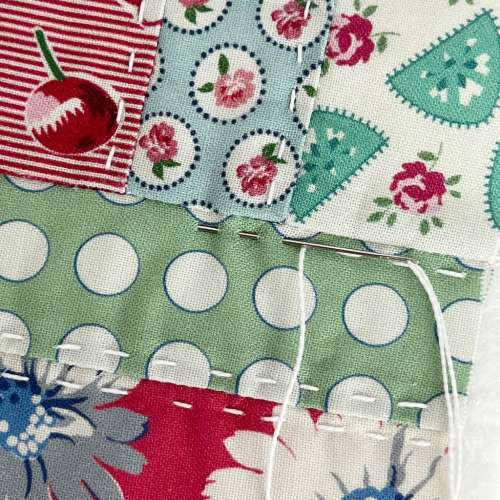
.
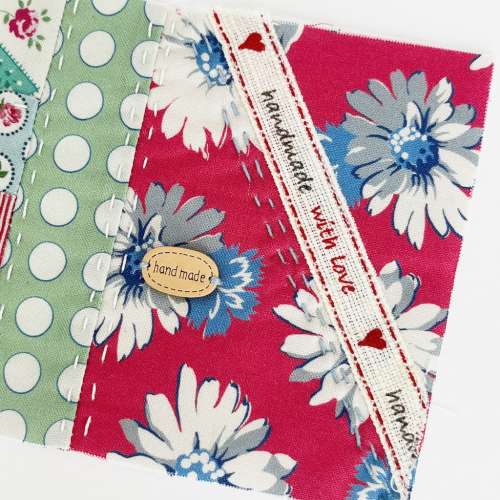
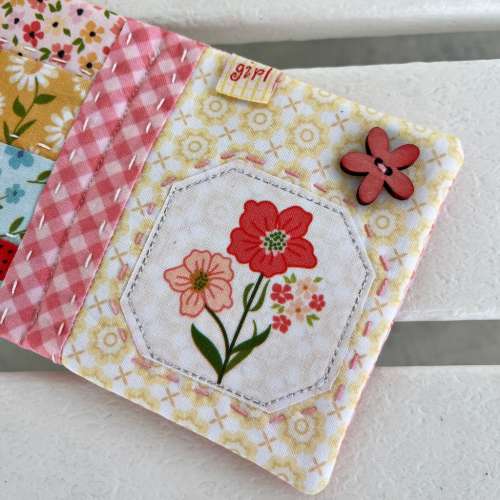
Step Six: Embellish the front cover of your book. Use ribbon, selvedge, buttons.. anything you would like! Do not place buttons too close to the edges… remember you will lose 1/4 inch along the raw edges. Have fun with this step and get as creative as you’d like. OR leave it plain! It’s all up to you.
.
.
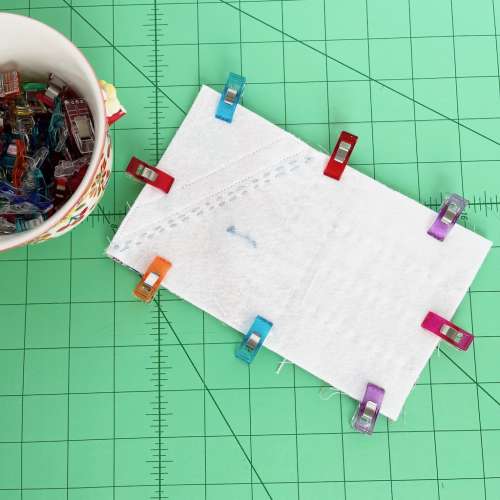
Step Seven: Trim the fusible fleece and book exterior to exactly 4.5 inches by 7.5 inches. Place your book interior on top of the book exterior, right sides together and sew a 1/4 inch seam all the way around, you will want to use wonder clips to keep it from slipping as you sew. Clip corners, being careful not to cut into the seam.
.
.
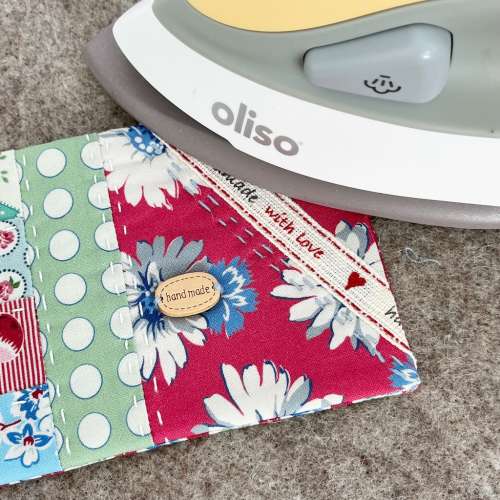
Step Eight: Turn your book right side out through the opening in the lining. Push the corners out and press the entire book, especially around the edges.
.
.
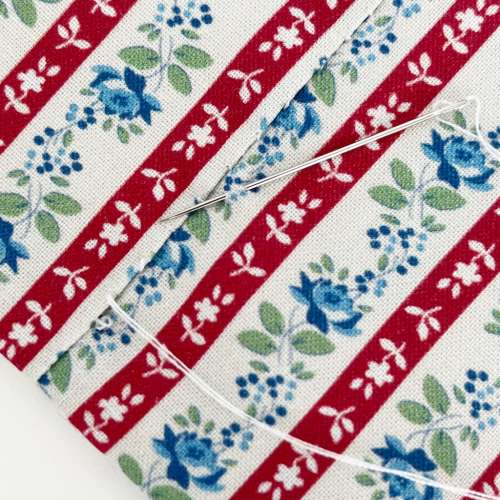
Step Nine: Use a needle and regular sewing thread to close up the opening in the lining.
.
.
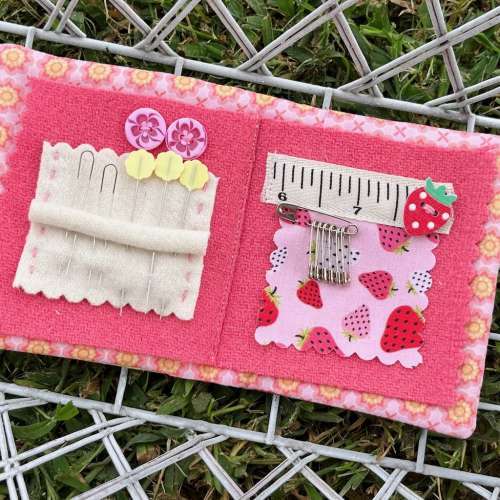
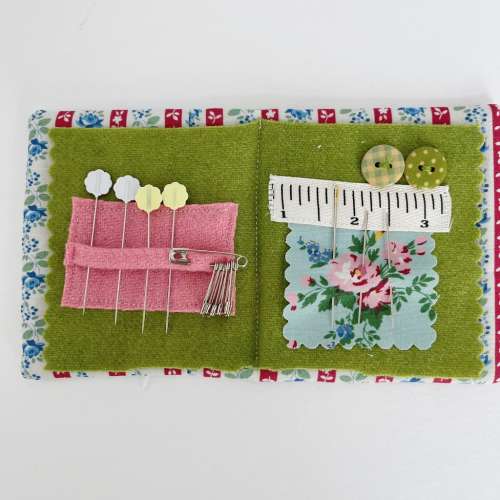
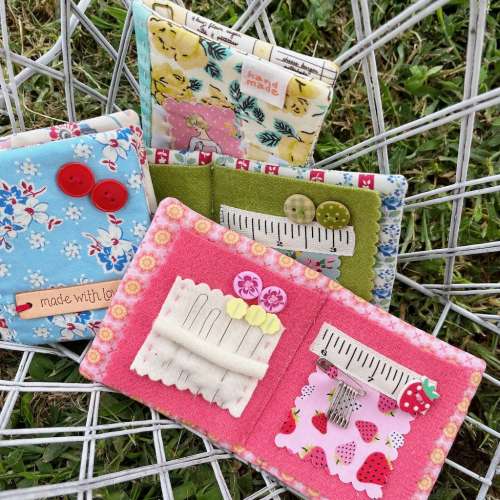
Step Ten: Now let’s make our felt pages for the interior! This is so fun! Before I got started, I folded my felt in half (like a book) and carefully pressed a crease. That way you can embellish each side separately from the other. Keep in mind that we will be trimming the side edges of the felt when we have it completely sewn in so leave those edges free of embellishments. You can go all the way to the middle fold, however.
.
.
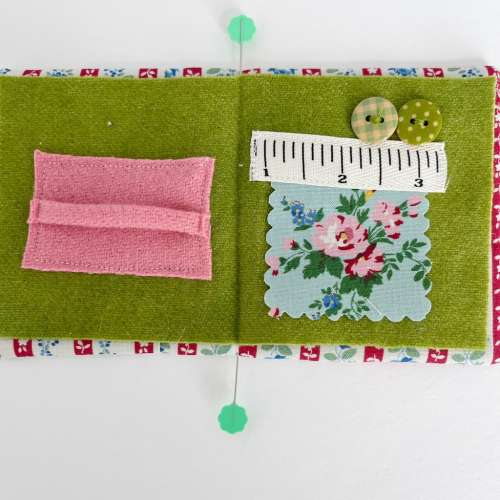
Step Eleven: Lay your felt page on the interior of the book, carefully centering it exactly. Use pins as a guide for the center if you need it; it helps me. Sew a straight seam, attaching the page to the book. When you finish your seam on the exterior of the book should be right down the middle of the book spine.
.
.
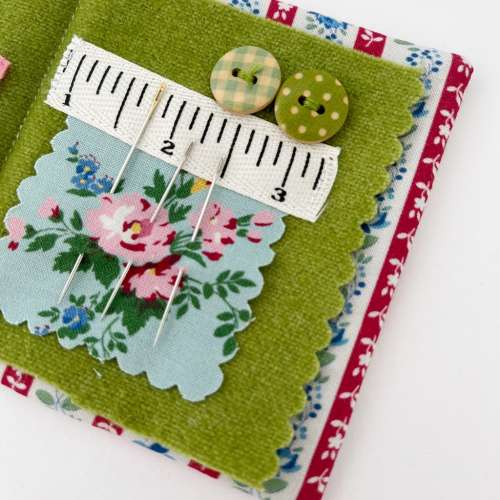
Step Twelve: Use pinking or scallop scissors to cut the edge of the felt. This is optional, but it gives a really pretty finish.
.
.
And your needle book is finished!!!! I hope you’ll make one.. or ten!
.
.
.
And now… the good news!!!
IT’S GIVEAWAY TIME!!!
I love to have giveaways on my blog and I think it’s been awhile since I’ve had one. So!! Here we go. Leave a comment telling me what your favorite hand sewing project is! Next month I’ll draw a winner for one of my needle books!
..
Until our gravel roads cross again… so long!
Dori


My favorite needle work project is keeping a tradition of making Christmas stockings for my grandchildren, just like my Grandmother did for her grandchildren and great grandchildren.
Hi Dori: I love this little needle book, I have one from my 1st home economics course in grade 7. Blue felt with blanket stitch around the edge and my initials in chain stitch across the front. It’s still as good as it was 60 years ago. Now I am thinking it might be fun to use my old vintage quilt to make a new one. I like hand stitching and I am currently patching some old wholly jeans. Thank you for sharing your blogs.
I love to embroider, cross stitch and needlepoint. Your needlebooks are adorable.
I just love the hand sewn embellishments on cards and announcements! They give them such a personal touch.
My hand sewing is generally hand-mending. I appreciate beautiful items for necessary supplies. I will make this little sewing book. Thank you!
My favorite hand sewing project is mending old jeans. I can add any fabric and any stitch I like. And with each hole, I can change it up. One of my favorite pair of jeans has 5 different patches/hand sewn designs.
I’m loving the creative ideas from everyone!
I love all kinds of hand sewing and I teach it to children at my school. This embroidery project is giving me new ideas so thank you! Love your blog as well!
I enjoy sewing buttons back on and hemming pants.
Good Monday morning Dori. Just reading through your blog this morning put me in the mood to get some fabric and knickknacks together and make a mini needle book. Your colors are very attractive in the books you have made. Well, I am off to find some striking colors to use. Thank you so much for the wonderful pattern. These would make excellent gifts too!
I like making pillows to match the season.
Favorite project are embroidery stamped samplers
My favorite handmade things to make are Christmas ornaments. It started when I had major back surgery. I was told that I couldn’t do much for 6 months and for 3 of those months, I had to be in a hospital bed. I am good at sewing by hand, so I decided to make angels to keep myself occupied. That led to all kinds of other ornaments. My family and friends love getting them. And I love giving them away!
This is a very pretty and easy project. Thank you for sharing.
I really haven’t done any. hand sewing except for mending things for my grown daughter and her two boys (12-yr-old twins). I used to cross-stitch, which I loved, and in my youth–decades ago!–sewed all my own clothing and knitted sweaters. I also sewed a lot when my daughters were little. Dresses for them mostly. I’d like to get to back to sewing again but my arthritis in my hands makes it a bit hard. Maybe, one of these days. I like your little needle books; maybe I’ll try making one of those.
Hi Dori,
What an adorable project.
I like to hand sew seasonal things. Recently I made some pillows for Halloween; a mummy and a jack-o-lantern. As many other people have commented, I like to make things for charity. A recent project is holiday themed placemats for Meals on Wheels.
I love to hand sew little pillows to use around the house, in our living room, tv room, craft room, etc. I love your needle books and would be excited to win one. Thanks for the opportunity.
I love doing wool applique and cross stitch when I have some time to sit and relax in the evenings.
My 10 year old daughter is always looking for something fun and creative to sew with me. I think she will love these!! We have made a few simple things like cloth napkins and basic drawstring bags.
I like to make double sided hearts out of felted wool, embellished with vintage buttons and trim.
First off I love the needle book. I don’t do a lot of hand sewing, but enough that I have several needle books, can you ever have too many, I think not. Anyway, what I most enjoy hand sewing are the bindings on my quilts. I find it such a peaceful and rewarding step. I also really like hem stitching my hand woven table linens.
Thank you for this tutorial, it’s added to my do list.
I really enjoy your postings and look forward to getting that notification email.
Enjoy this wonderful autumn season.
I have not been doing any needlework for the past year. We live in northern Montana four miles from the Canadian border. The evenings can get long so I just ordered a few kits to keep me busy. We have alpaca fiber so I do a lot of “playing” with it also. I would love to try to make a book!