.
Hello Farmgirl Friends!
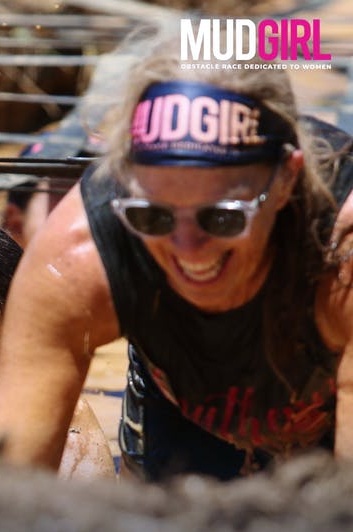
It has been so hot here in Tennessee that when I had the opportunity to participate in a fun “mud” run with my daughter and her girls and some of their friends, no way was I going to pass it up! I’ve done a couple of these Mud Girl runs in the past and they are always fun!
.
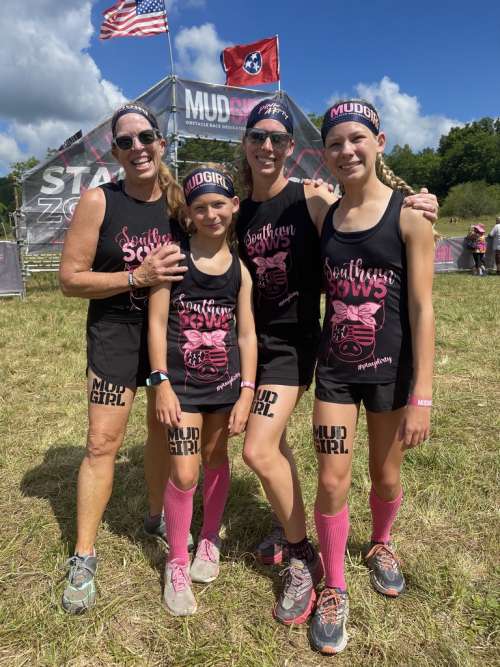
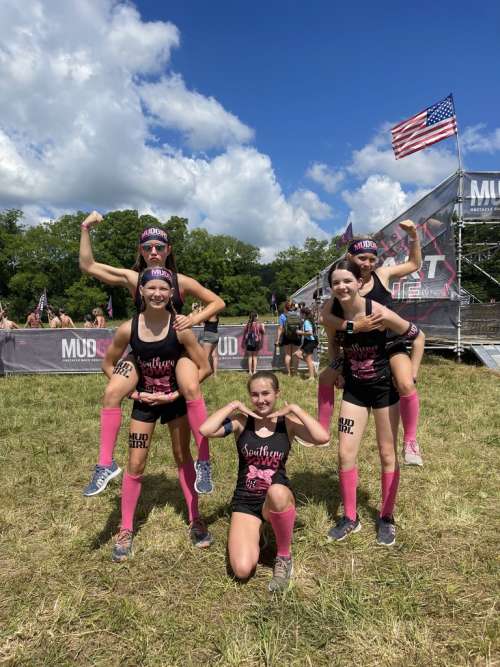
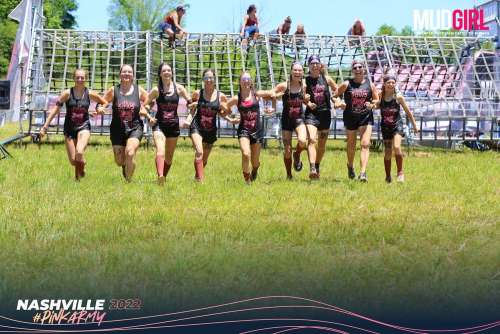
My daughter and I and her precious girls – before mud!
.
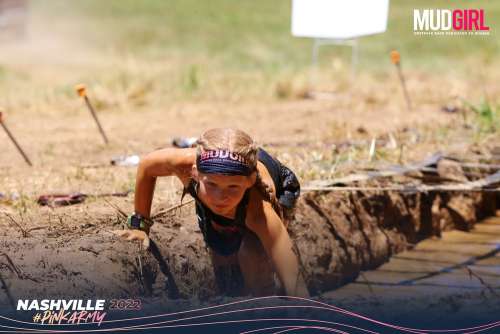
Have you ever participated in a mud run of any sort? The Mud Girl Run is 3 miles with a total of 22 obstacles. It’s not a race or a competition; everyone gets a finisher medal. It’s all about coming together as women and helping each other through the obstacles and up and out of the mud! It’s all outdoors of course and just such fun to be with other females of all ages and fitness abilities. As one of the gals in our group said, “It’s a hot day, but it’s so beautiful and I’m just so happy to be alive and enjoying being together”. Honestly that has stuck with me so much because I think that is what it’s all about. Being together.
.
 ..
..
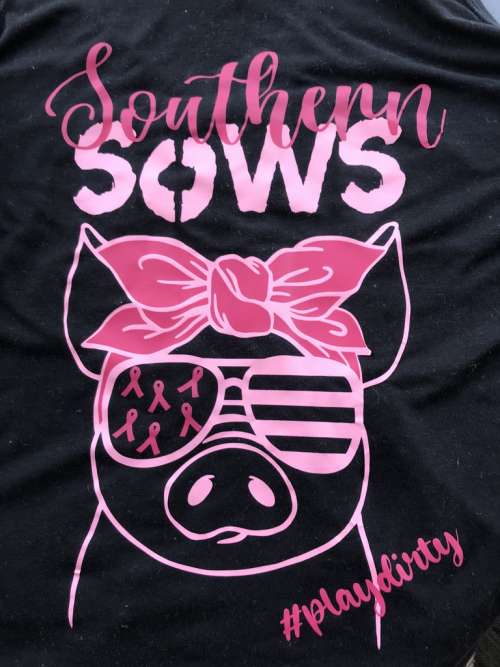
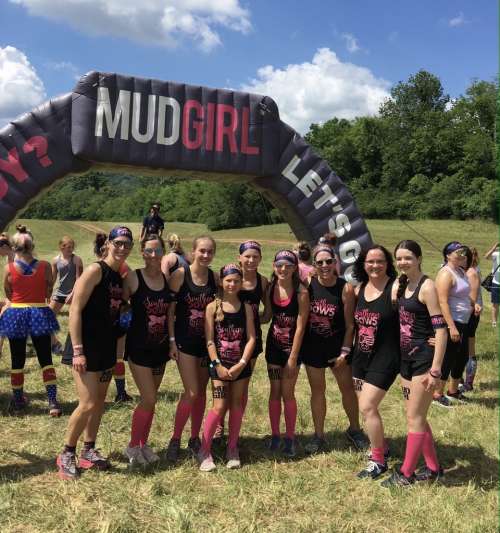
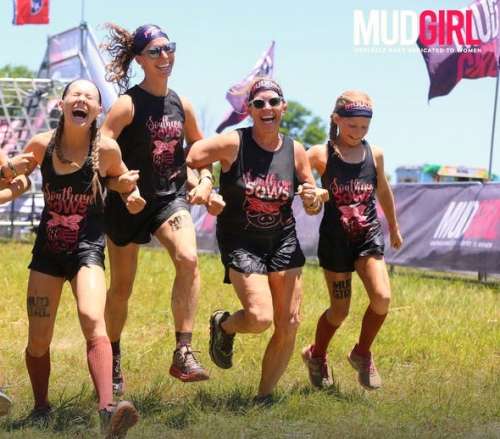
The five girls in our group came up with the name of Southern Sows for our team! And one of the mom’s designed our shirts. Aren’t they so much fun? I think they came out absolutely adorable! (Obviously very fitting since we were definitely piggies in our happy mud place!)
.Here are the pictures we took before the mud!
.
.
These five girls were so much fun! They ranged in age from 10 – 15 and incredibly good sports and cheerful and laughing the whole time!
.
.
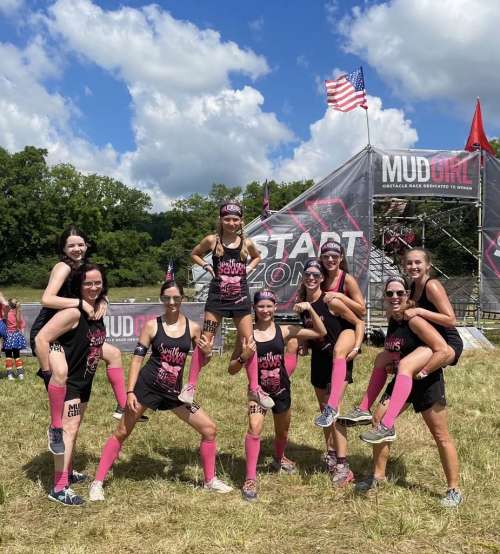
And the three moms plus me. They were super sweet to invite me along! (Take note of those adorable hot pink socks!)
.
.
And now, here are some mud pictures!
.
My grand-girl Rosetta! She absolutely had the best time in the mud!
.
.
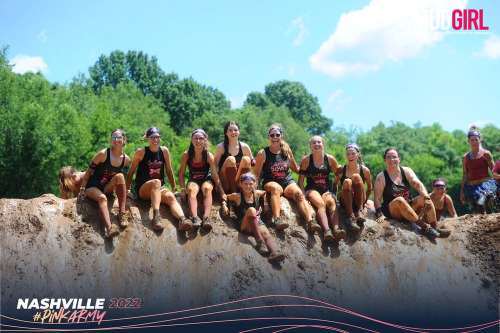
It was a lot harder getting to the top of this mud hill than you would think! We were slipping, sliding and falling back into the mud pit trying to get to the top. Once there, it was a challenge to hang on until our whole team got to the top! (I know it looks like Rosetta was just lounging there in the front, but two of us were hanging on to her to keep her from sliding!) And then….
.
..
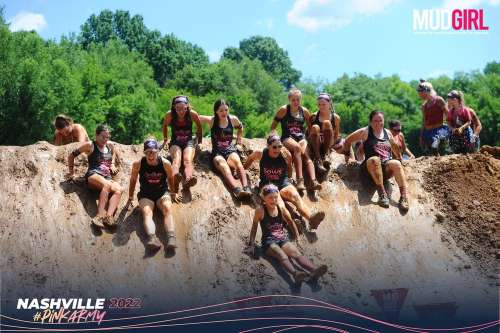
…sliding off a muddy hill into a total pig pen of mud! Why in the world is that so much fun? HaHa!!
..
Southern Sows at their muddy happiest! (Notice those adorable hot pink socks now!)
.
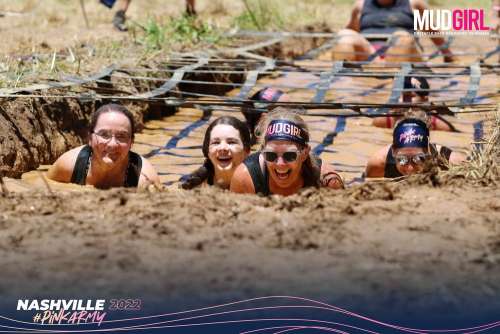
Swimming/crawling in mud under a “ceiling” of webbing!
.

And then my daughter and I trying to climb out of it at the other end was a whole other obstacle in itself!
.
.
And all too soon the 3 miles were over and the finish line was in sight. We joined arms and ran through the finish…
.
.
…laughing to the very end!
.

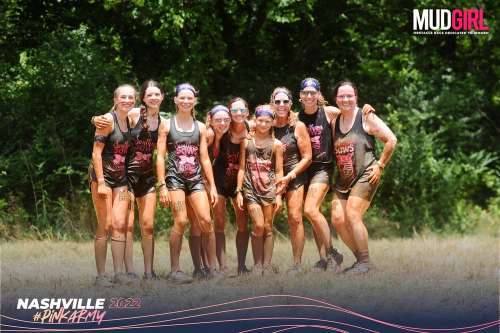
So very muddy and worn out… but happy!
.

I couldn’t help but zoom in on my hair – dried mud at it’s best!!! HaHaHa!!!
.
If you EVER get the opportunity to participate in a Mud Girl Run say YES!!!
Until our gravel roads cross again… so long.
Dori
.


Oh what fun! You guys looked so awesome and what an amazing connection and love you guys have for each other! Thanks for sharing!
Awesome!!! Thank you for sharing this great event of bonding in the mud! Just love it! 🙂
So much fun