
.
Hello Farmgirl Friends.
.
My blog post today is a little late. And its for a good reason! My son is getting married on our hilltop this weekend and I’ve been in pre-wedding prep for a month or so and frankly I forgot to write my blog post! HOWEVER, I had the project complete, photo’s taken and the post written in my head! Smile! Maybe next month I’ll write about our DIY wedding here on our farm! (The picture above is our little farmhouse today in a nice little rainy drizzle… it just made me so happy.)
.

.
So, heres a little backstory on my project I’m sharing today. A couple of years ago I saved to my phone, that amazing photo of MaryJane’s that is all over Pinterest with the rolling pin apron pegs. (You’ve seen this picture too right?) And I’ve dreamed of making them for ages; I even had the vintage rolling pins.
.
.
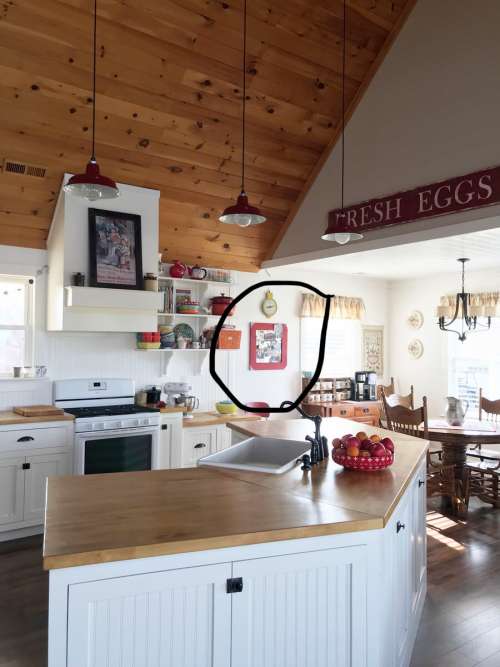
I have a wall where my kitchen joins the dining room that I felt really needed an update (circled in the picture above). I knew that this was exactly where I wanted my apron pegs to go. I put a plan in place and got my husband right on the job! Smile!
.

.
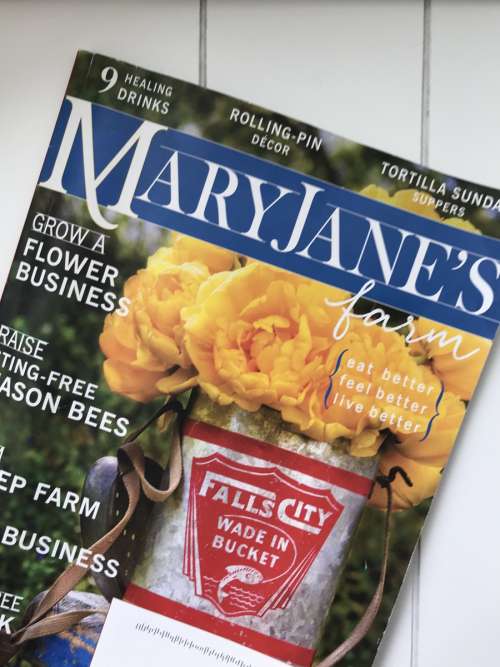
But here’s a really funny thing! Because I didn’t really have instructions on how to do the project (just that amazing photo) I let my husband figure out the cutting of the rolling pens. But THEN!!!! The June-July issue of MaryJanesFarm magazine came in the mail and what should be in that issue? Yep… you got it. A step by step tutorial on making the rolling pen pegs!
.
.
That magazine (cover above) is still on newsstands so be sure to get it because the tutorial is fantastic!!! No need for me to re-write it here!
.
.
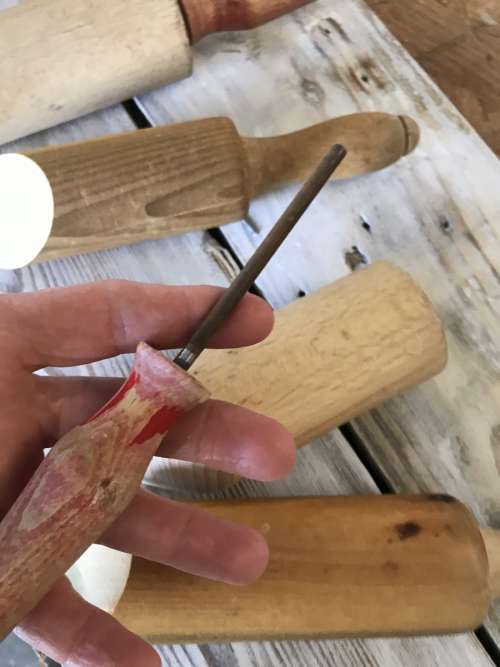
However, there is one thing my husband wanted me to mention. The really old rolling pens are solid wood and can be cut through easily; the newer ones have a small metal rod that runs in the middle of the rolling pen. You will need to unscrew the handles and remove that rod before cutting! (You can tell if your rolling pen has the rod by trying to unscrew the handle… the very old ones do not unscrew.) He then used a hacksaw to cut the rod to size so that I could screw the handle back on and place it on the rolling pen.
.
.
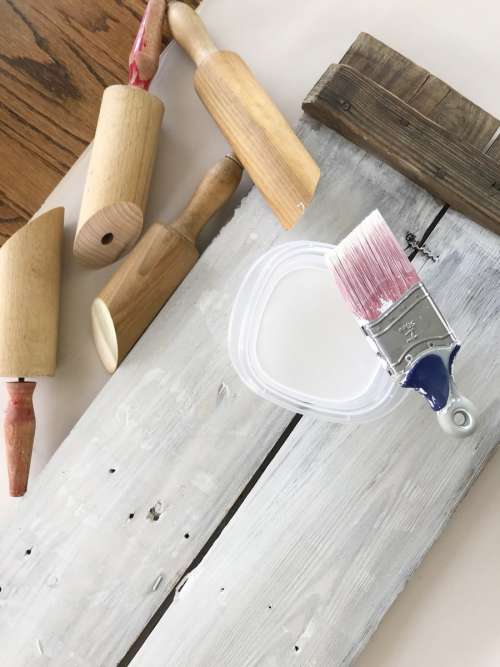
I wanted to use what I had on hand for the “backsplash” for my rolling pen pegs so I did some digging in some of the old wood I have. I used this lid of an old wooden ammo box that I had saved. The wood was not quite the right look for the rolling pens, so I put a coat of white wash on it. (Latex paint mixed with water.)
.

.
Once that dried, I used my mouse sander and sanded it to give the white wash a faded look. I love how it turned out!
.

.
I measured out exactly where I wanted the pegs to go and my husband attached them. It wasn’t hard and certainly I could’ve done it. But it was really nice to hand that over to him!
.

.
We hung it on the wall and I was instantly in love with it! I dug into my stash of vintage aprons and hung my three favorites. The few weeks I’ve had it on the wall I’ve had compliments from everyone who has come over!
.
.
.
It fits perfectly in my kitchen decor and gives the vintage retro vibe that I was hoping for!
.

.
I love the rustic wood that I was able to repurpose and it just makes me happy all over! MaryJane blew it out of the park again!
.
 .
.
.
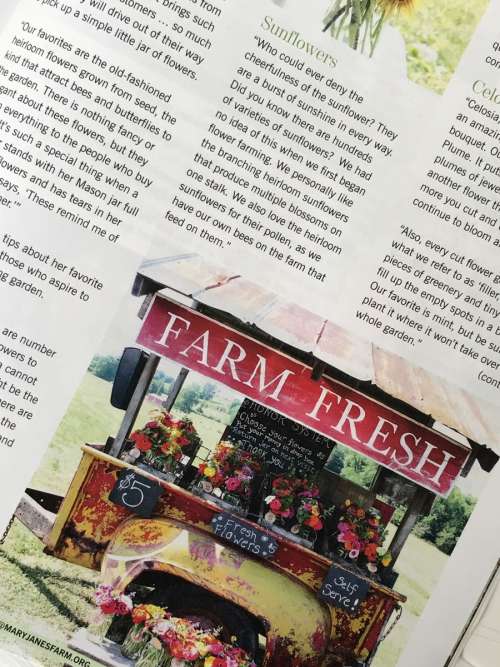
And one last thing before I head to bed tonight… another reason to purchase the June-July issue! (Or better yet, subscribe to the magazine!) My daughter and I and our sweet little flower farm have a fun feature in the magazine along with numerous other amazing flower farmers! We were so excited to be featured alongside them.
.
.
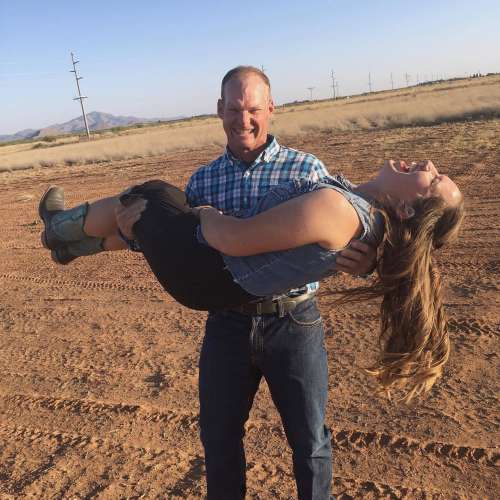
Good night friends! I’m off to toss and turn as I go over every detail in my head that we might’ve forgotten in our wedding prep! Our company (as well as my son and his precious fiancé – picture above taken in Arizona in October) begin arriving in two days!!!
.
Until our gravel roads cross again… so long!
.
Dori


 .
.


Weekly Blogs and Recipes