Happy fall farmgirl friends!
.
.
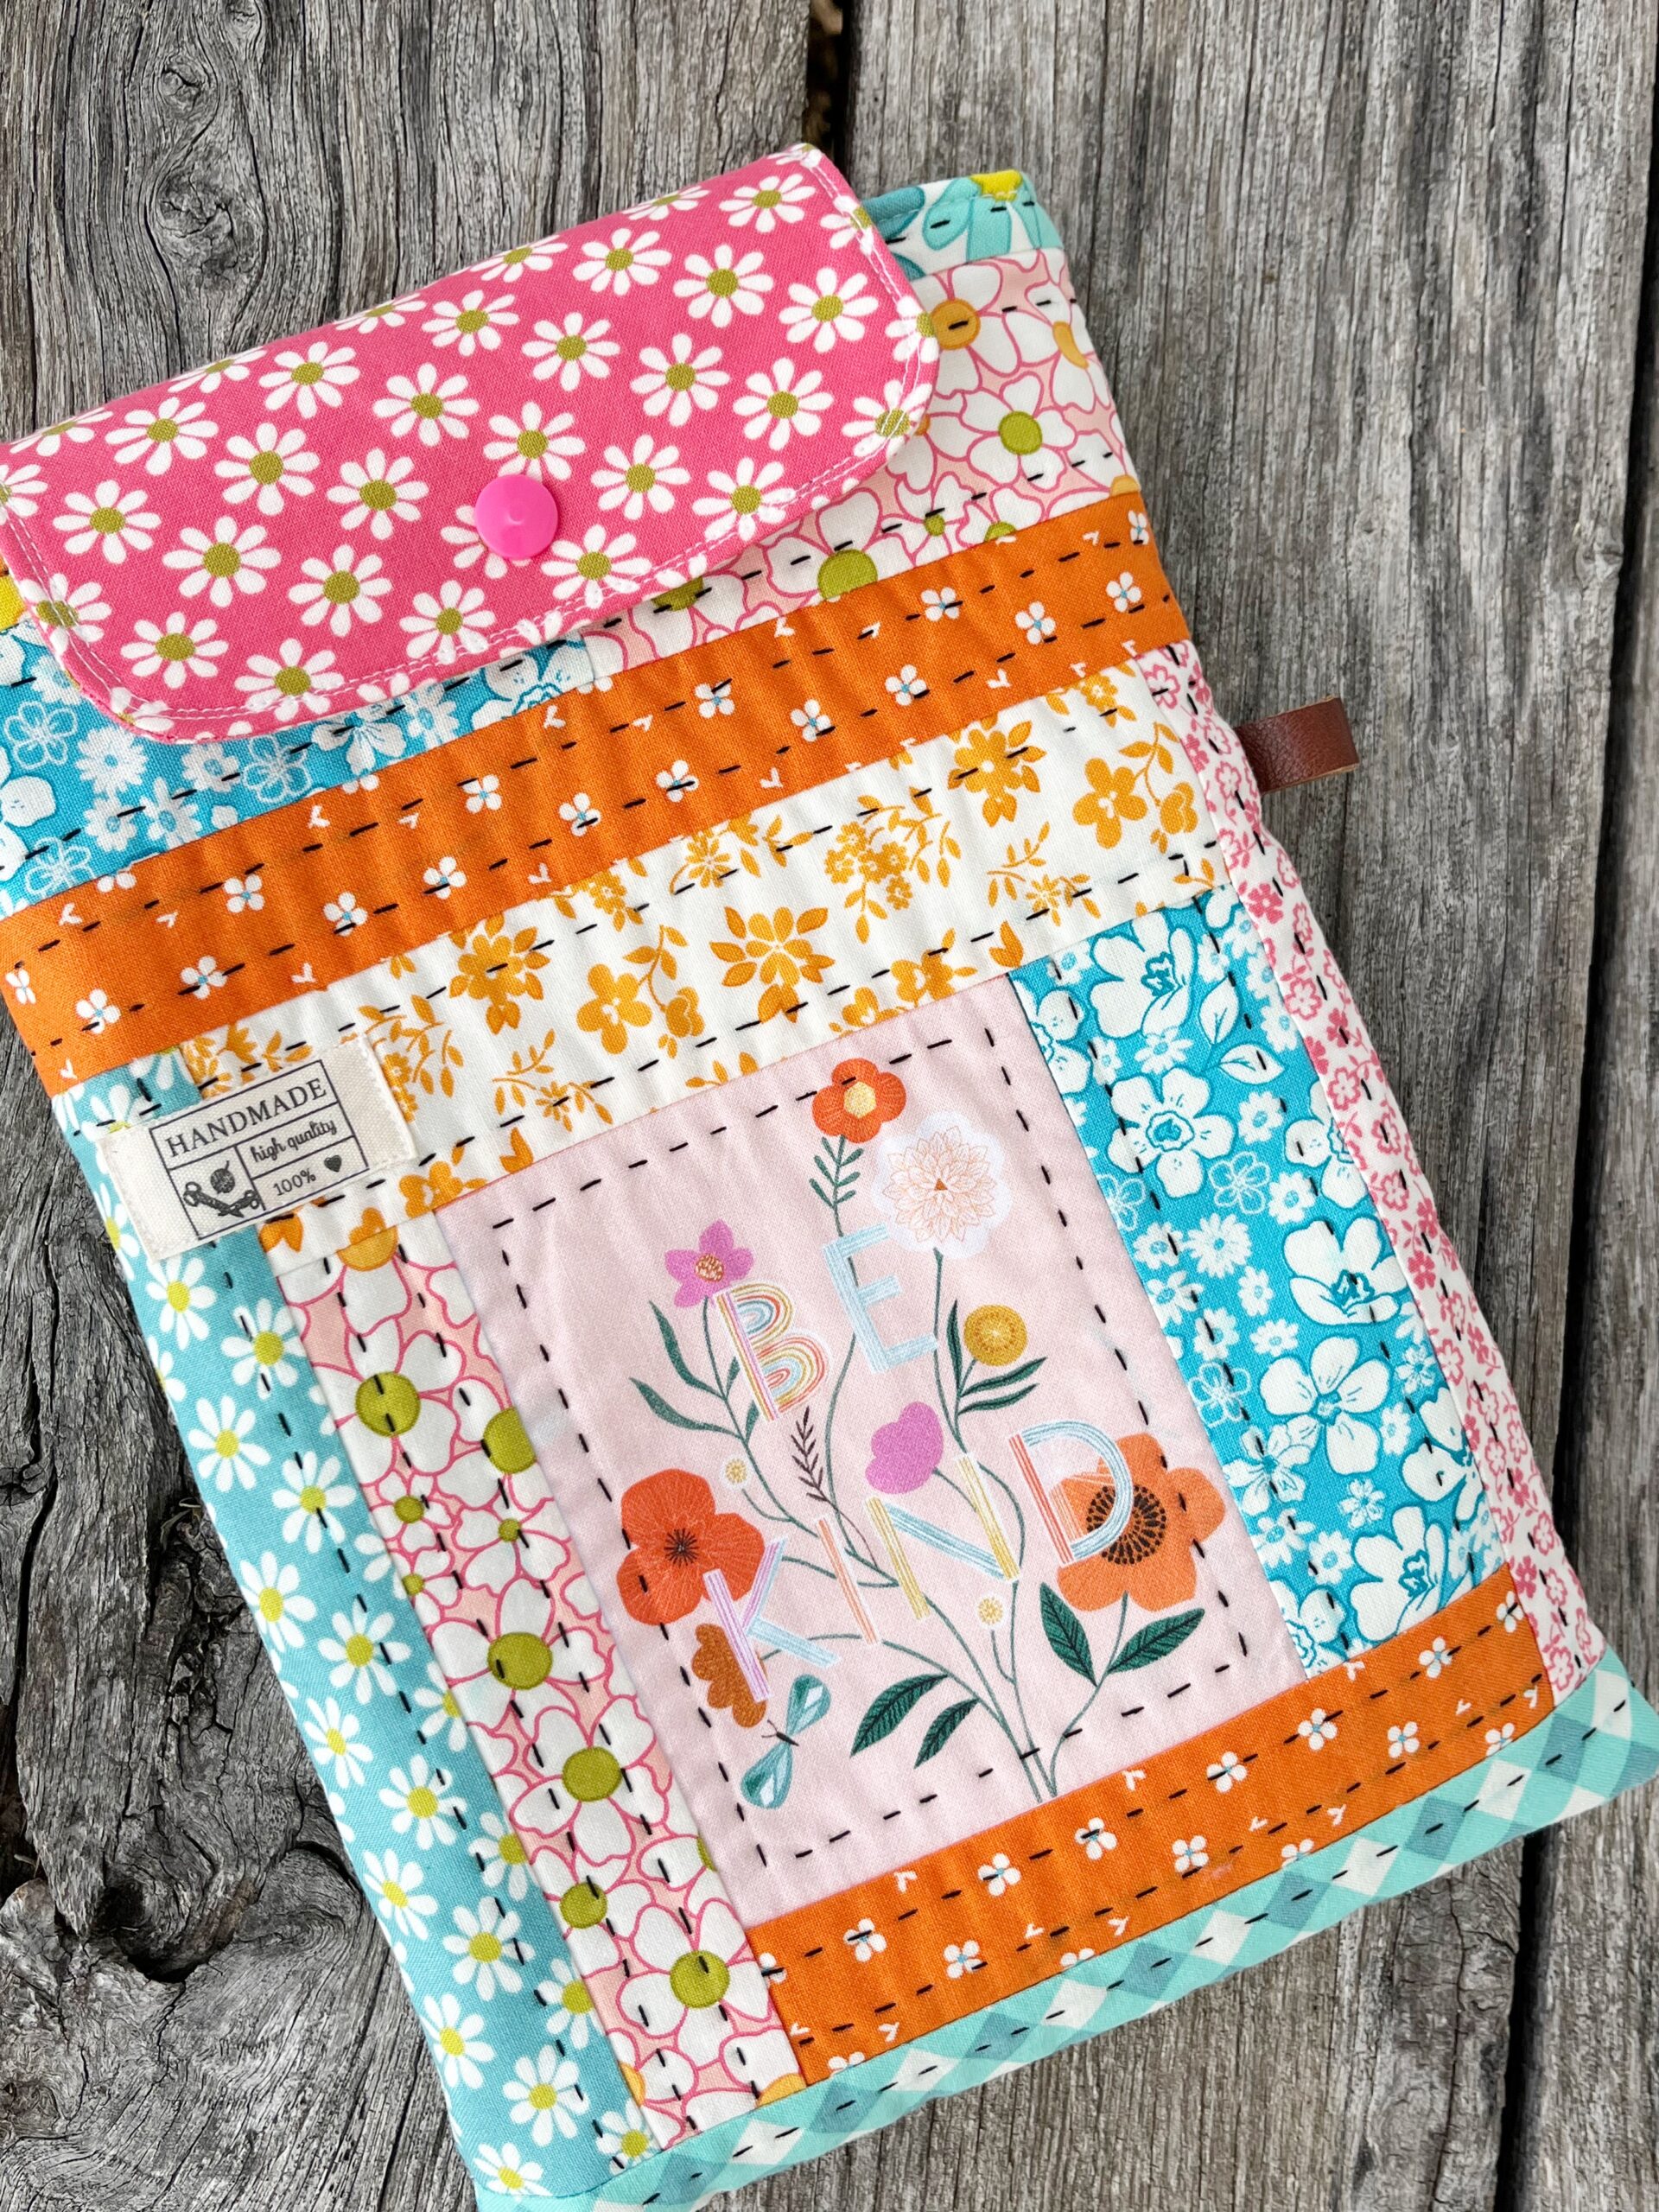
One of my favorite things to gift is something home made! I struggle to think of things that could be useful and not just stuck in a drawer somewhere. This week I suddenly thought of a simple iPad case and I jumped right in and made one. It was simple and came out so perfect. Luckily I took pictures along the way so I could share with you (just in case it turned out)! So let’s jump right in!
.
.
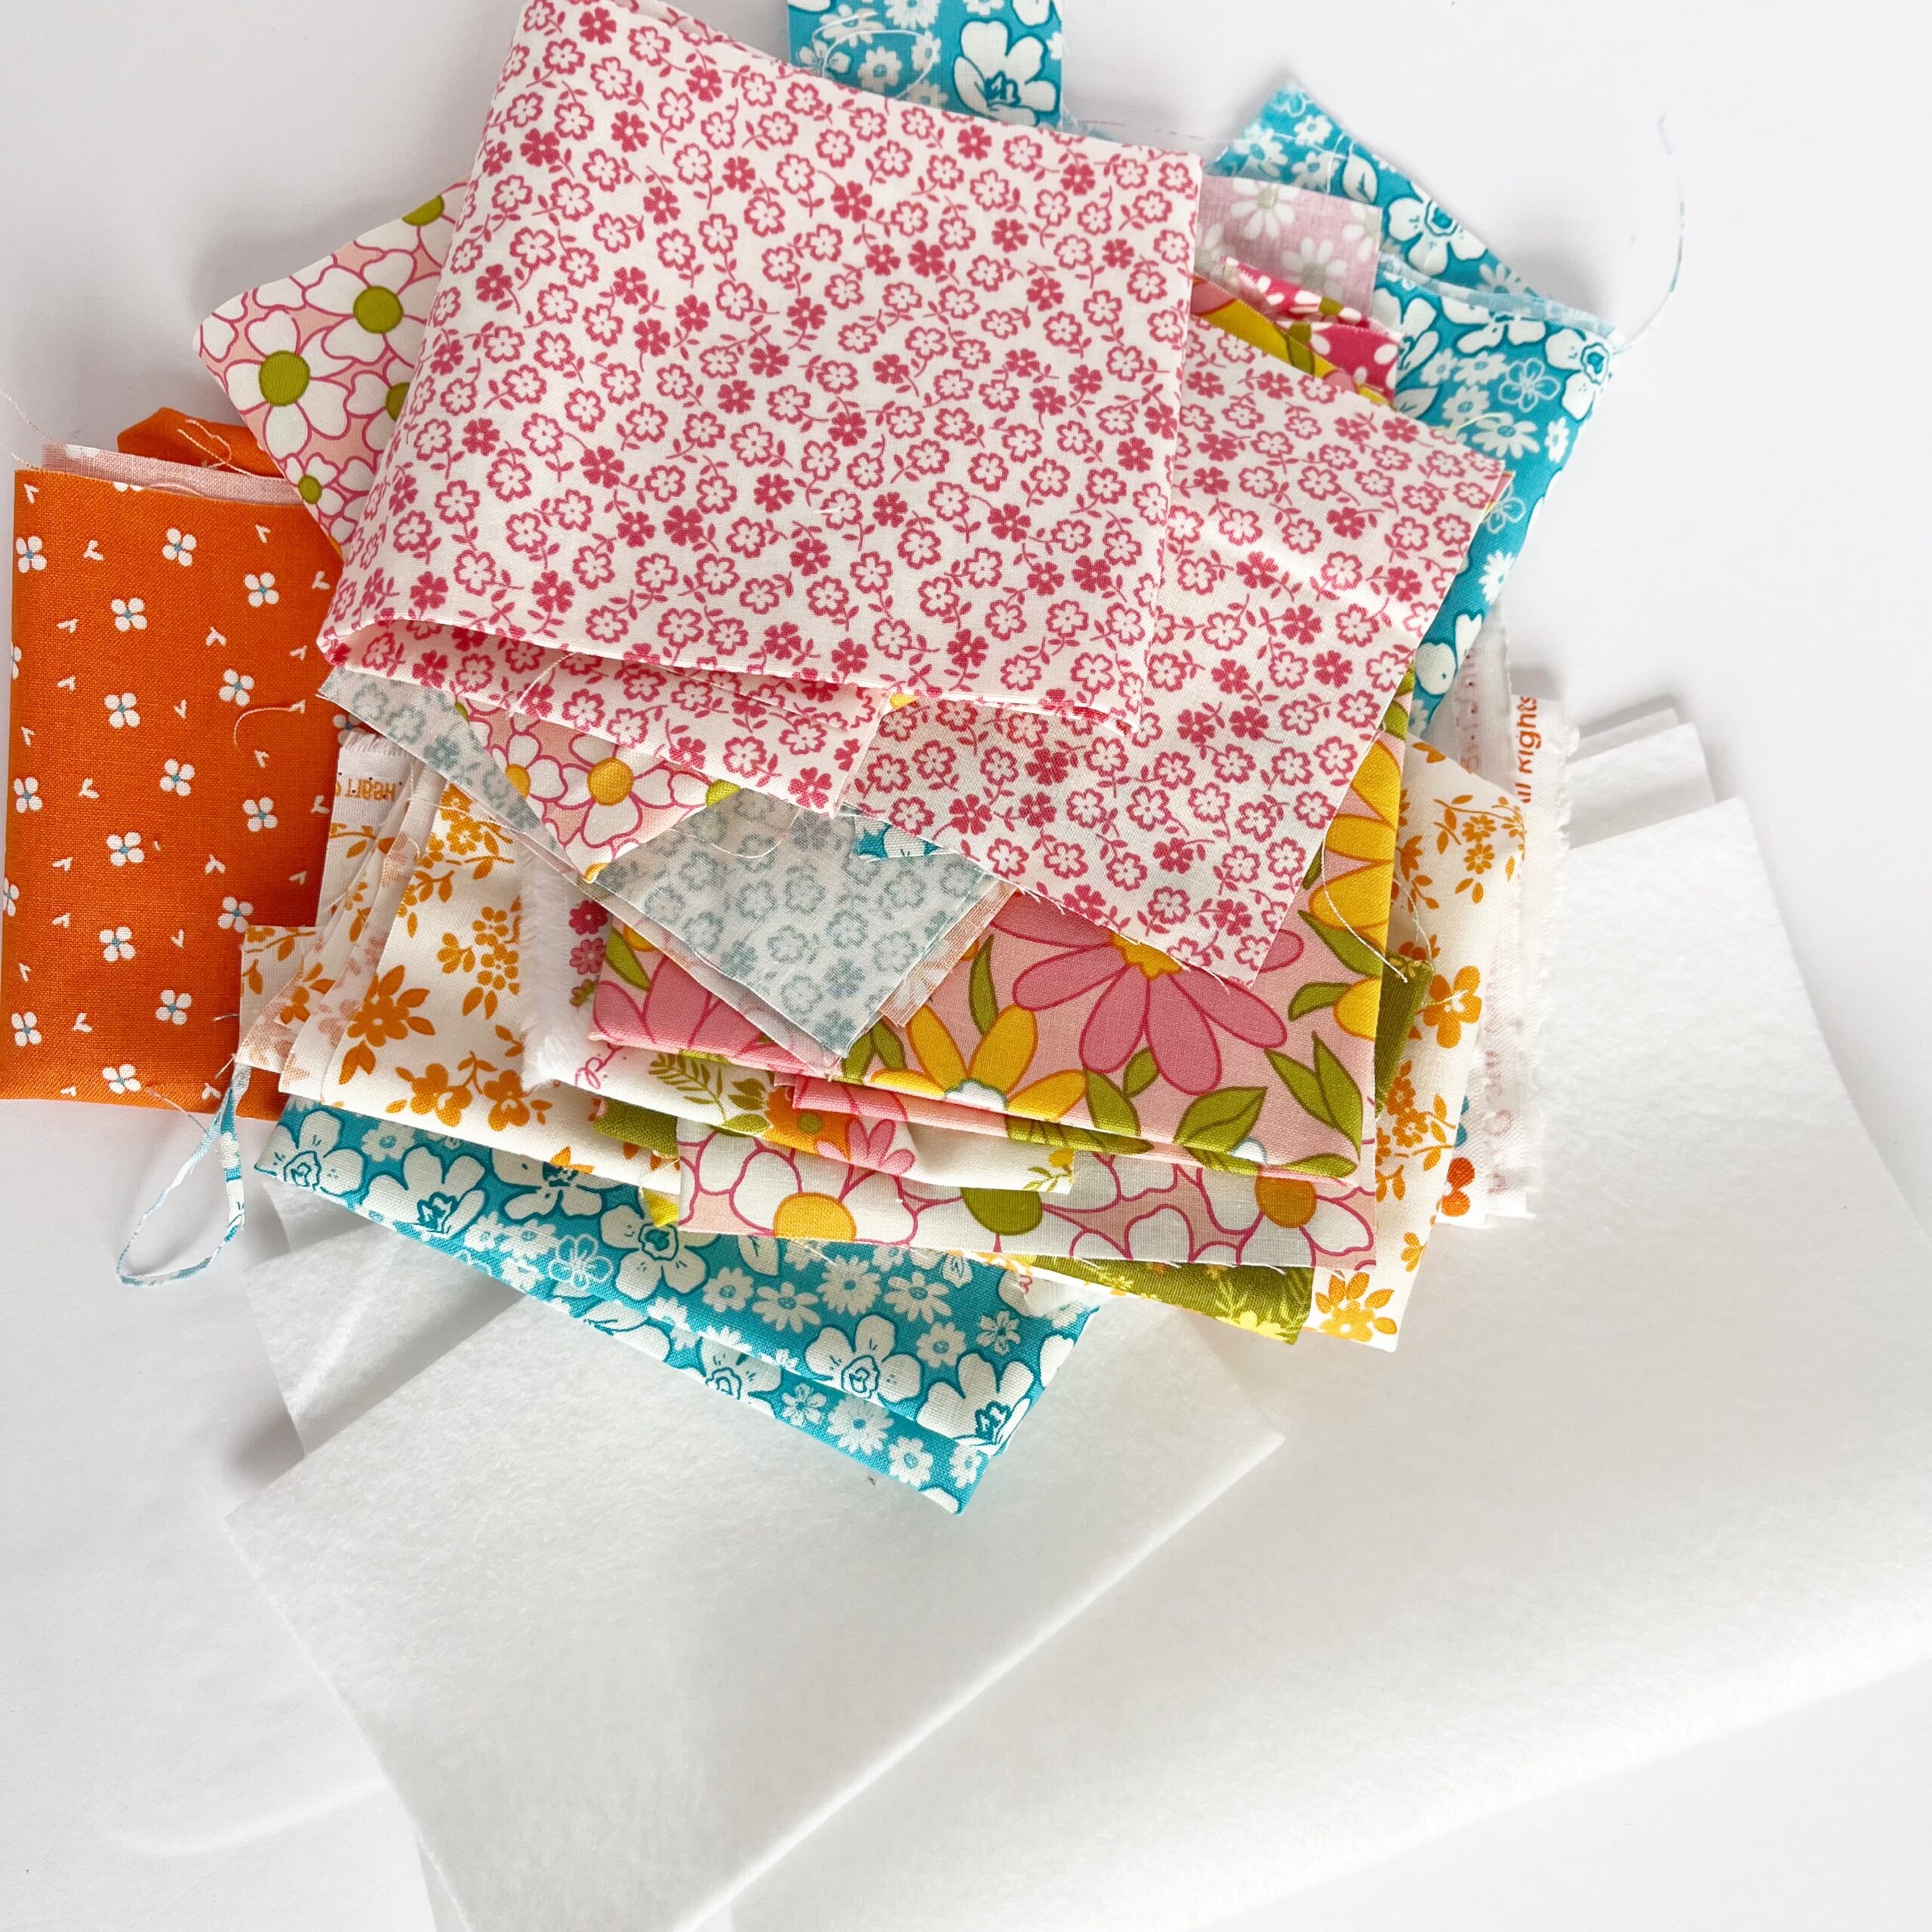
Supplies are super simple. Pull a pile of your favorite fabric scraps and some fusible fleece quilt batting.
.
The first thing you will need to do is measure your device… whether it is an iPad, a Kindle, or any other electronic device. Once you’ve measured both width and length, add 1.5″ to those two amounts. For example; my iPad is 7.5″ x 10.5″ so I planned to cut my fabric at 9″ x 12″.
.
.
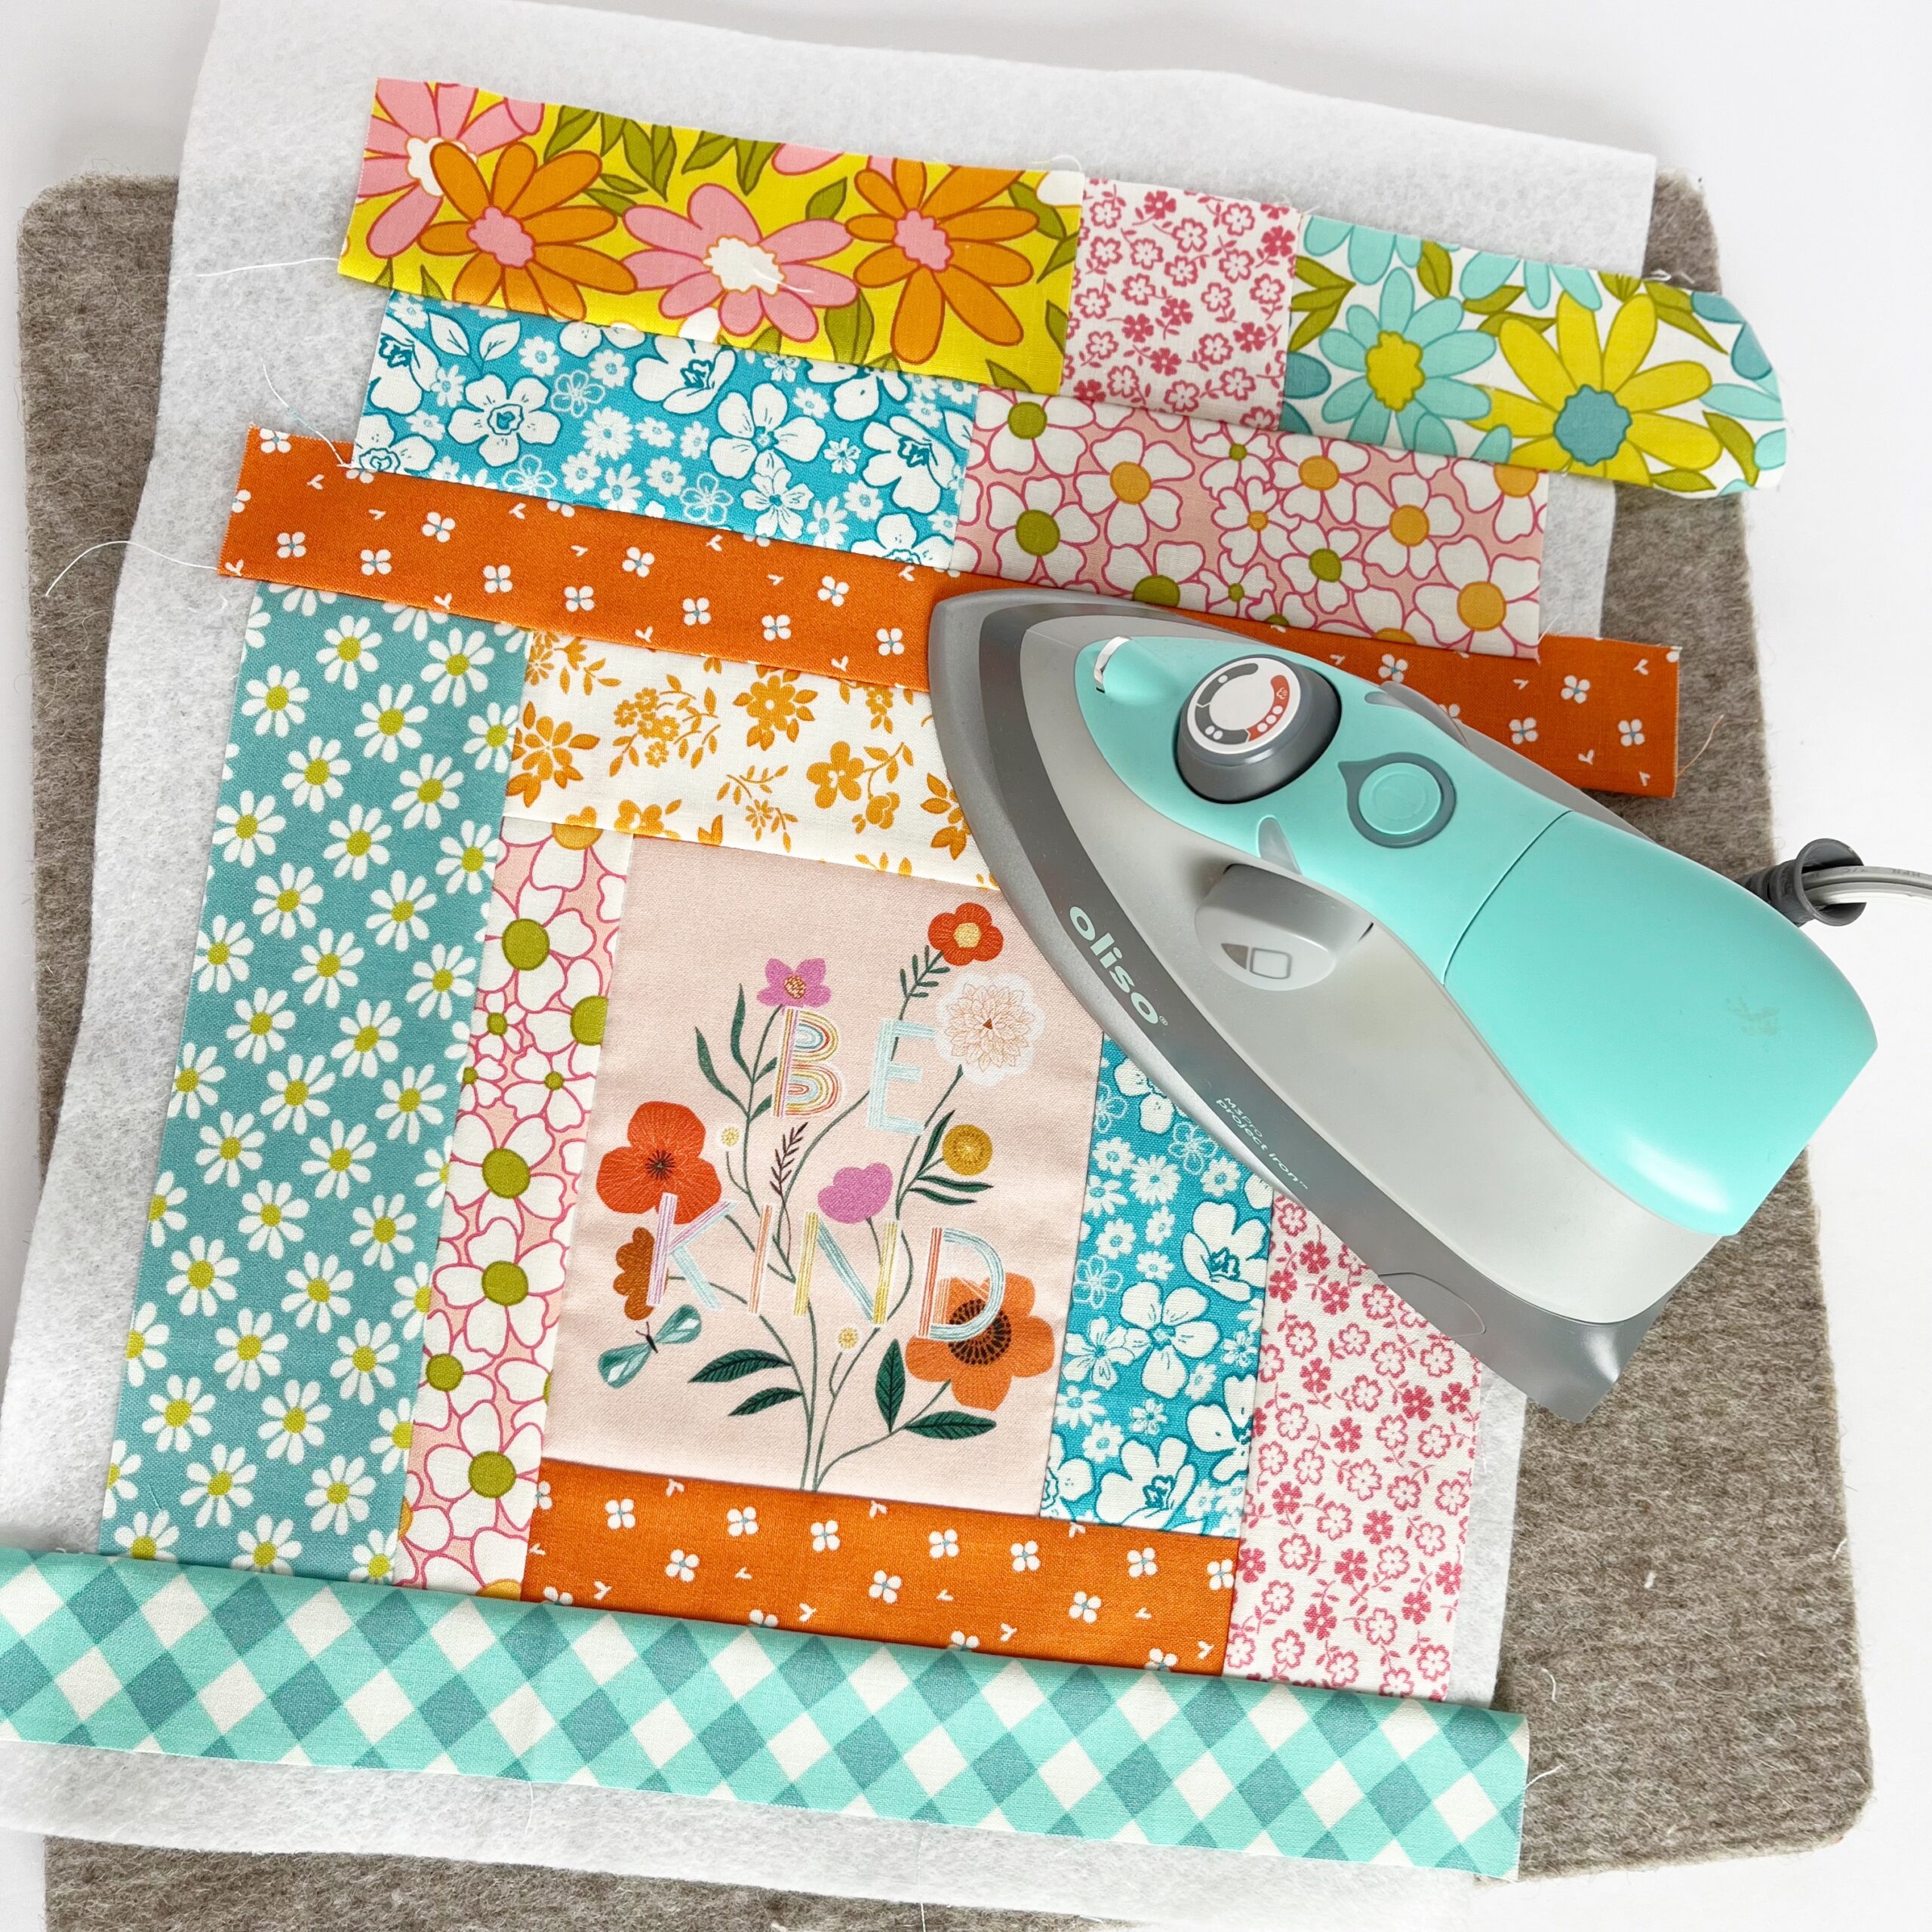
Step One: I had a fun center fabric piece I wanted to use, so I ironed it out on a large piece of fusible fleece and continued to cut and sew strips (right sides together) around that center piece until I had a “block” larger than my cutting size of 9″ x 12″. Be sure to carefully iron each strip as you sew it. This is called improvisational sewing… basically it means you are “winging it”! Just have fun and cut and sew as you go.
.
.
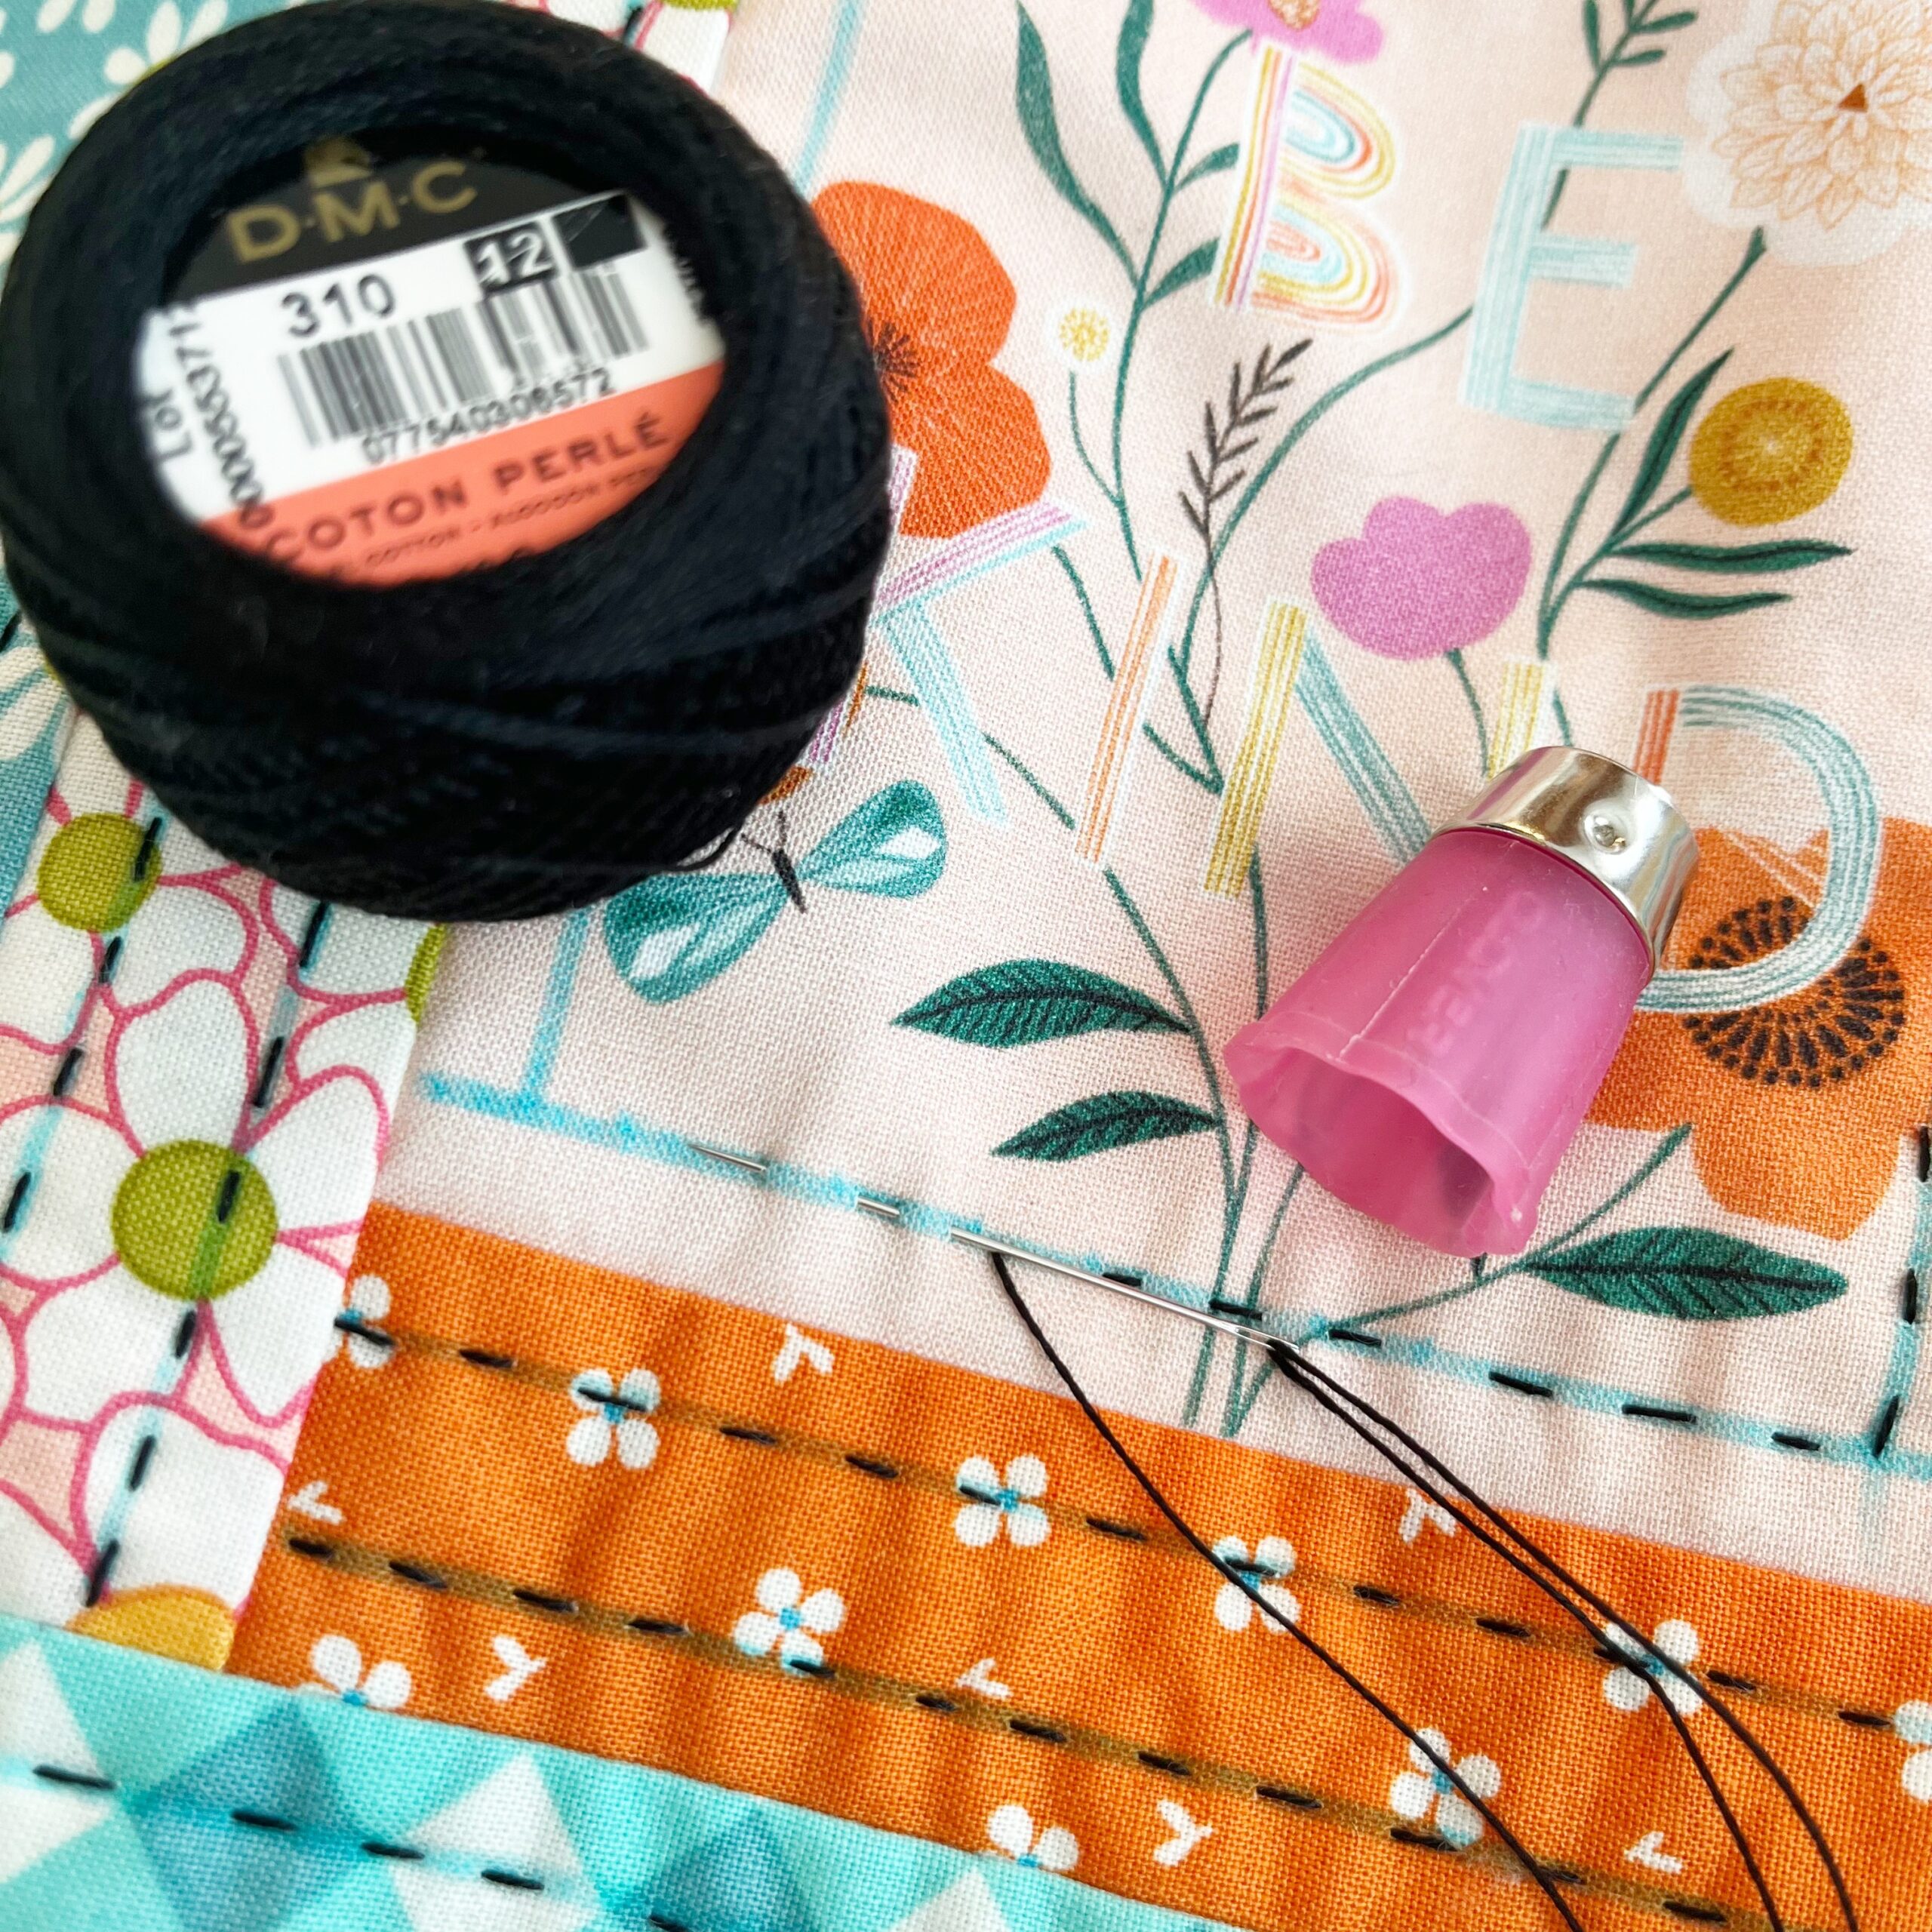
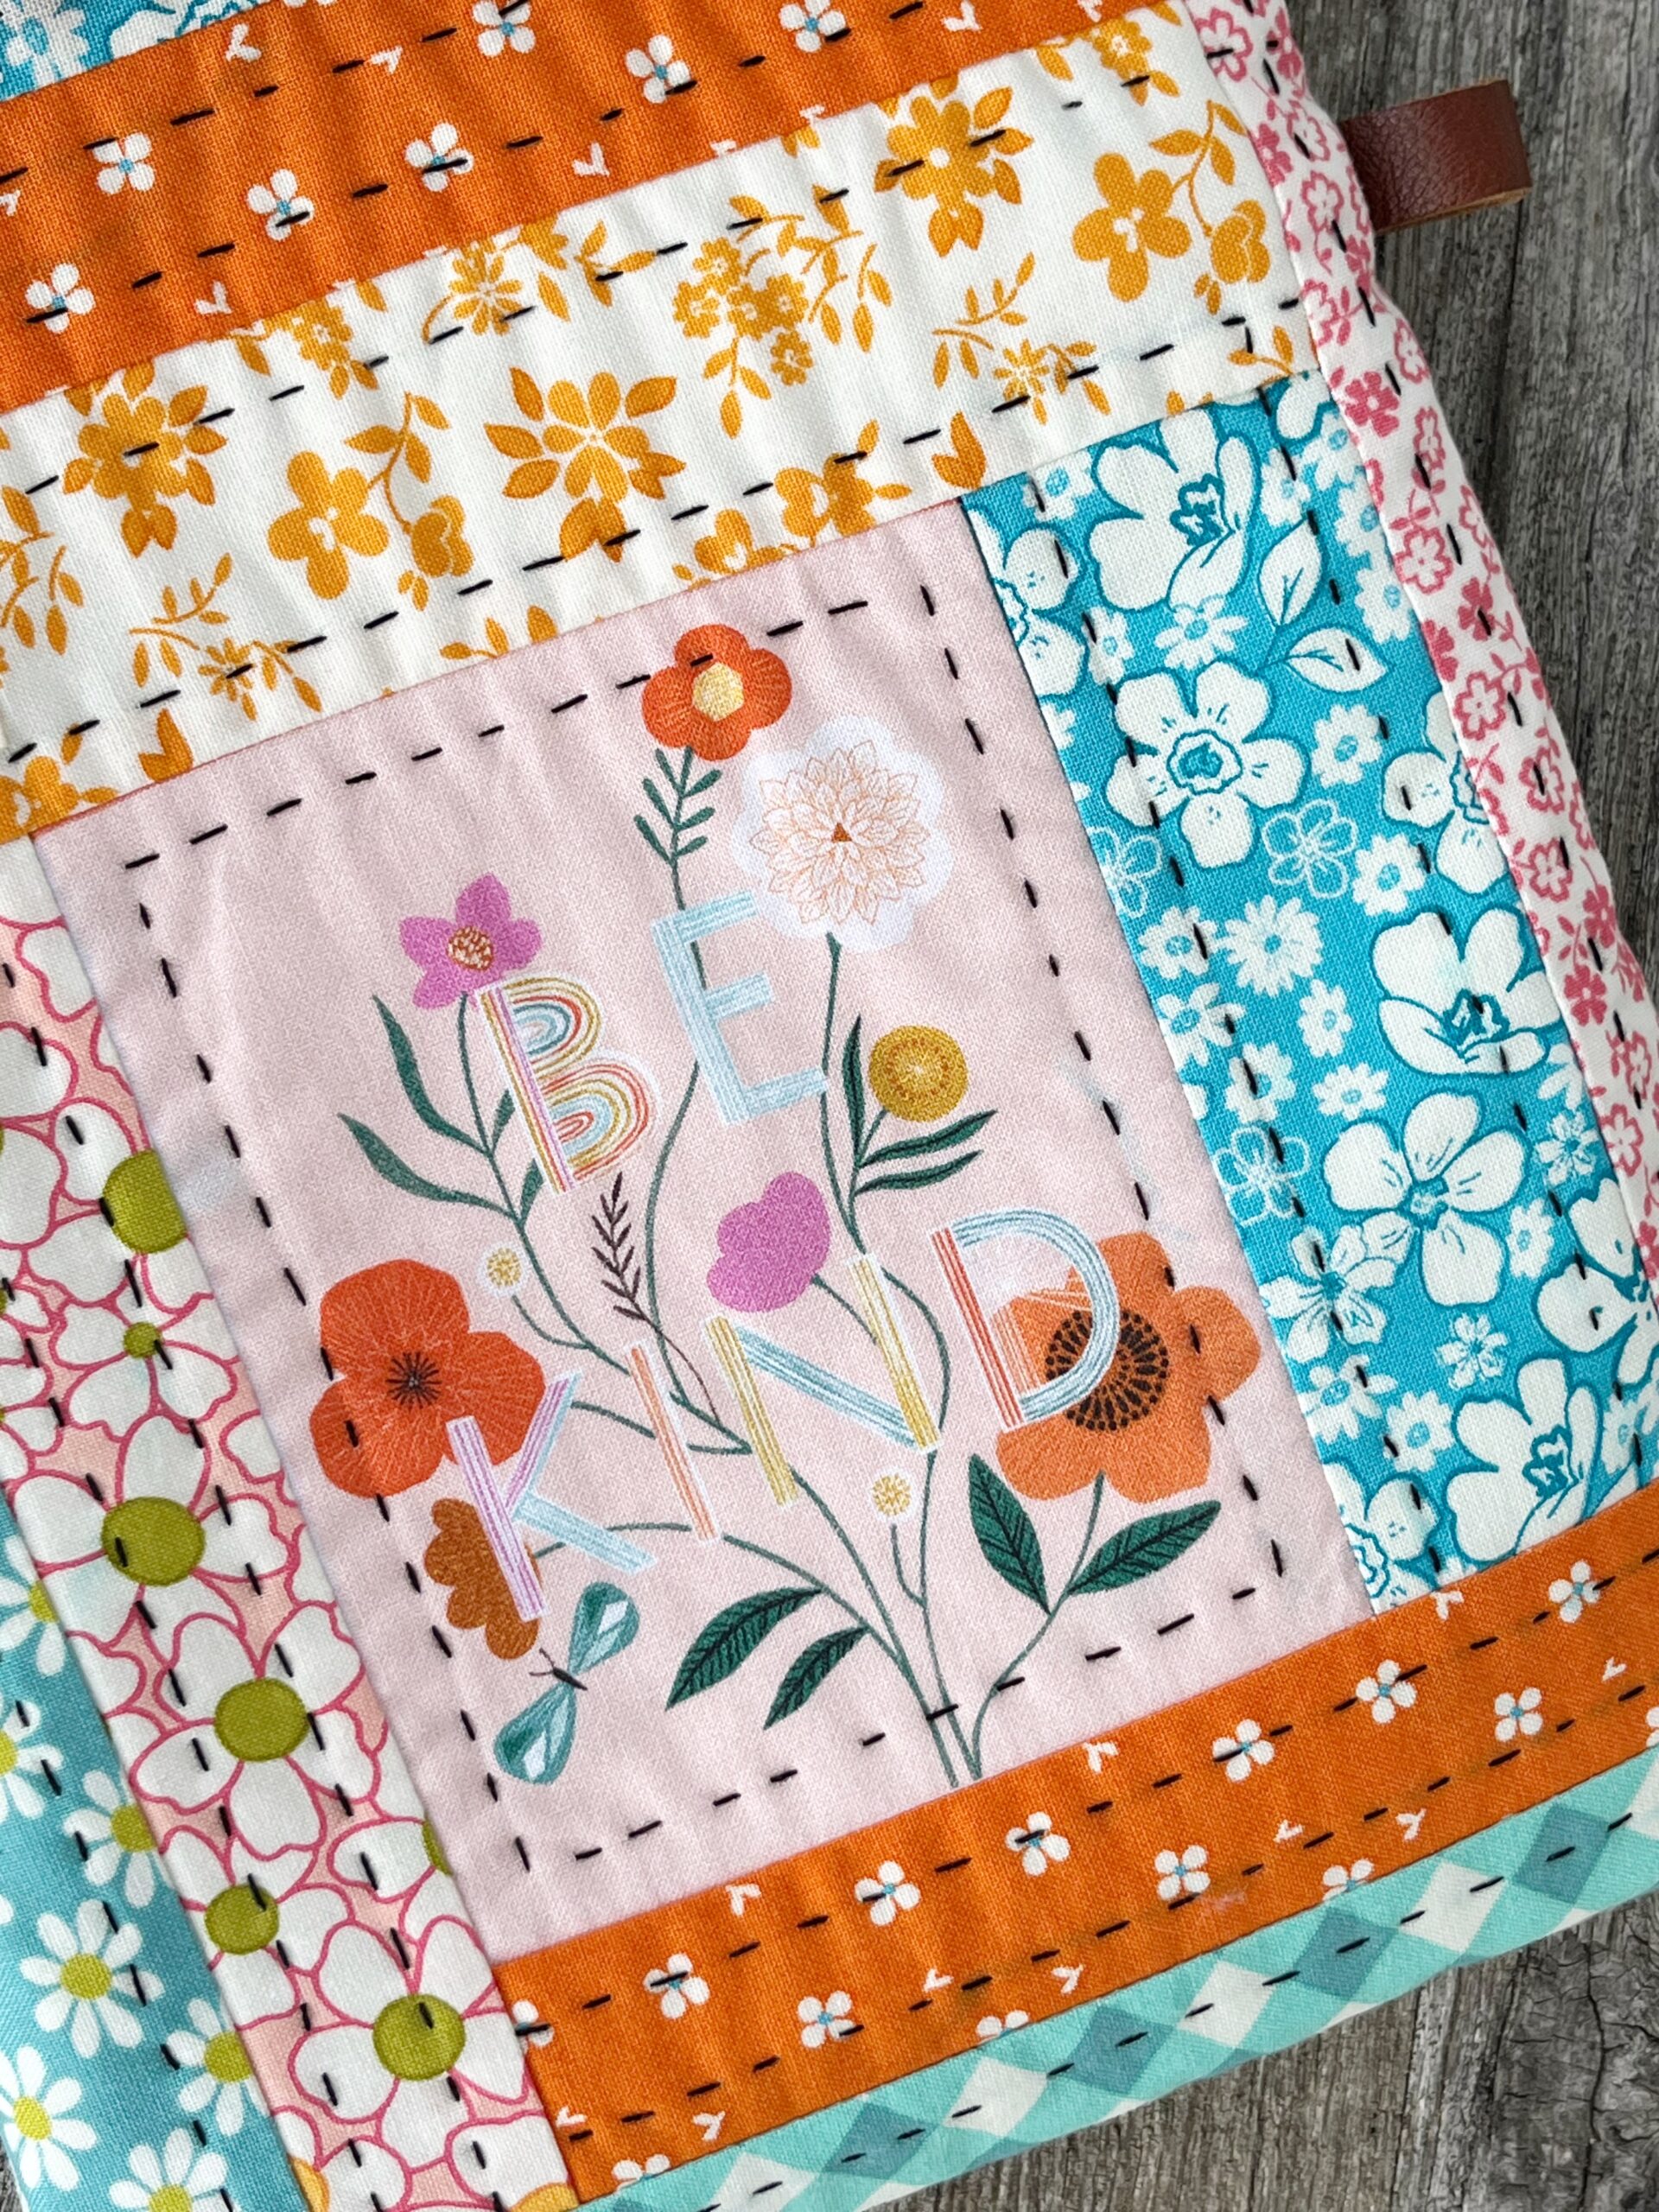
Step Two: Now you can choose whether you’d like to quilt it or just leave it. I decided to hand quilt mine with some black embroidery thread. I just measured out some lines about 1/4 inch from the stitch lines and just quickly quilted it. Don’t fret about spending a lot of time getting it perfect. I promise you, it won’t matter!
.
Step Three: Now let’s cut out the rest of your fabric pieces and your fusible batting. I am using my measurements; be sure to use yours!! (The flap closure will be the same for all sizes.)
- Fusible Fleece: cut 3, size 9″ x 12″
- Fabric Backing Piece: cut 1, size 9″ x 12″
- Fabric Lining: cut 2, size 9″ x 12″
- Fusible Fleece: cut 1, size 4″ x 6″
- Fabric Flap Closure: cut 2, size 4″ x 6″
- Optional: small fabric label and leather scrap .5″ x 2″
.
.
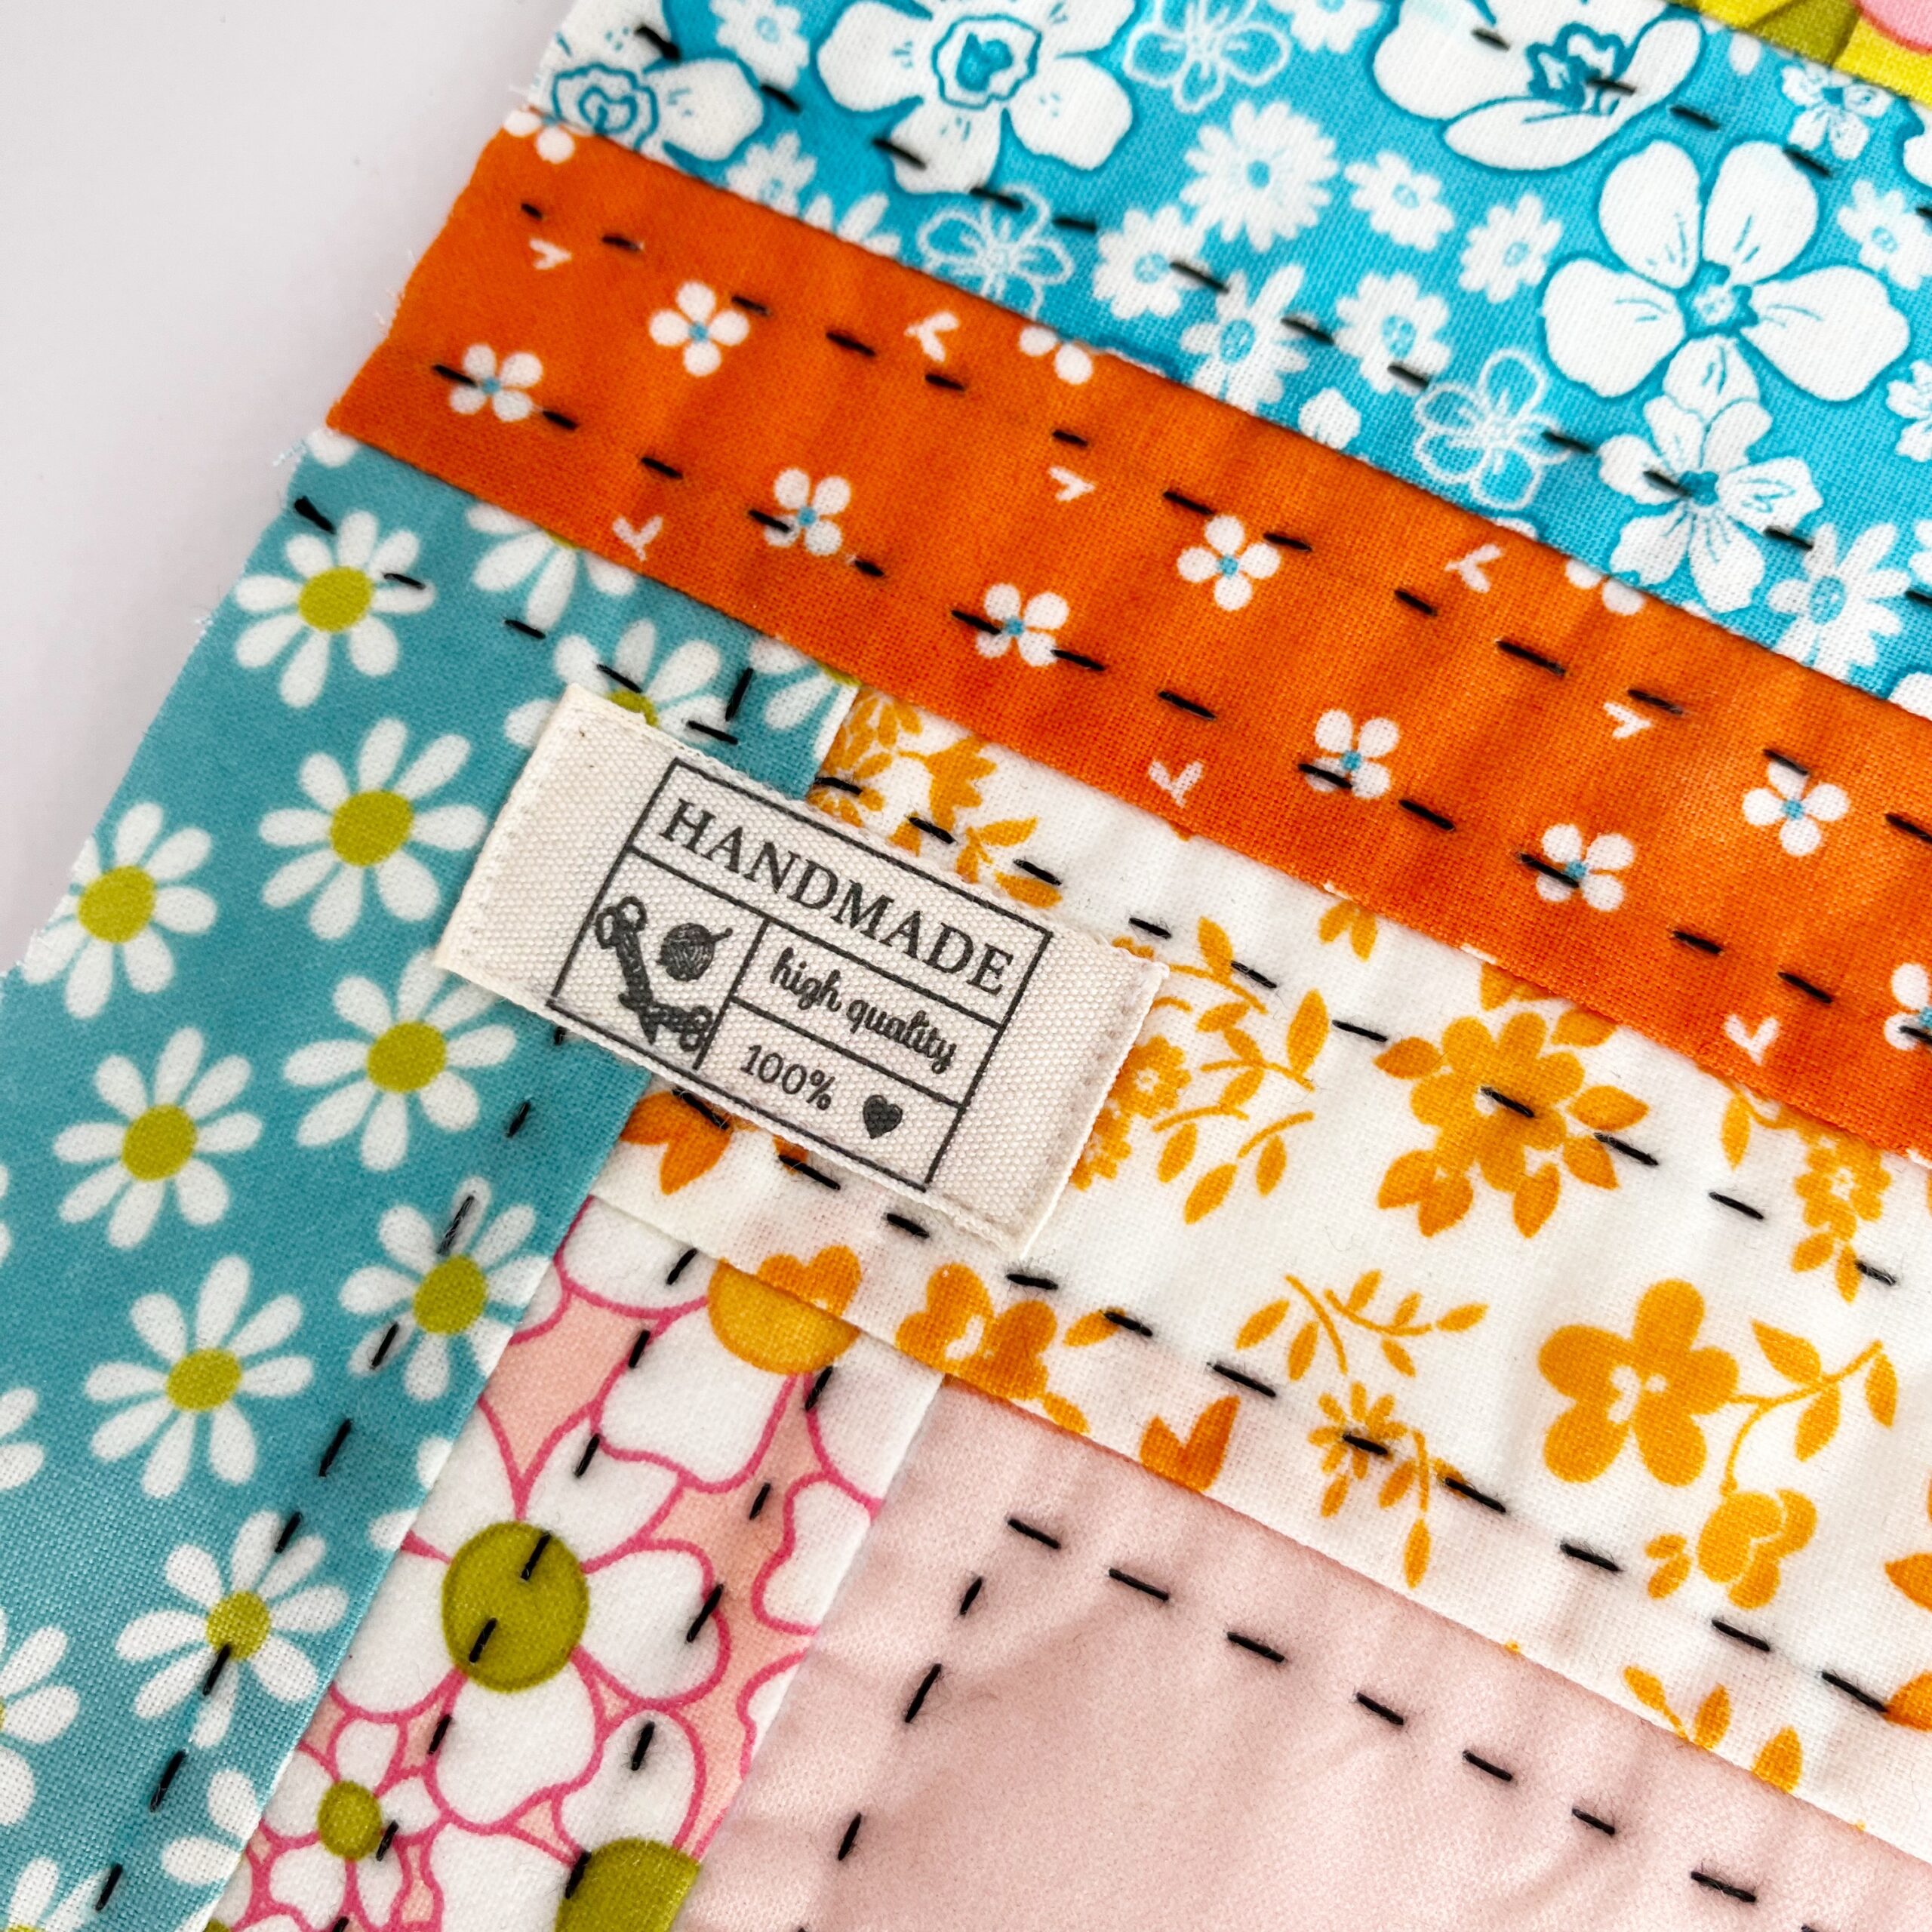
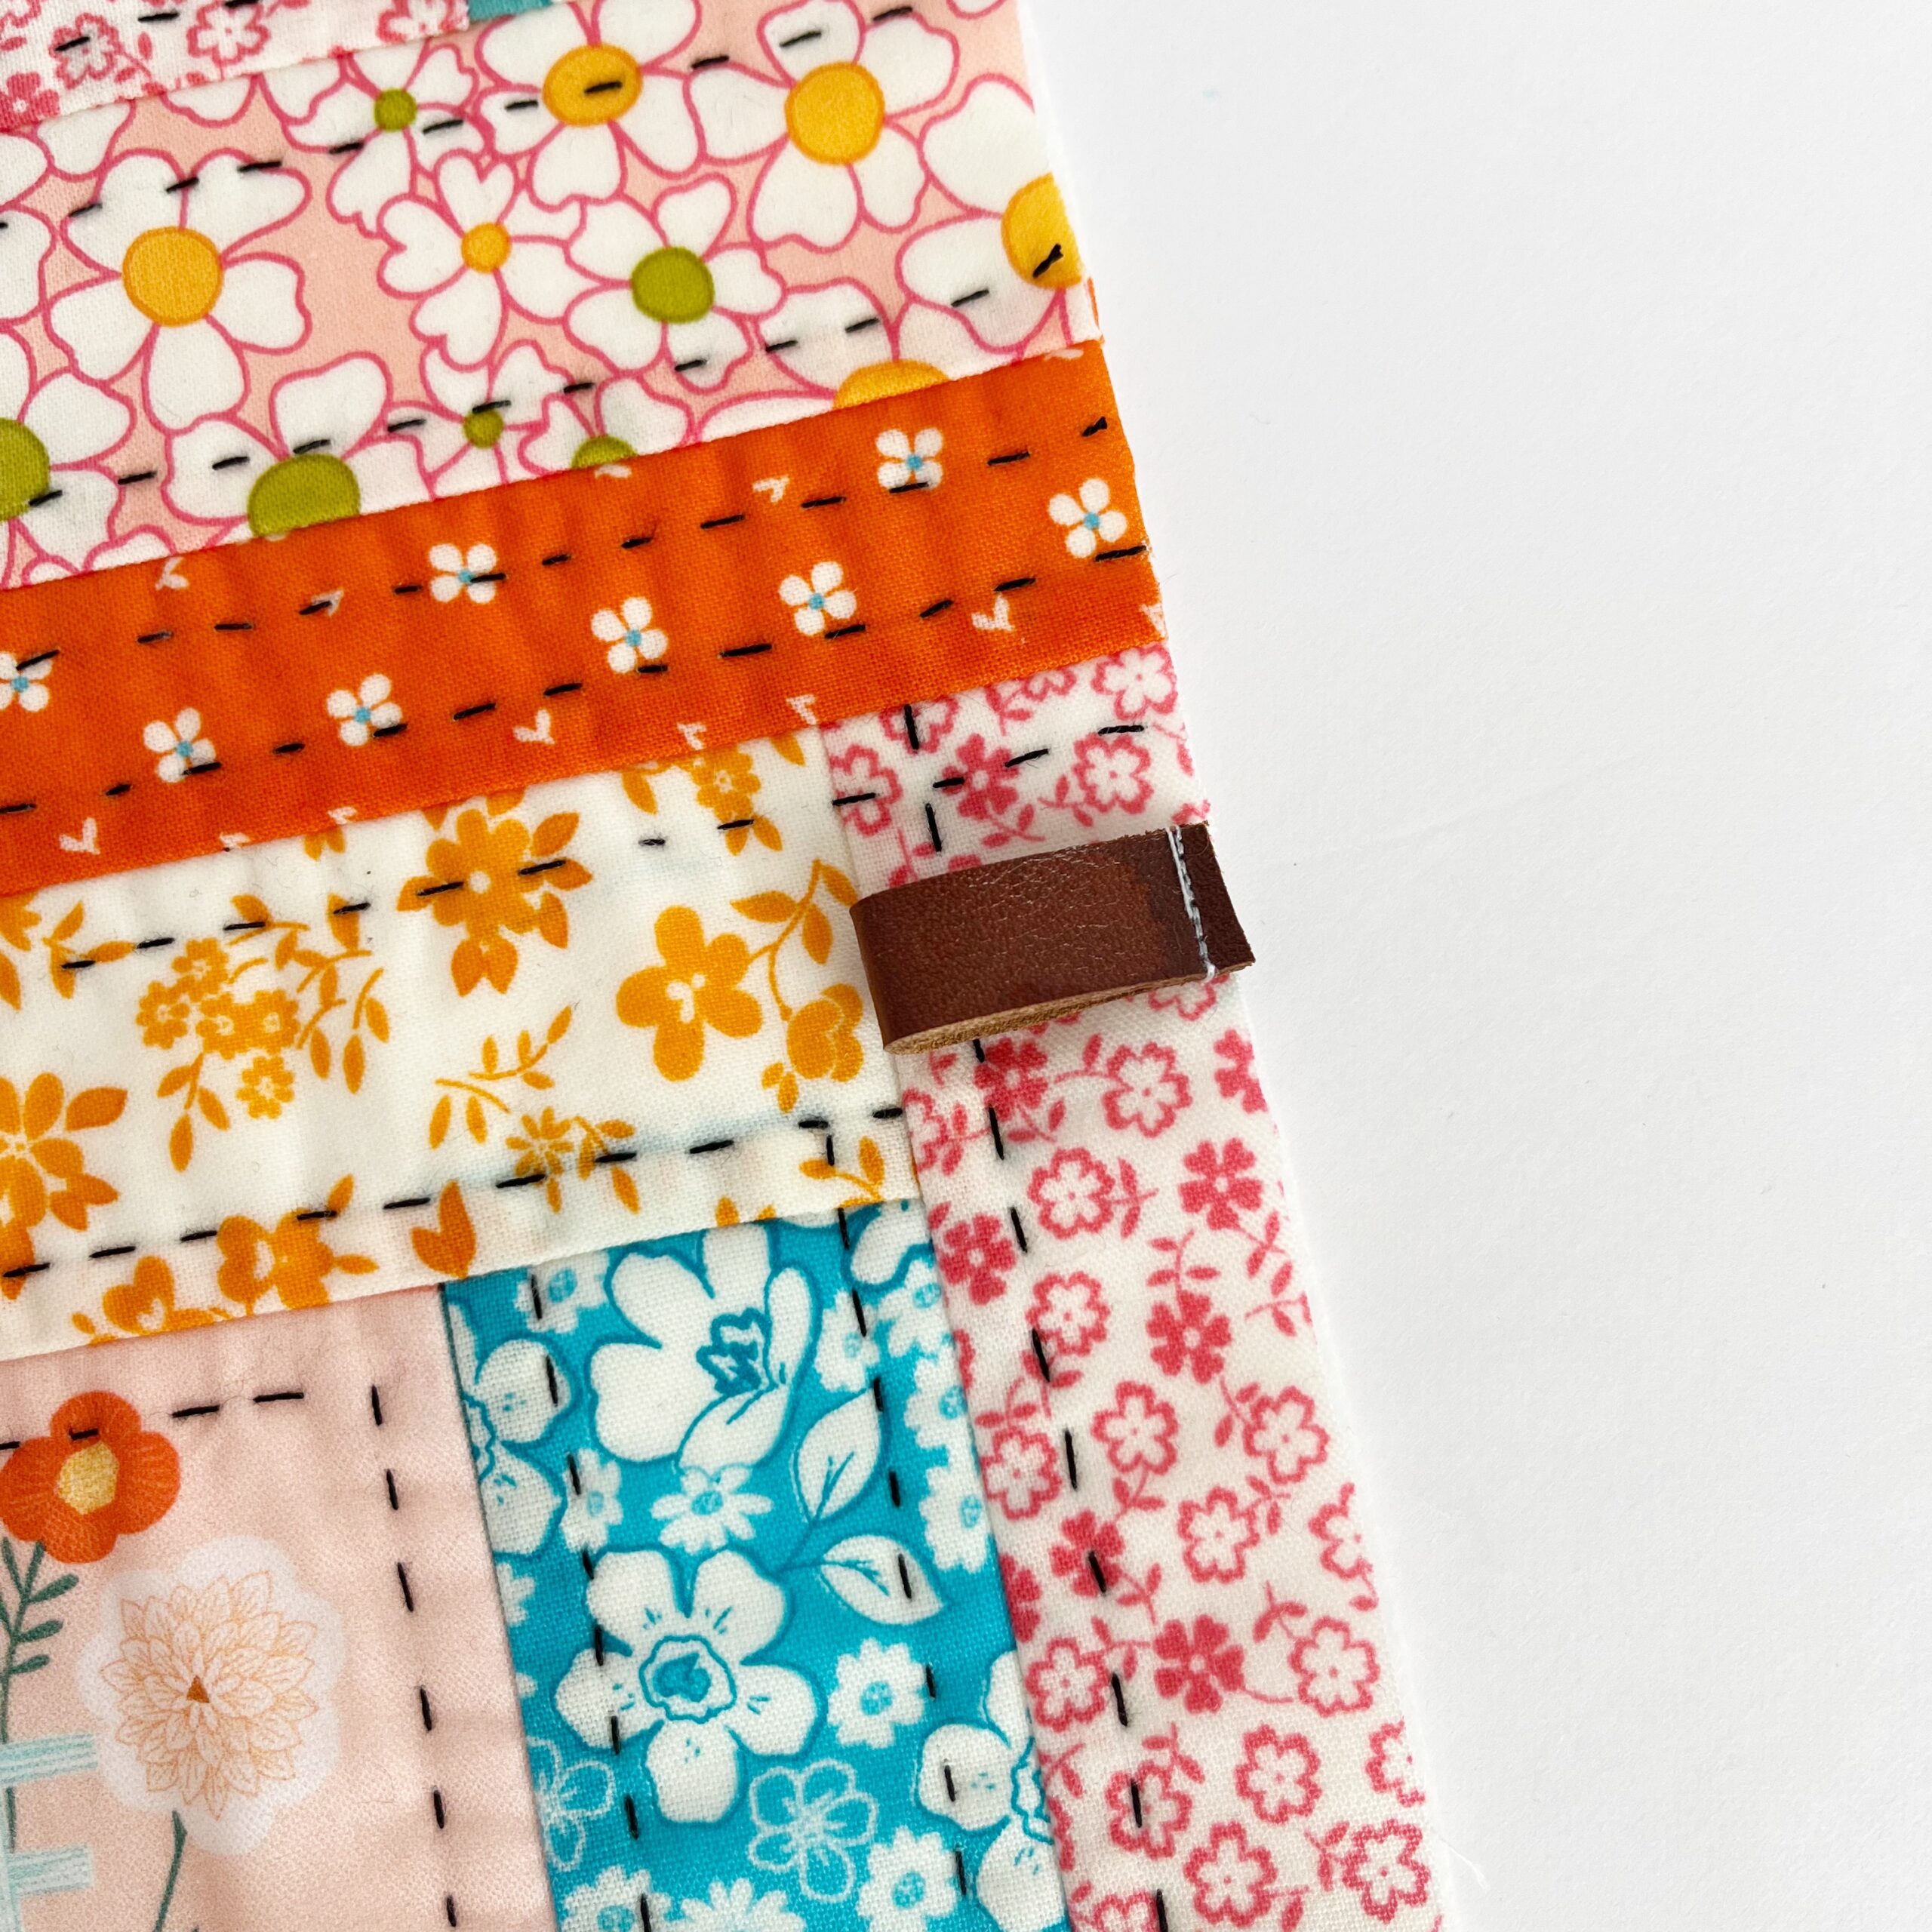
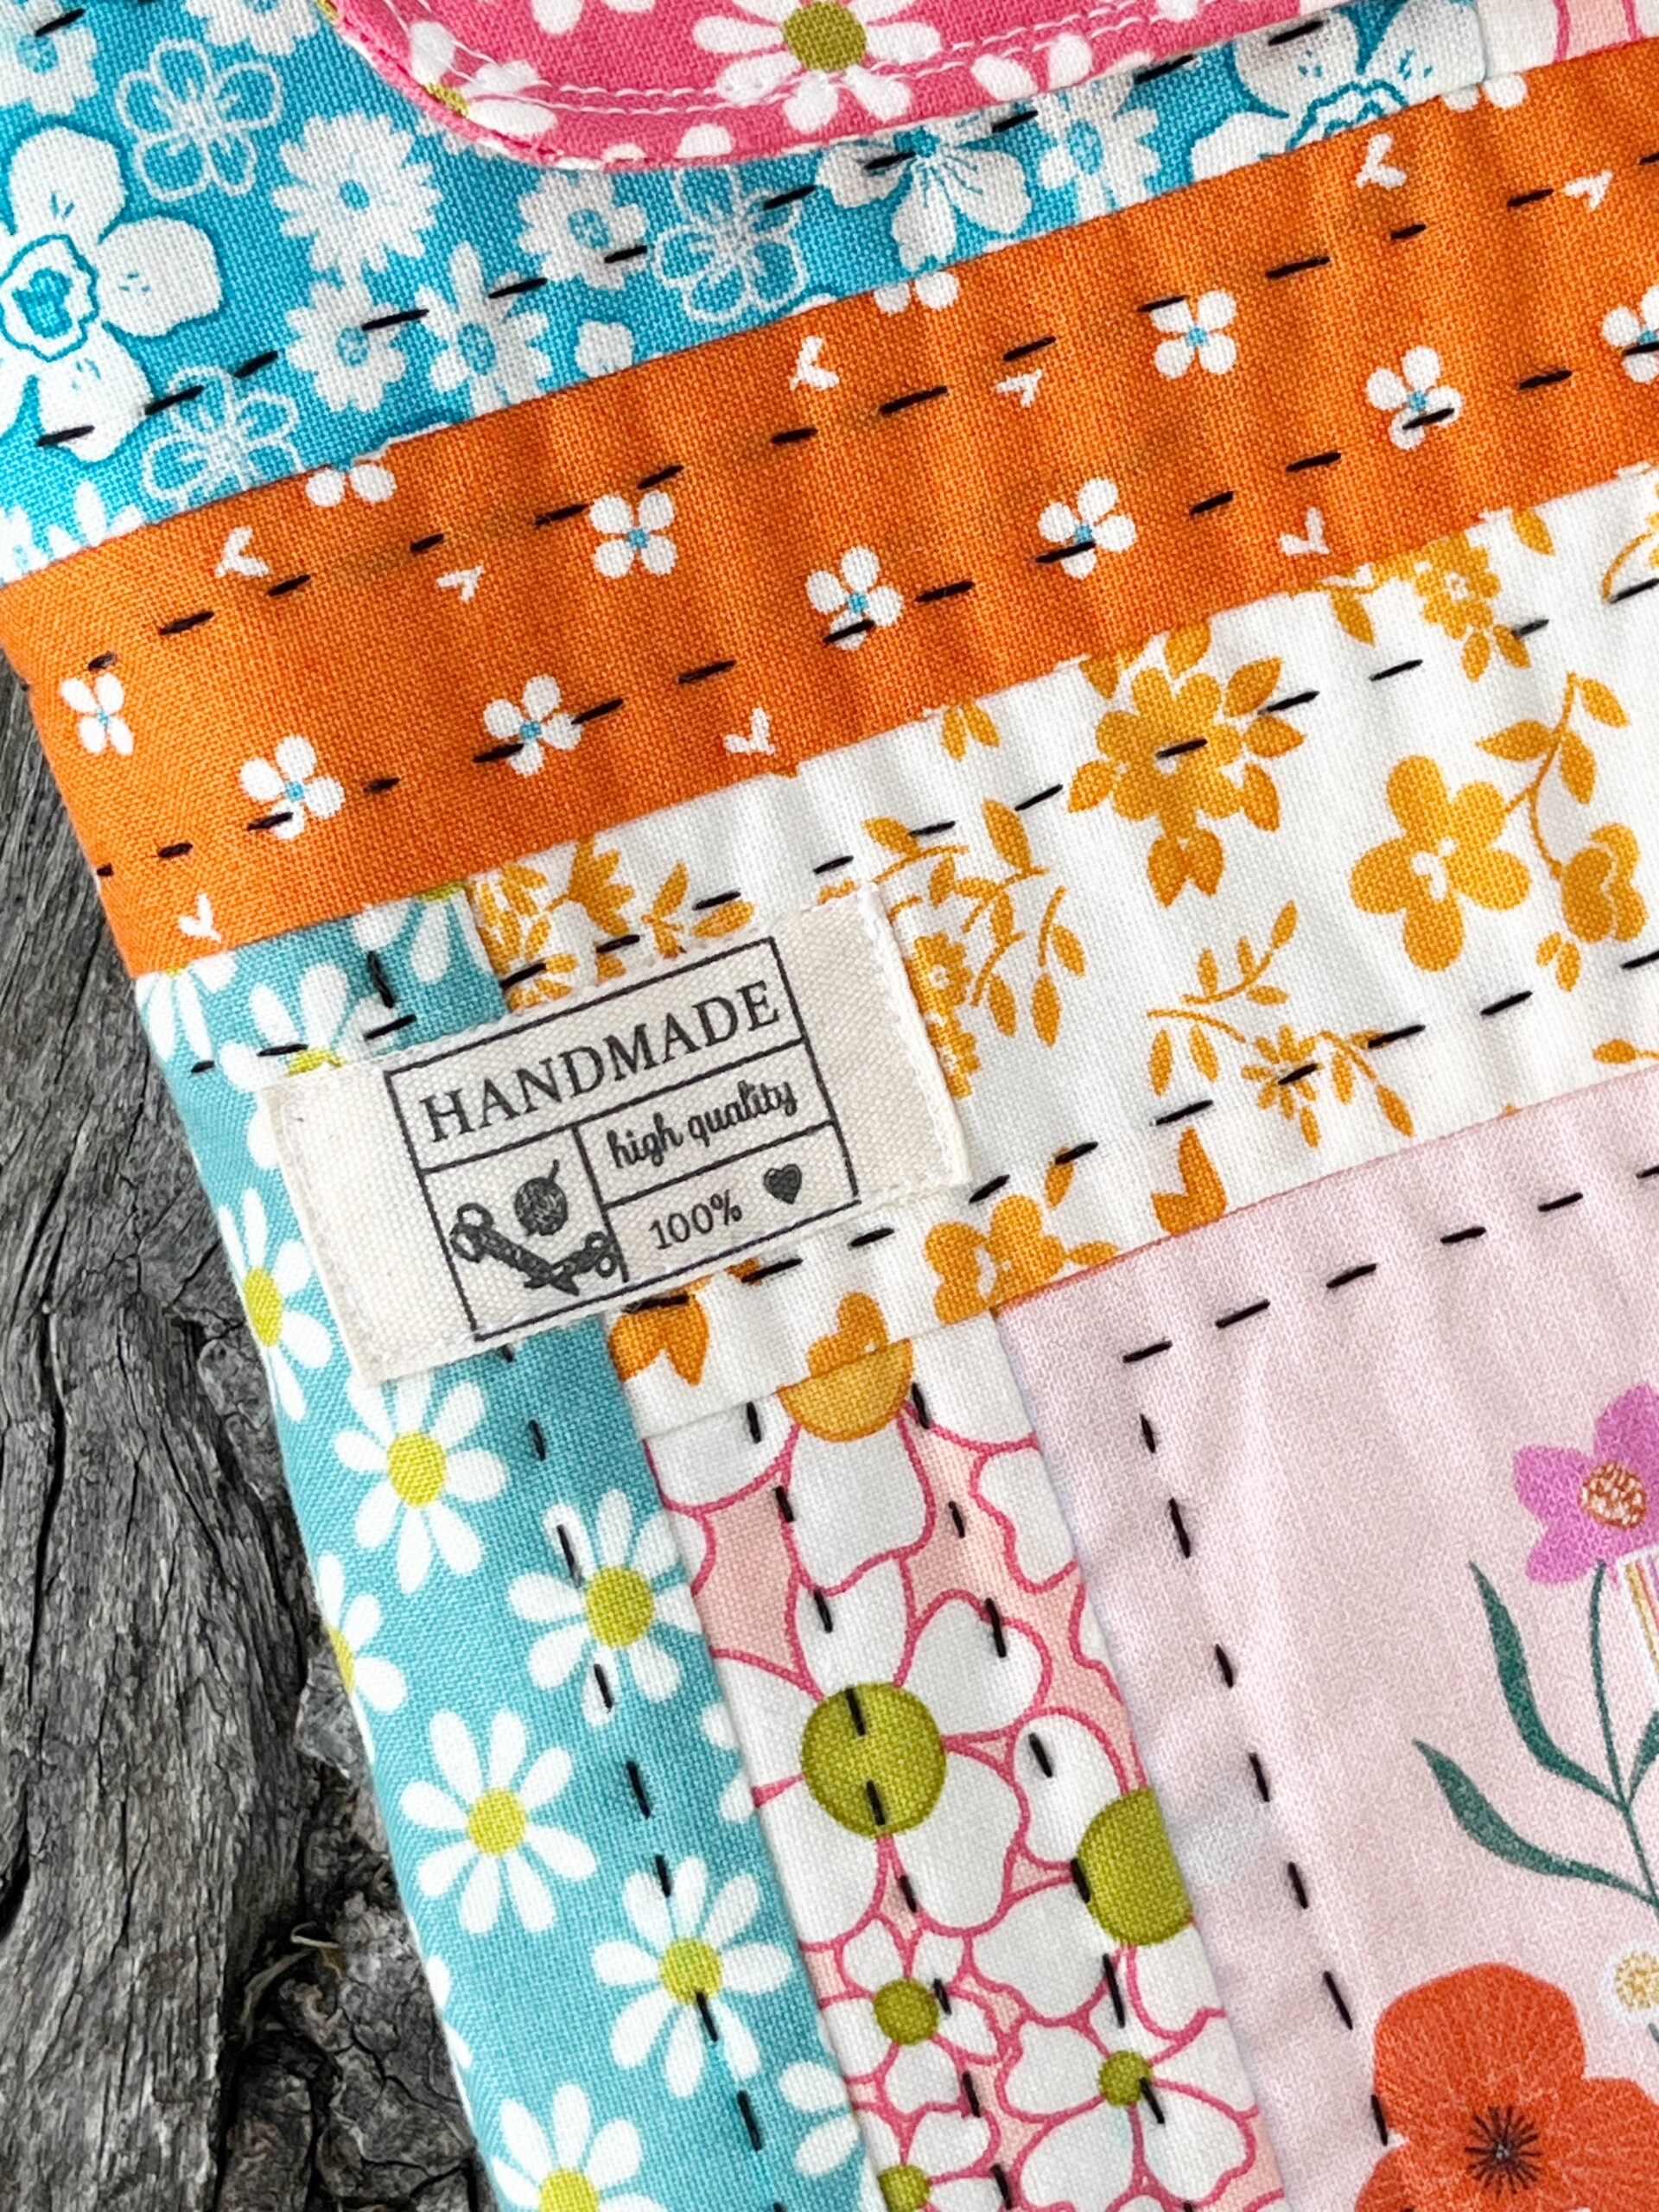
Step Four: Optional! If you have a little label that you like, adhere that now. Sew it anywhere on the front panel that you’d like. I also like to sew a little leather scrap to the side of the panel. Just fold it in half and sew it to the right side, a few inches from the top. Remember this is an optional step!
.
.
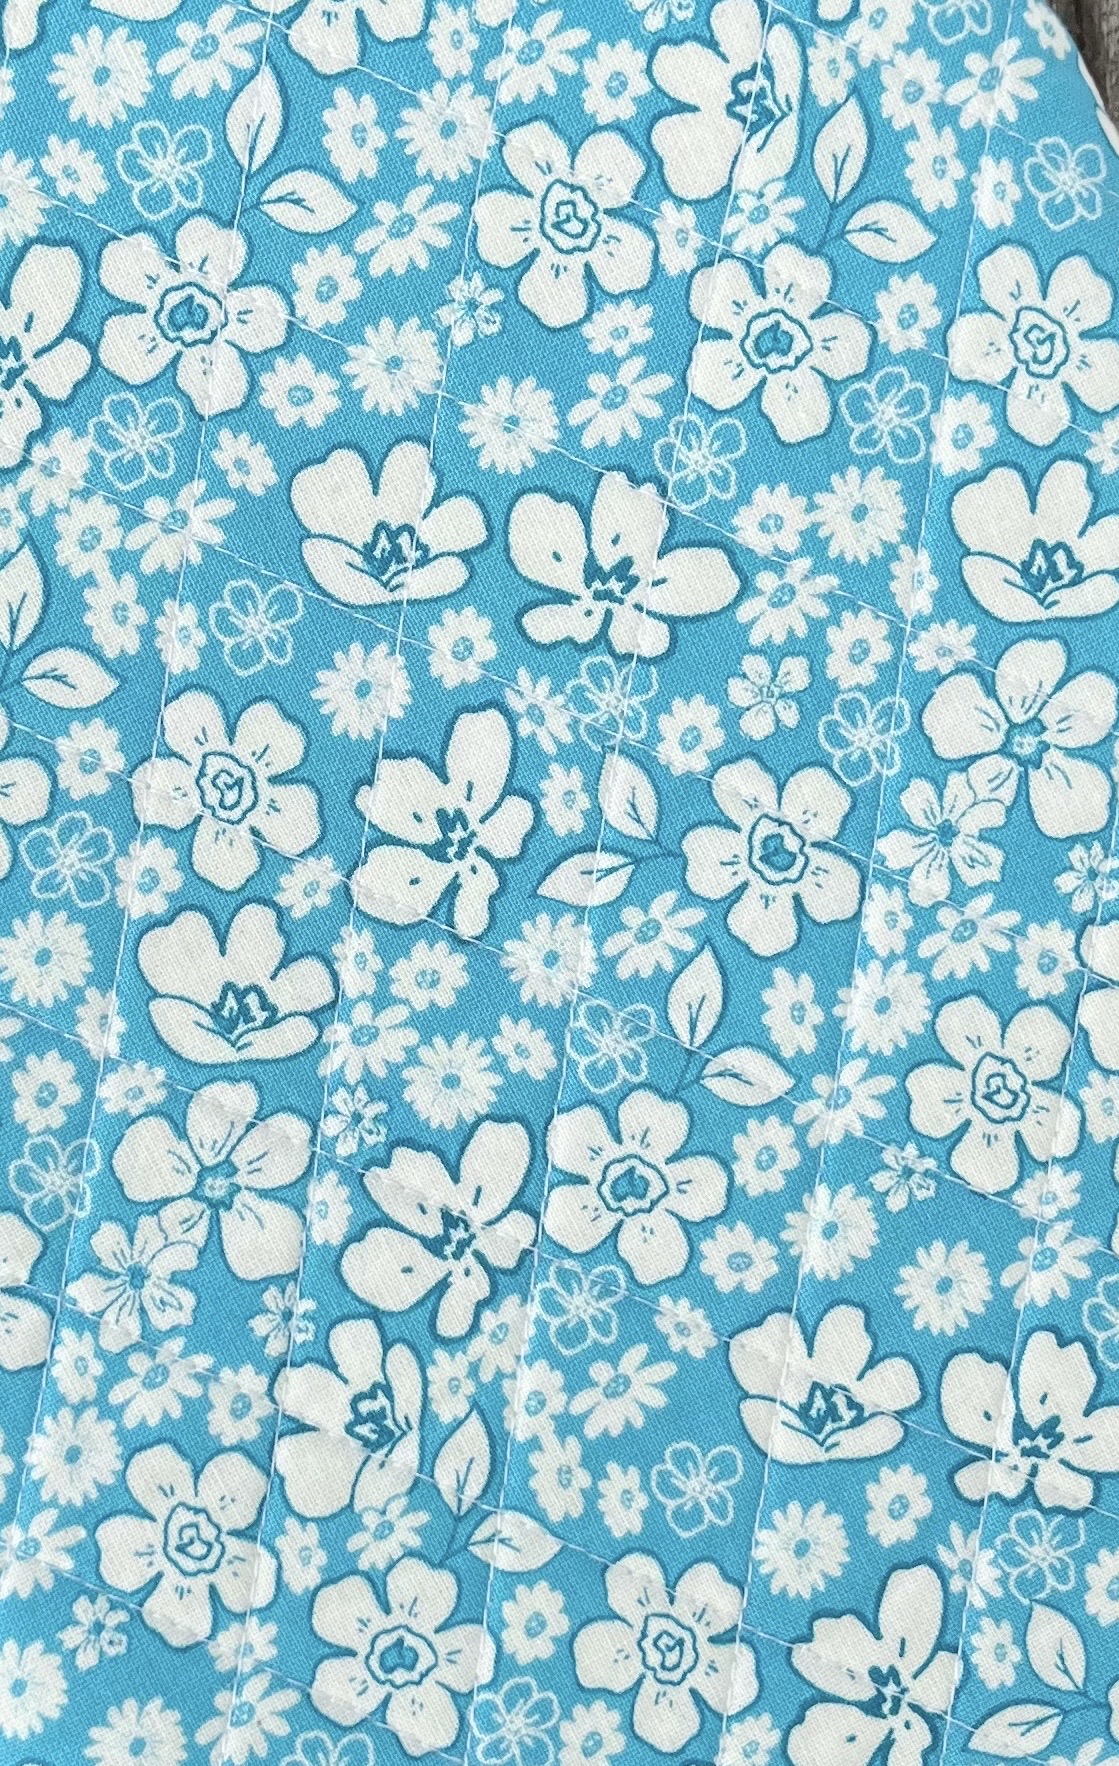
Step Five: Optional: I adhered the fabric back to the fusible fleece and chose to do a little machine quilting of diagonal lines, but this is up to you.
.
.
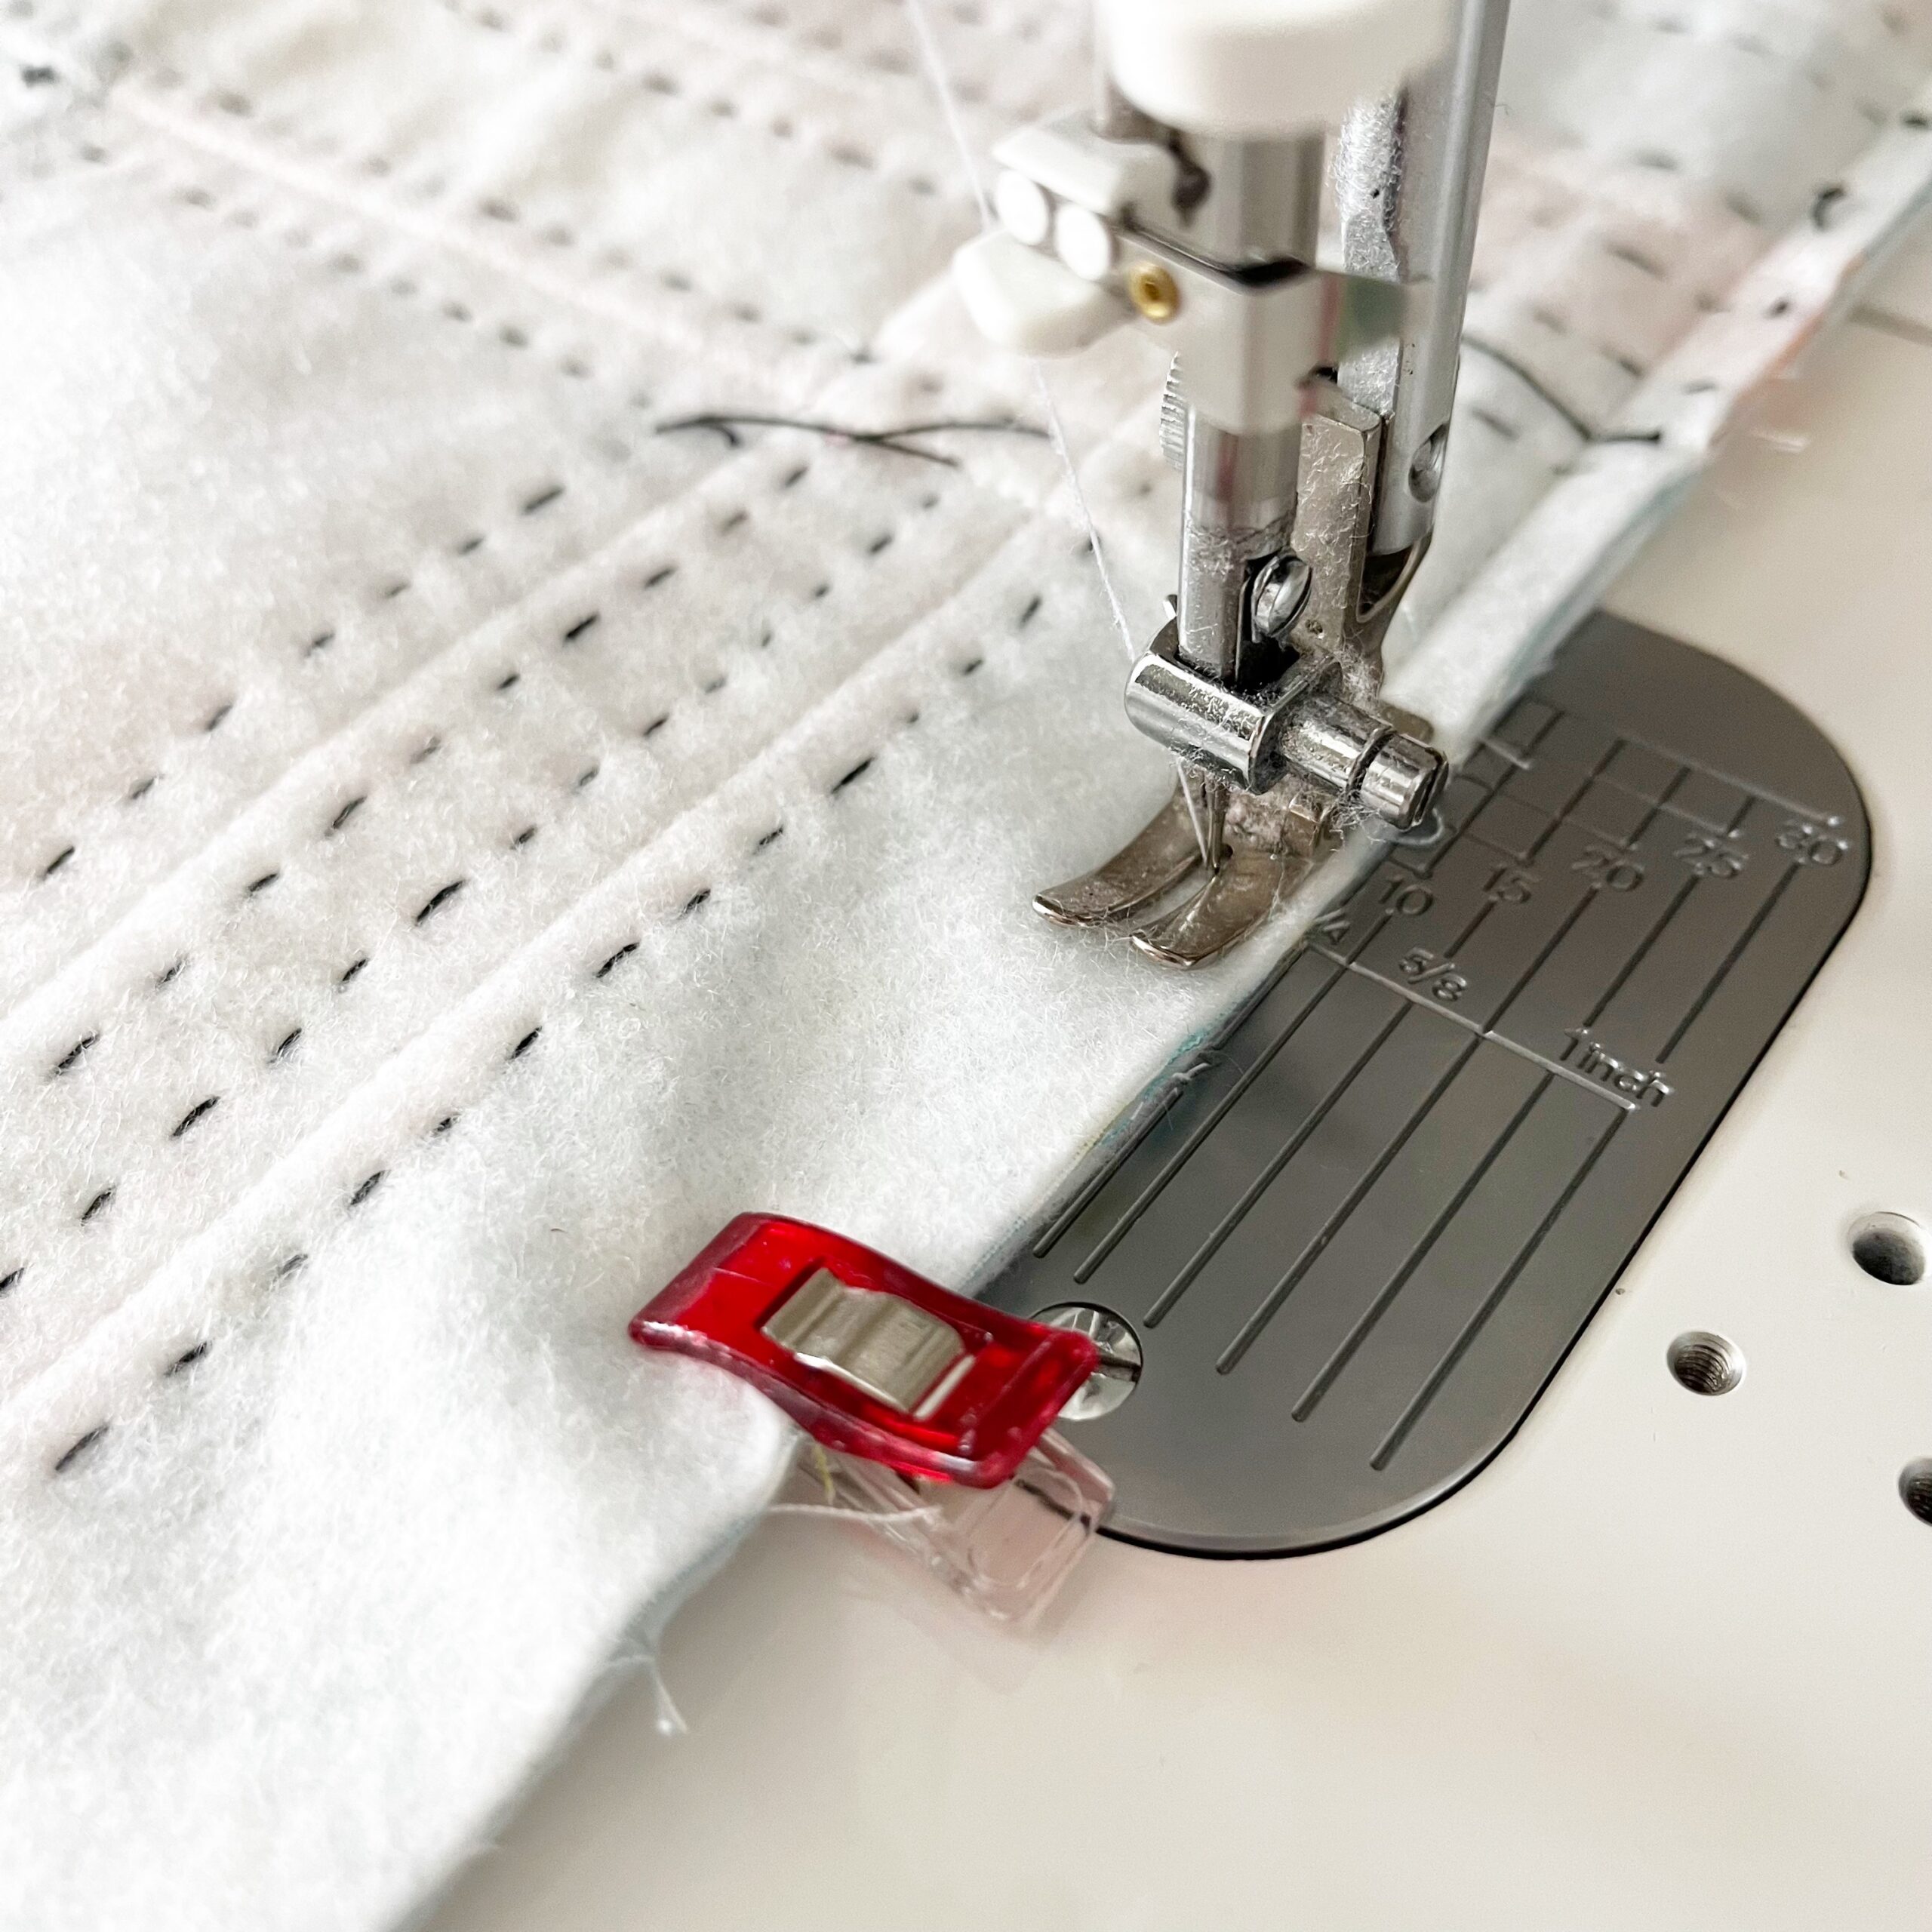
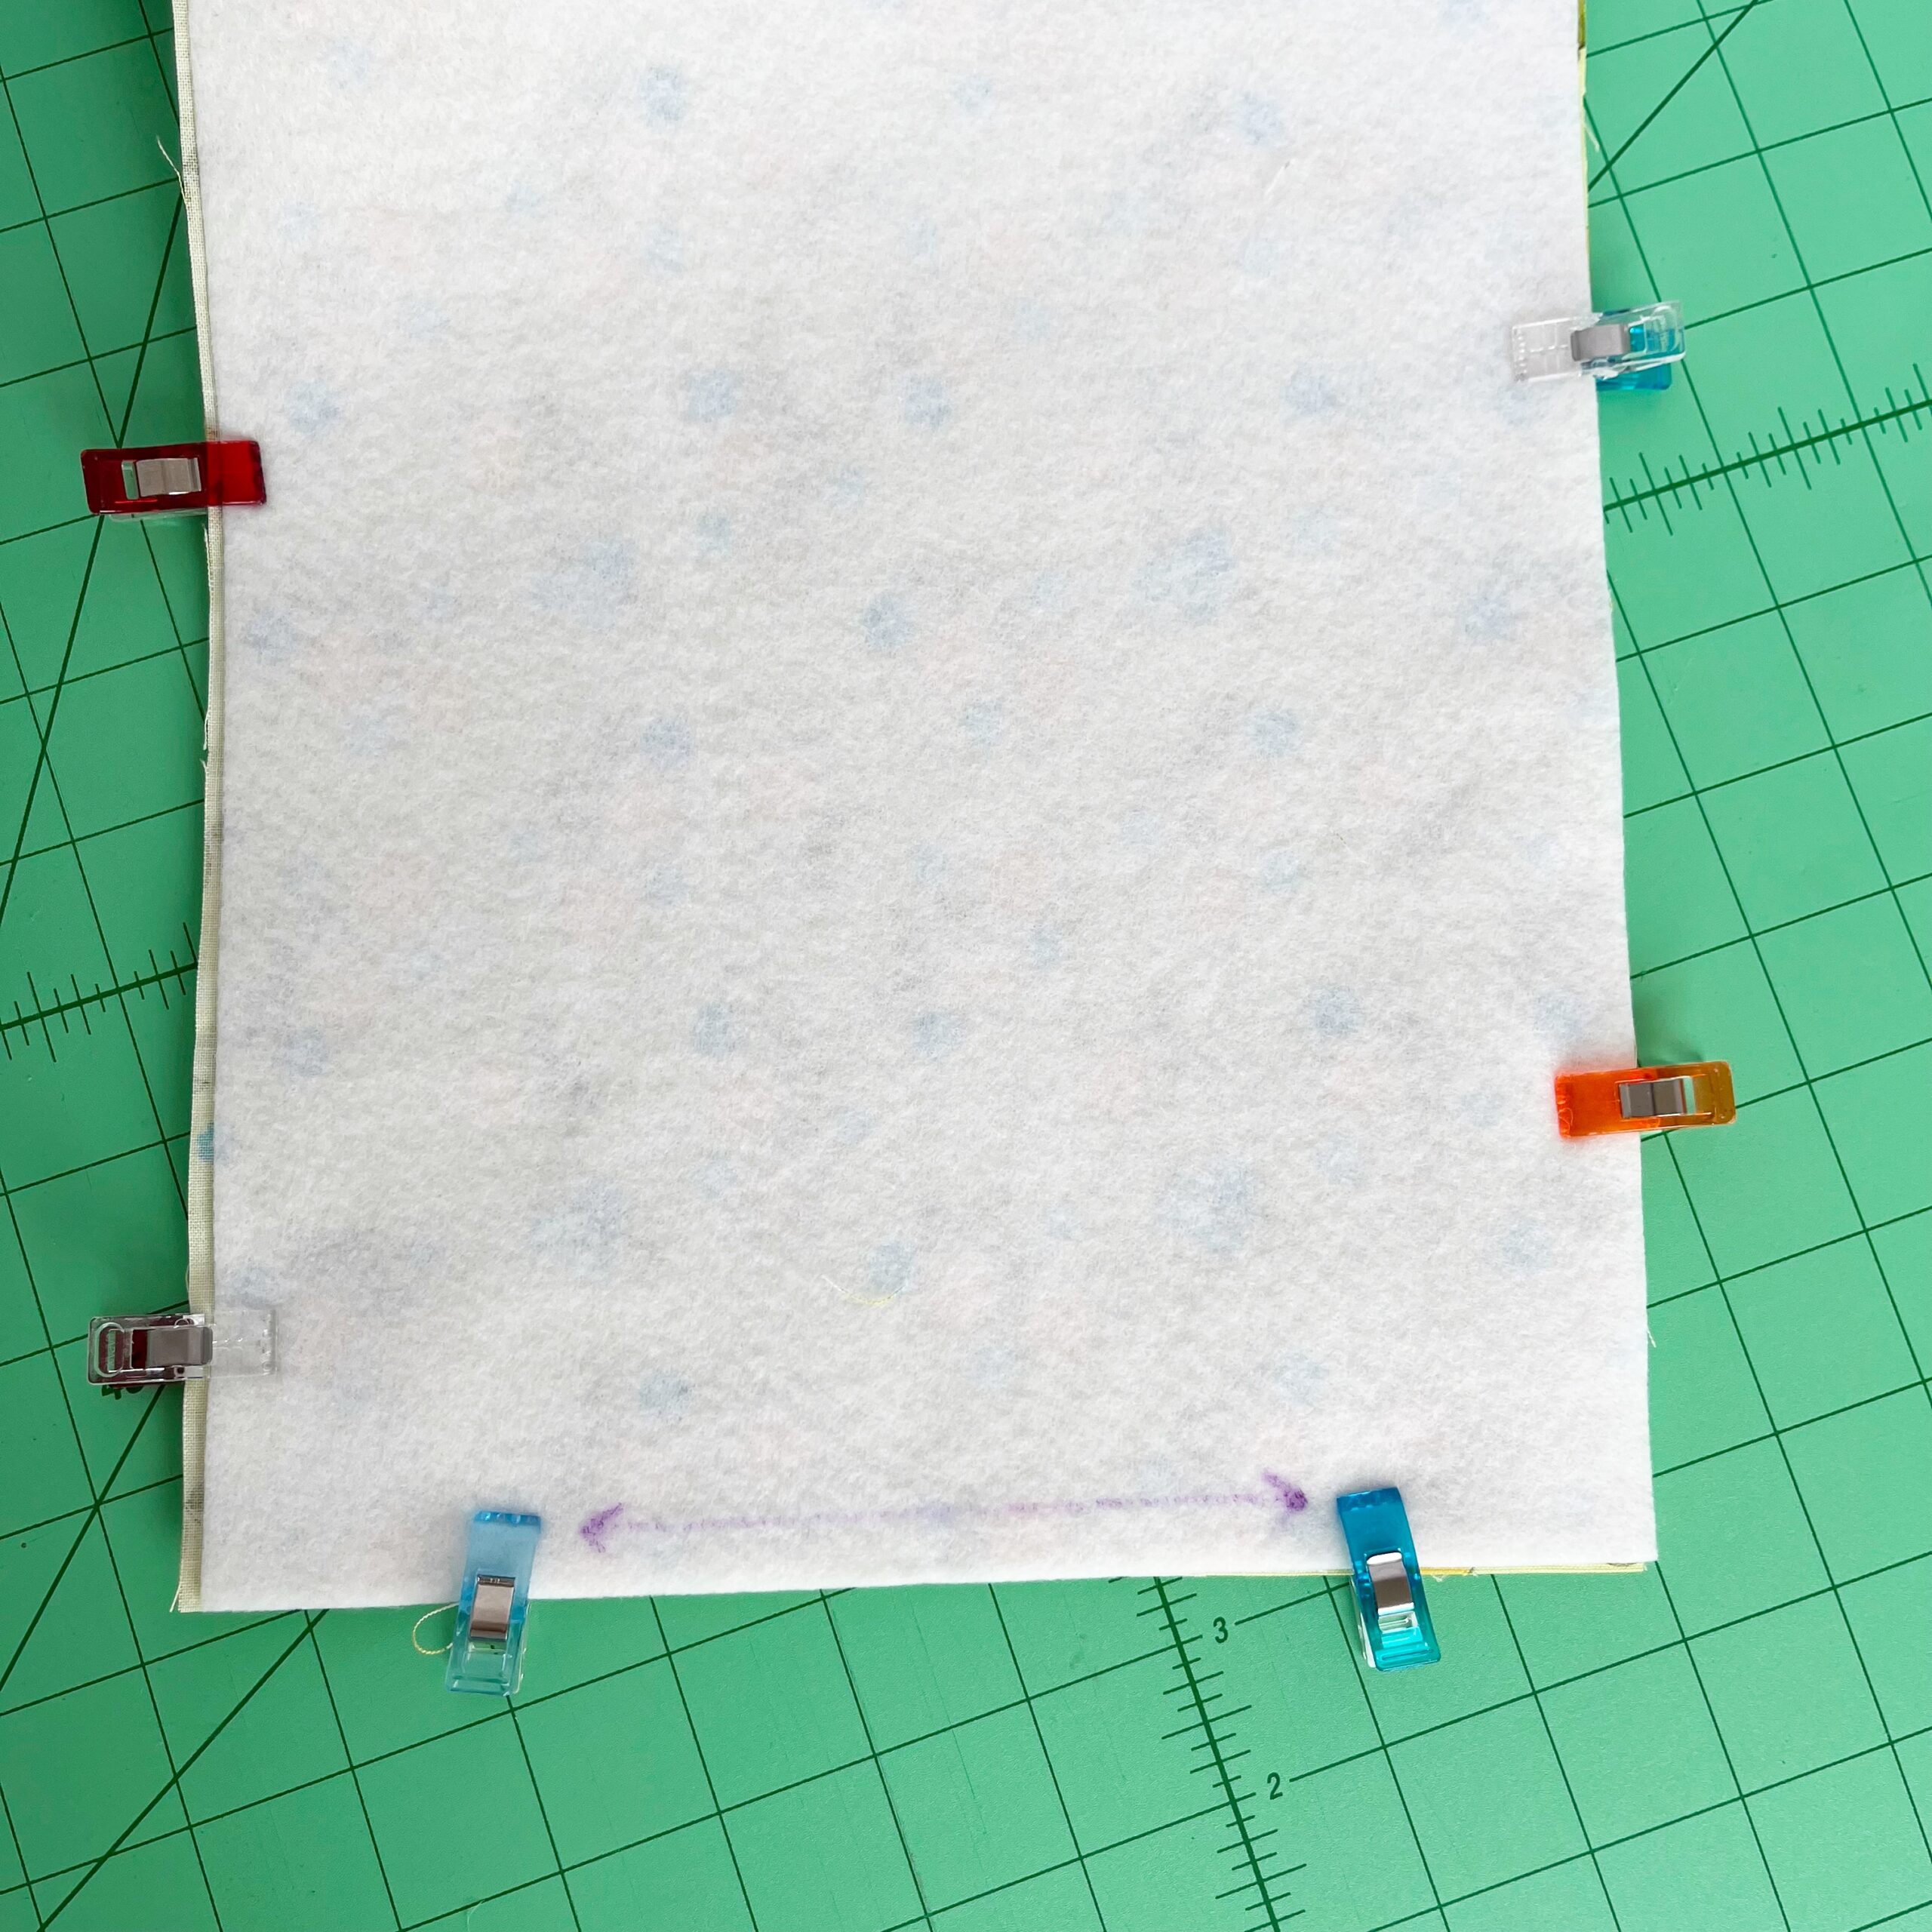
Step Six: Lay your front and back fabric pieces right sides together and clip or pin in place on both sides and the bottom. Sew a 1/4 inch seam on the three sides, leaving the top open.
.
.
Step Seven: Adhere both lining pieces to the fusible fleece. Place them right sides together and sew as you did the outers pieces; however, this time leave a 3 inch opening in the bottom for turning later. (Do NOT sew the top edges.). Turn the lining right side out and set aside for now.
.
.
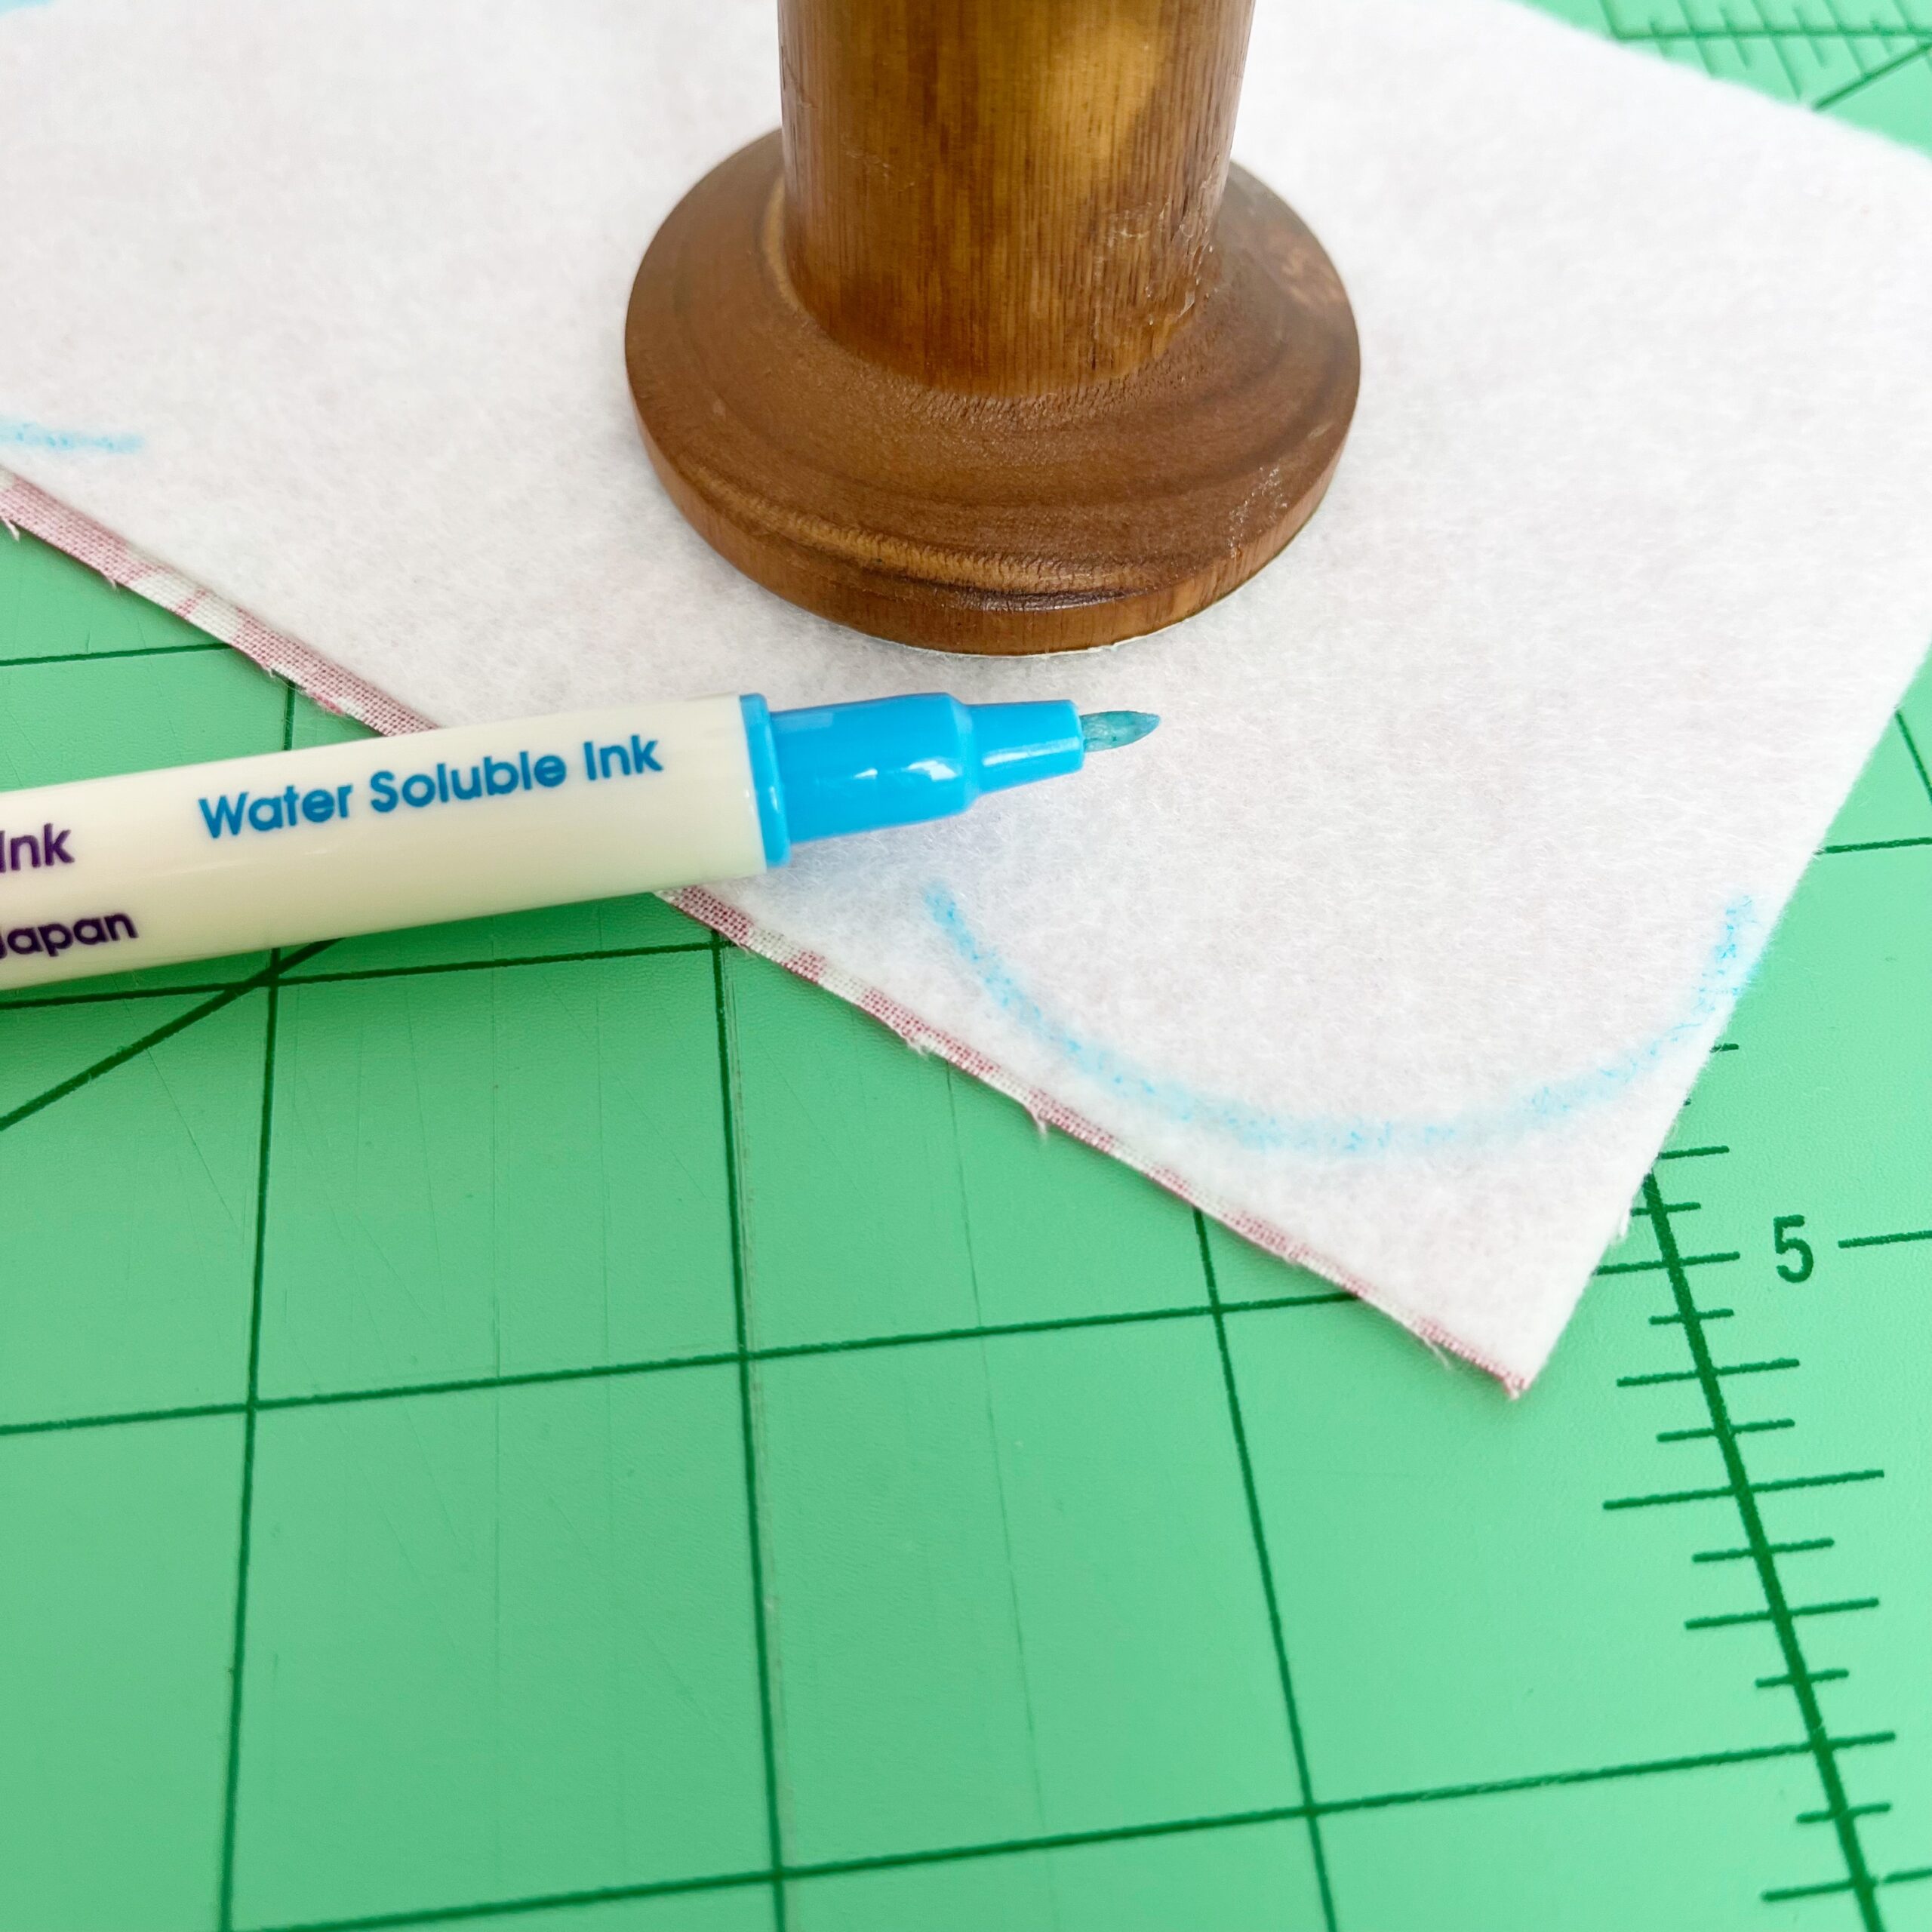
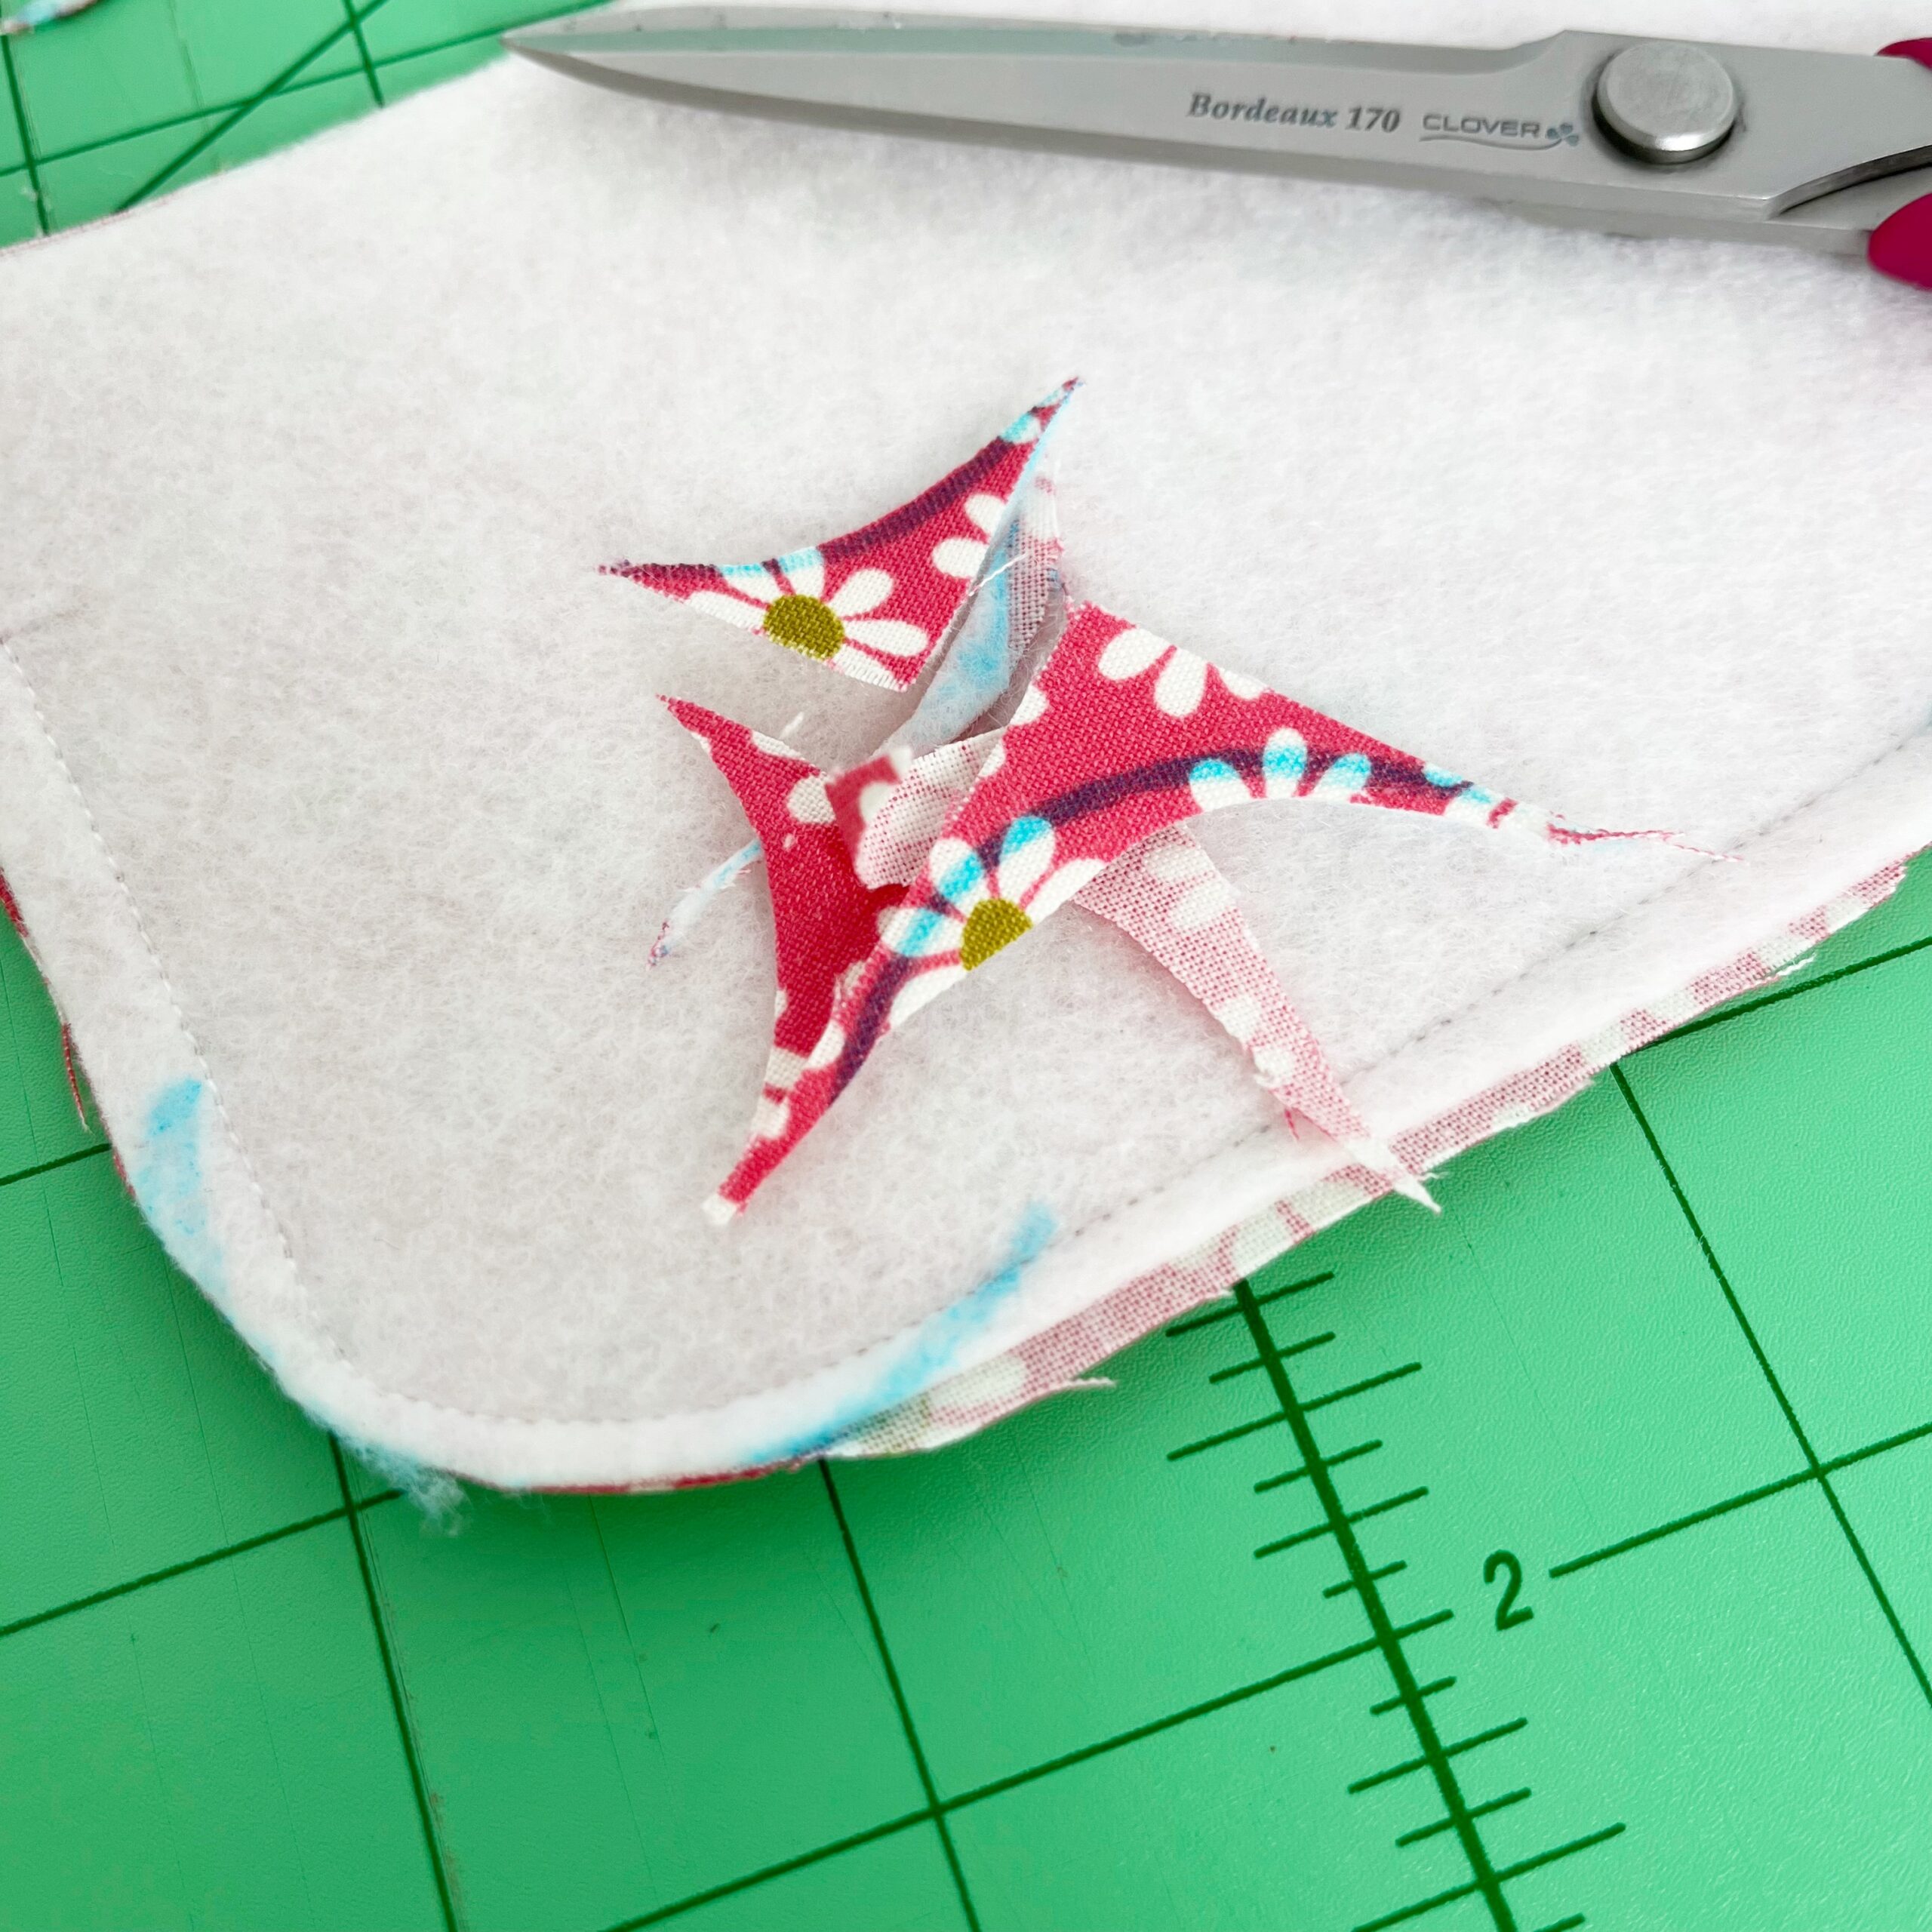
Step Eight: Now we will sew the flap closure. Adhere the fusible fleece to the back of one of the flap fabrics. Turn it wrong side up and using a rounded edge of a spool, mark a curve on the bottom corners. Place the two flap fabrics right side together, clip in place and sew 1/4 inch seam around the three edges, leaving the top open. Follow the marked curves on the bottom corners. Trim the corners. Turn the flap right side out and press. Topstitch 1/8″ seam around the sewn edges to give it a finished look.
.
.
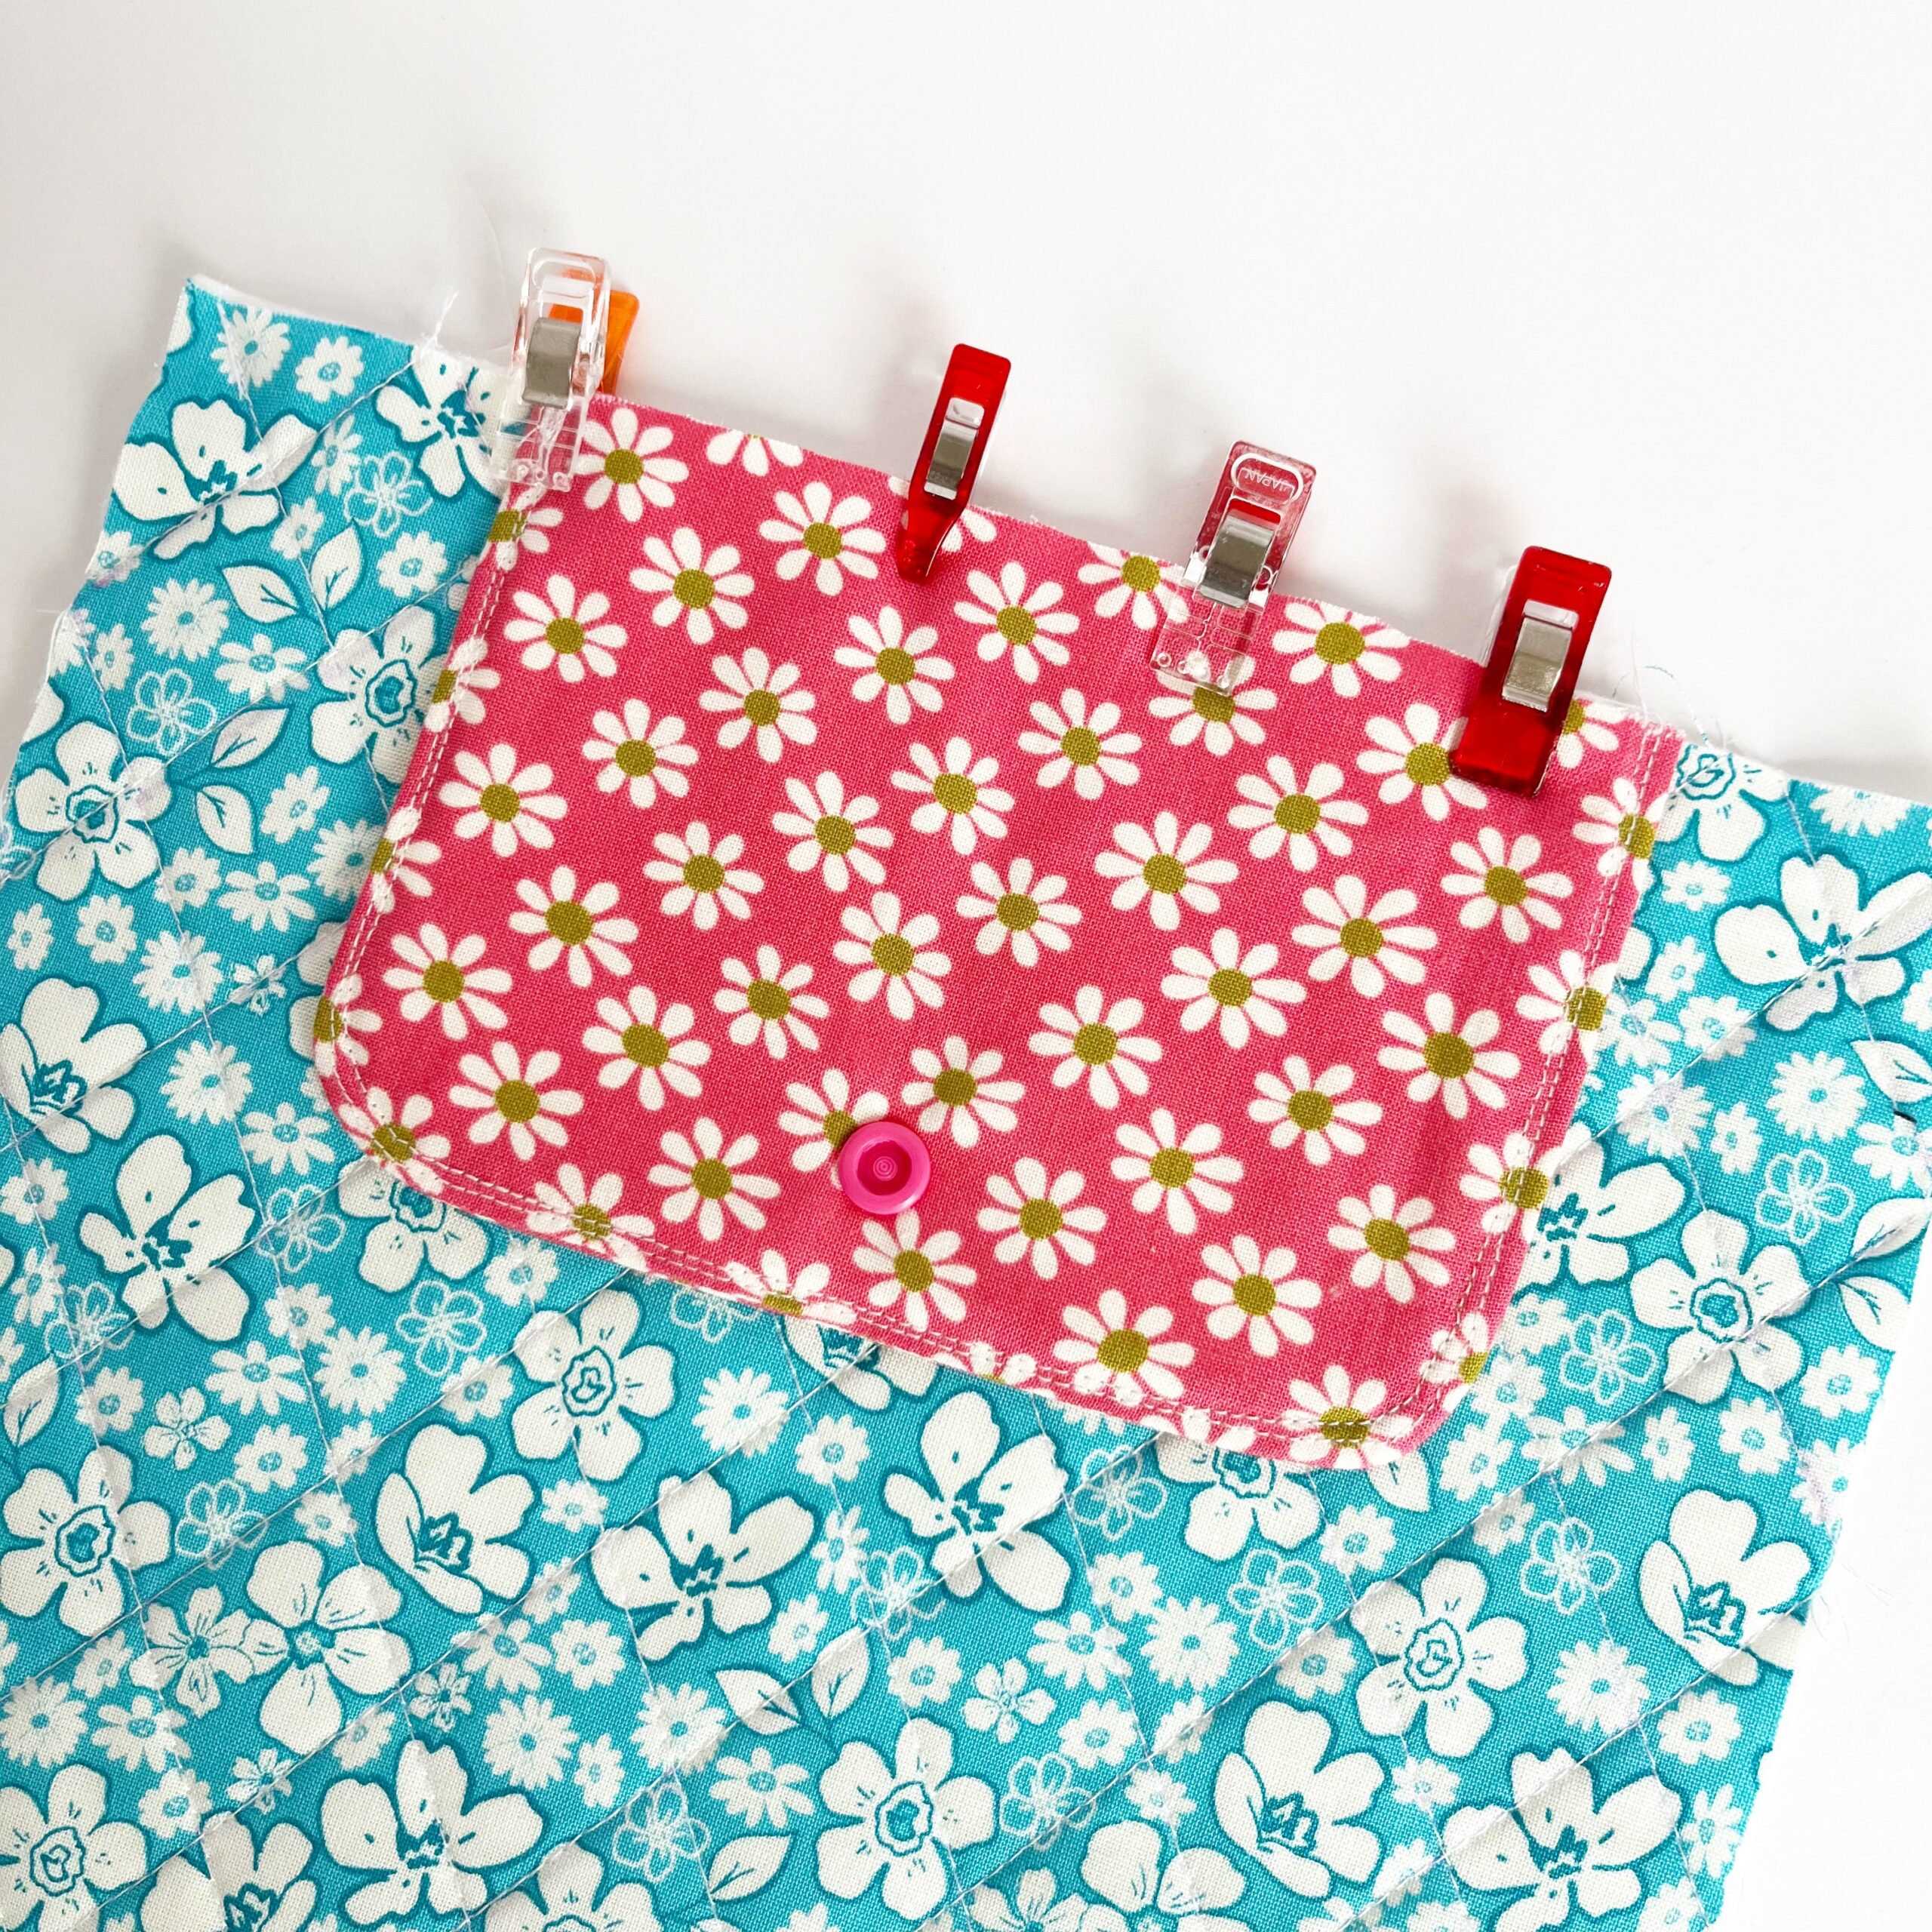
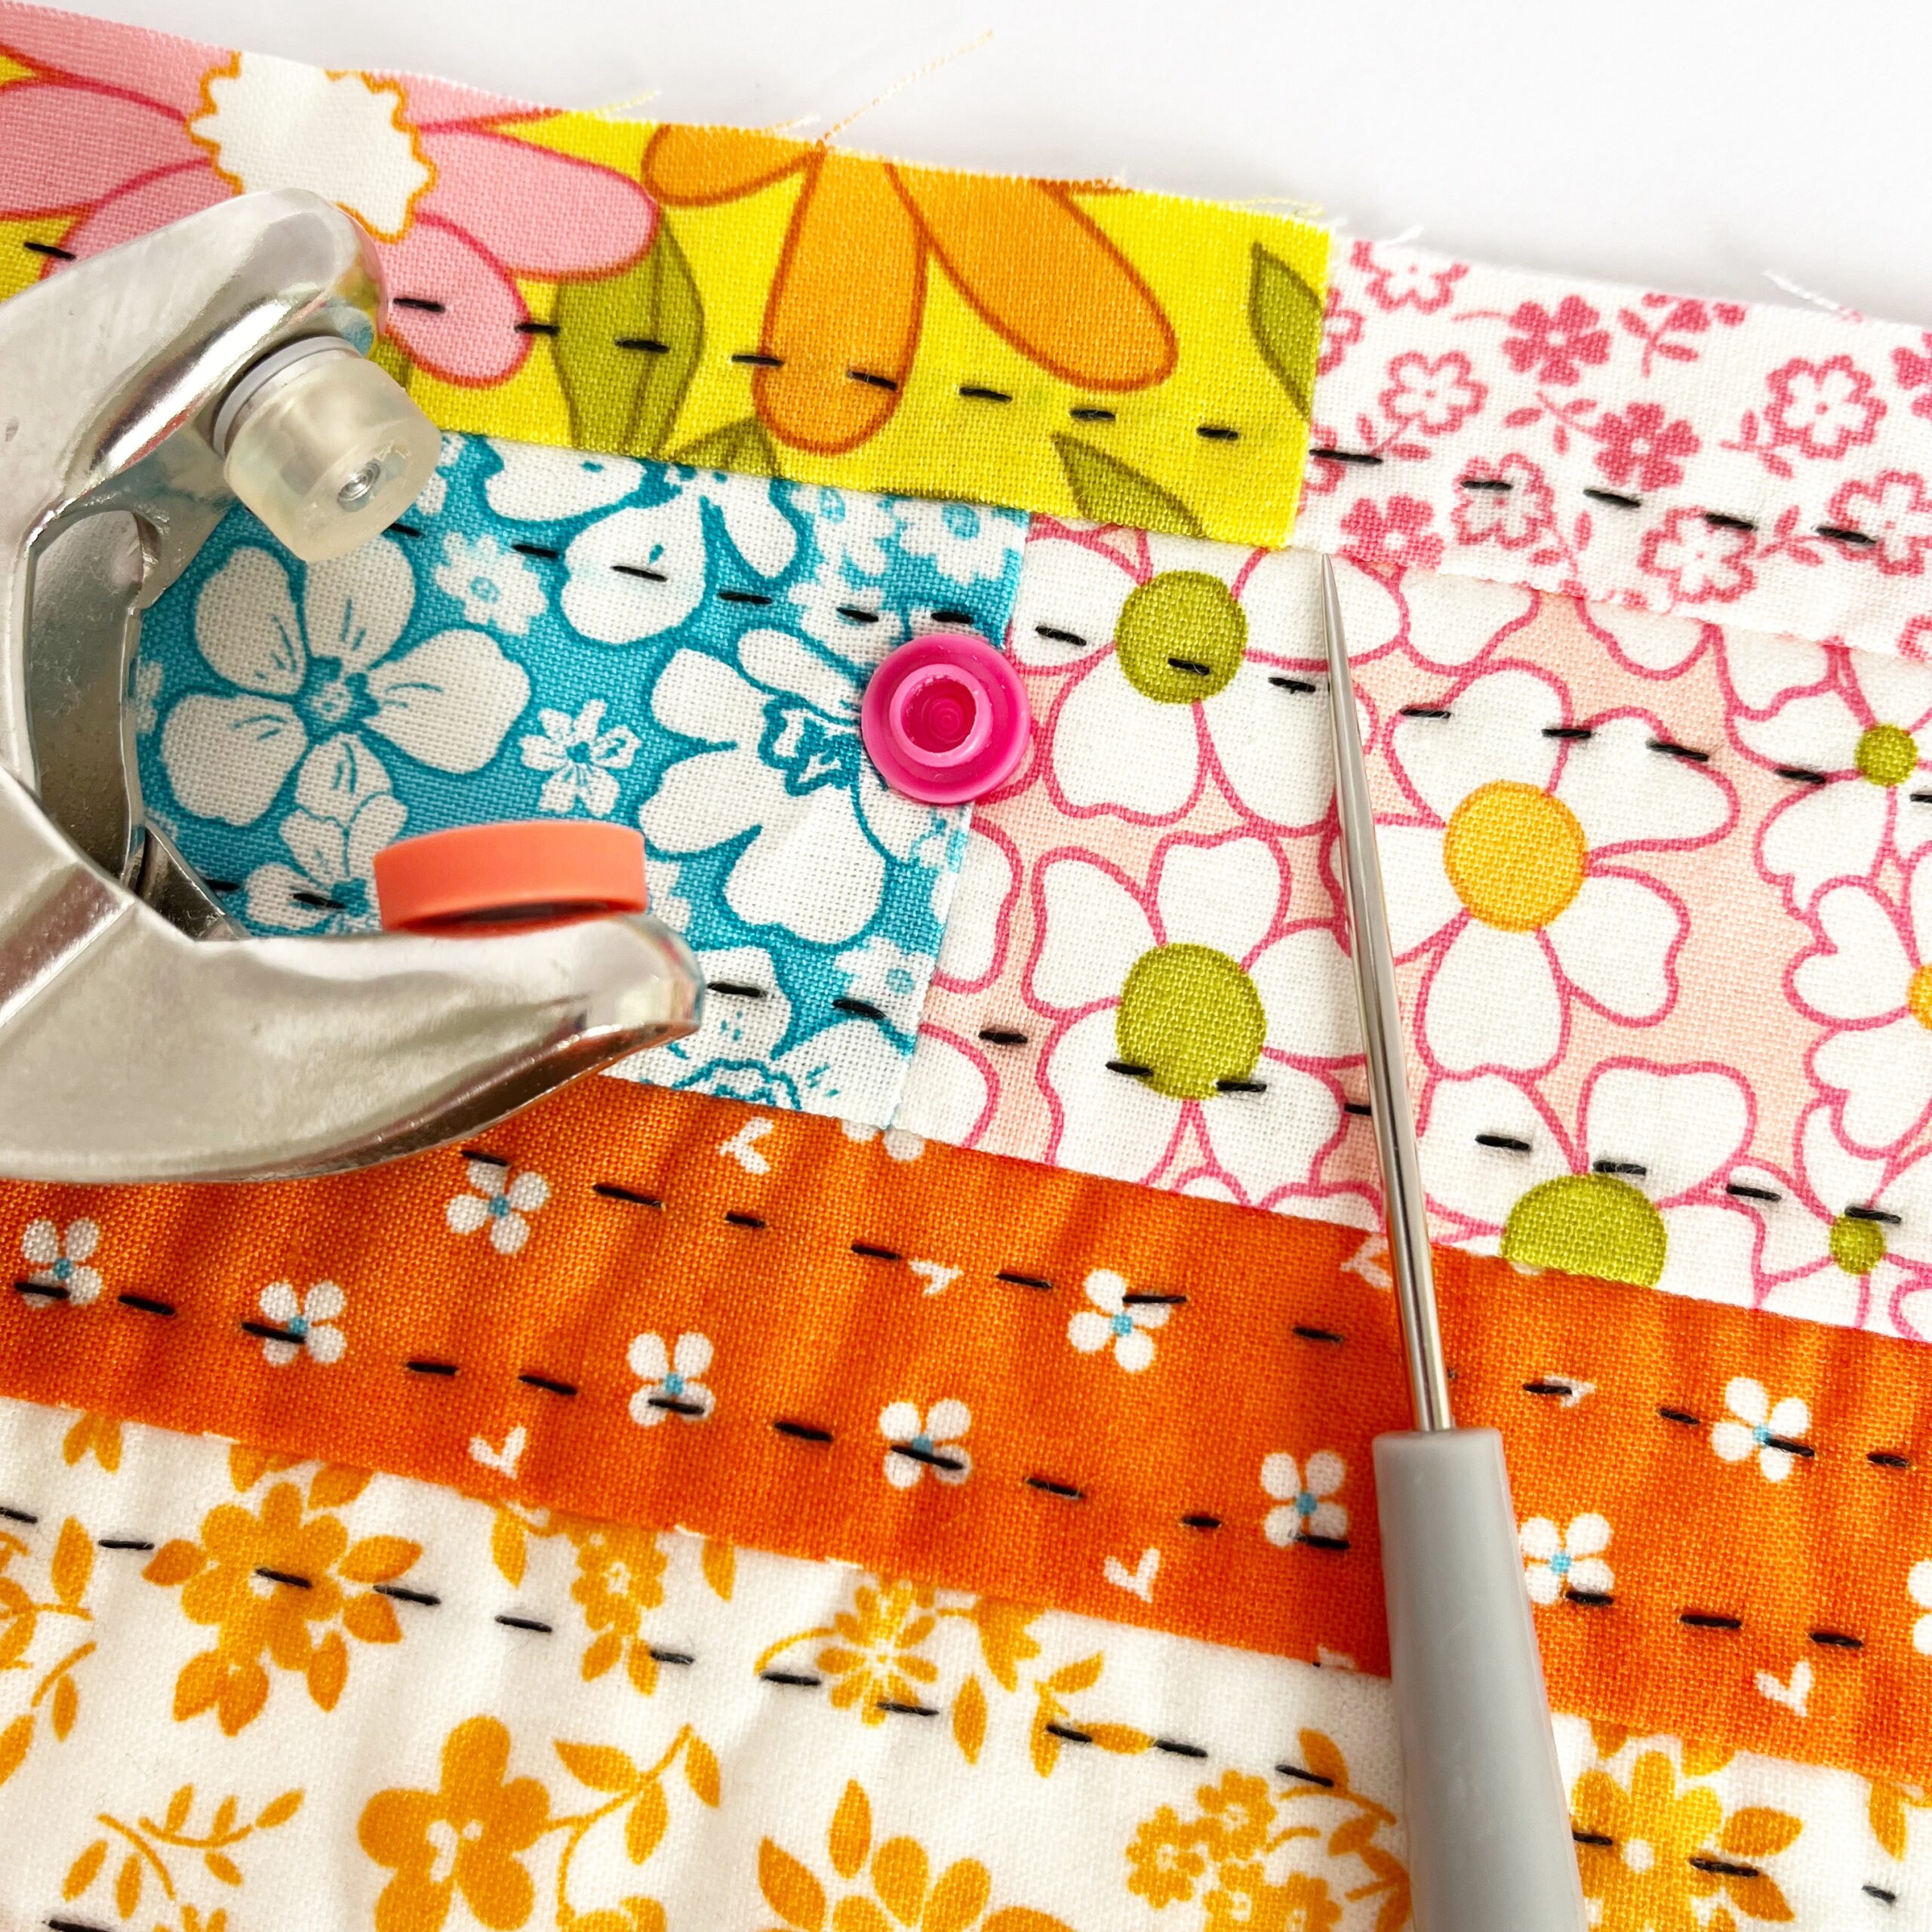
Step Nine: Choose the closure of your choice for the flap. There are several options: a button and buttonhole, velcro closure, or snaps. I chose to place snaps. They are so fast. I centered my snap about 1 inch from the bottom of the flap. Now you will lay the flap on top of the fabric back. Center it and clip in place. Sew a 1/4 inch seam to hold it.
.
.
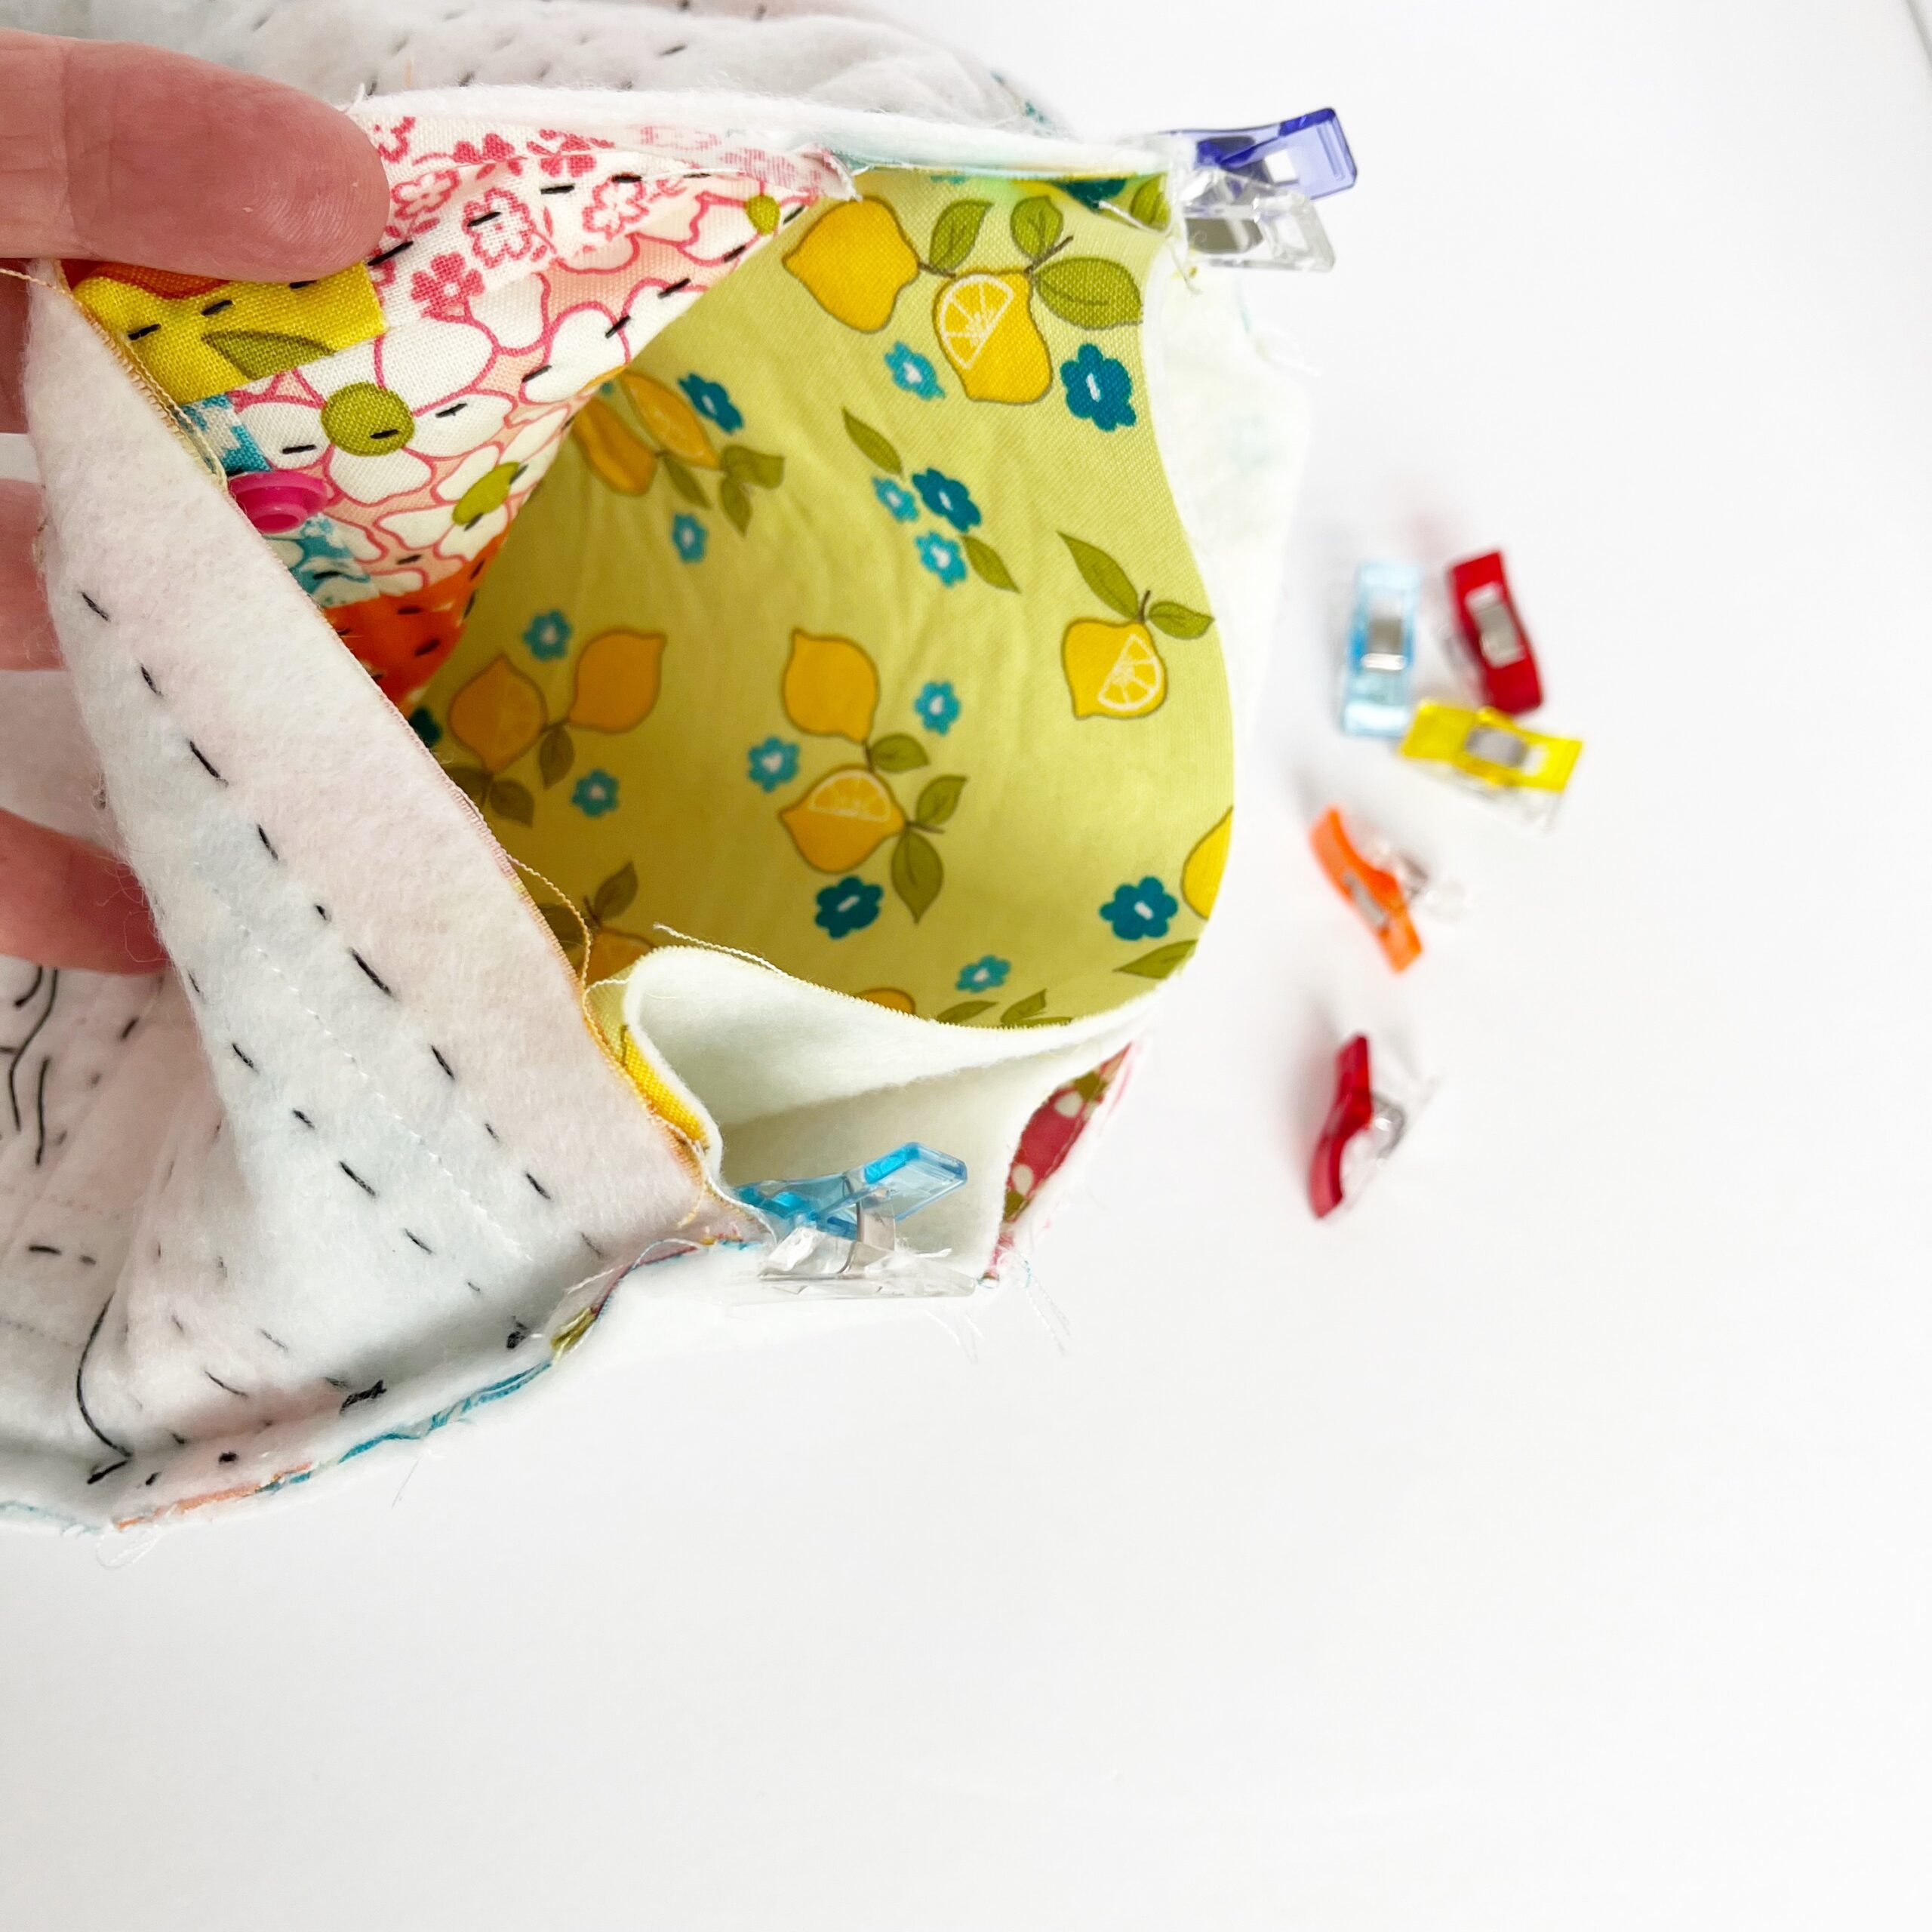
Step Ten: Place the other snap piece on the front panel. I centered it about 1.5 inches from the top edge.
.
.
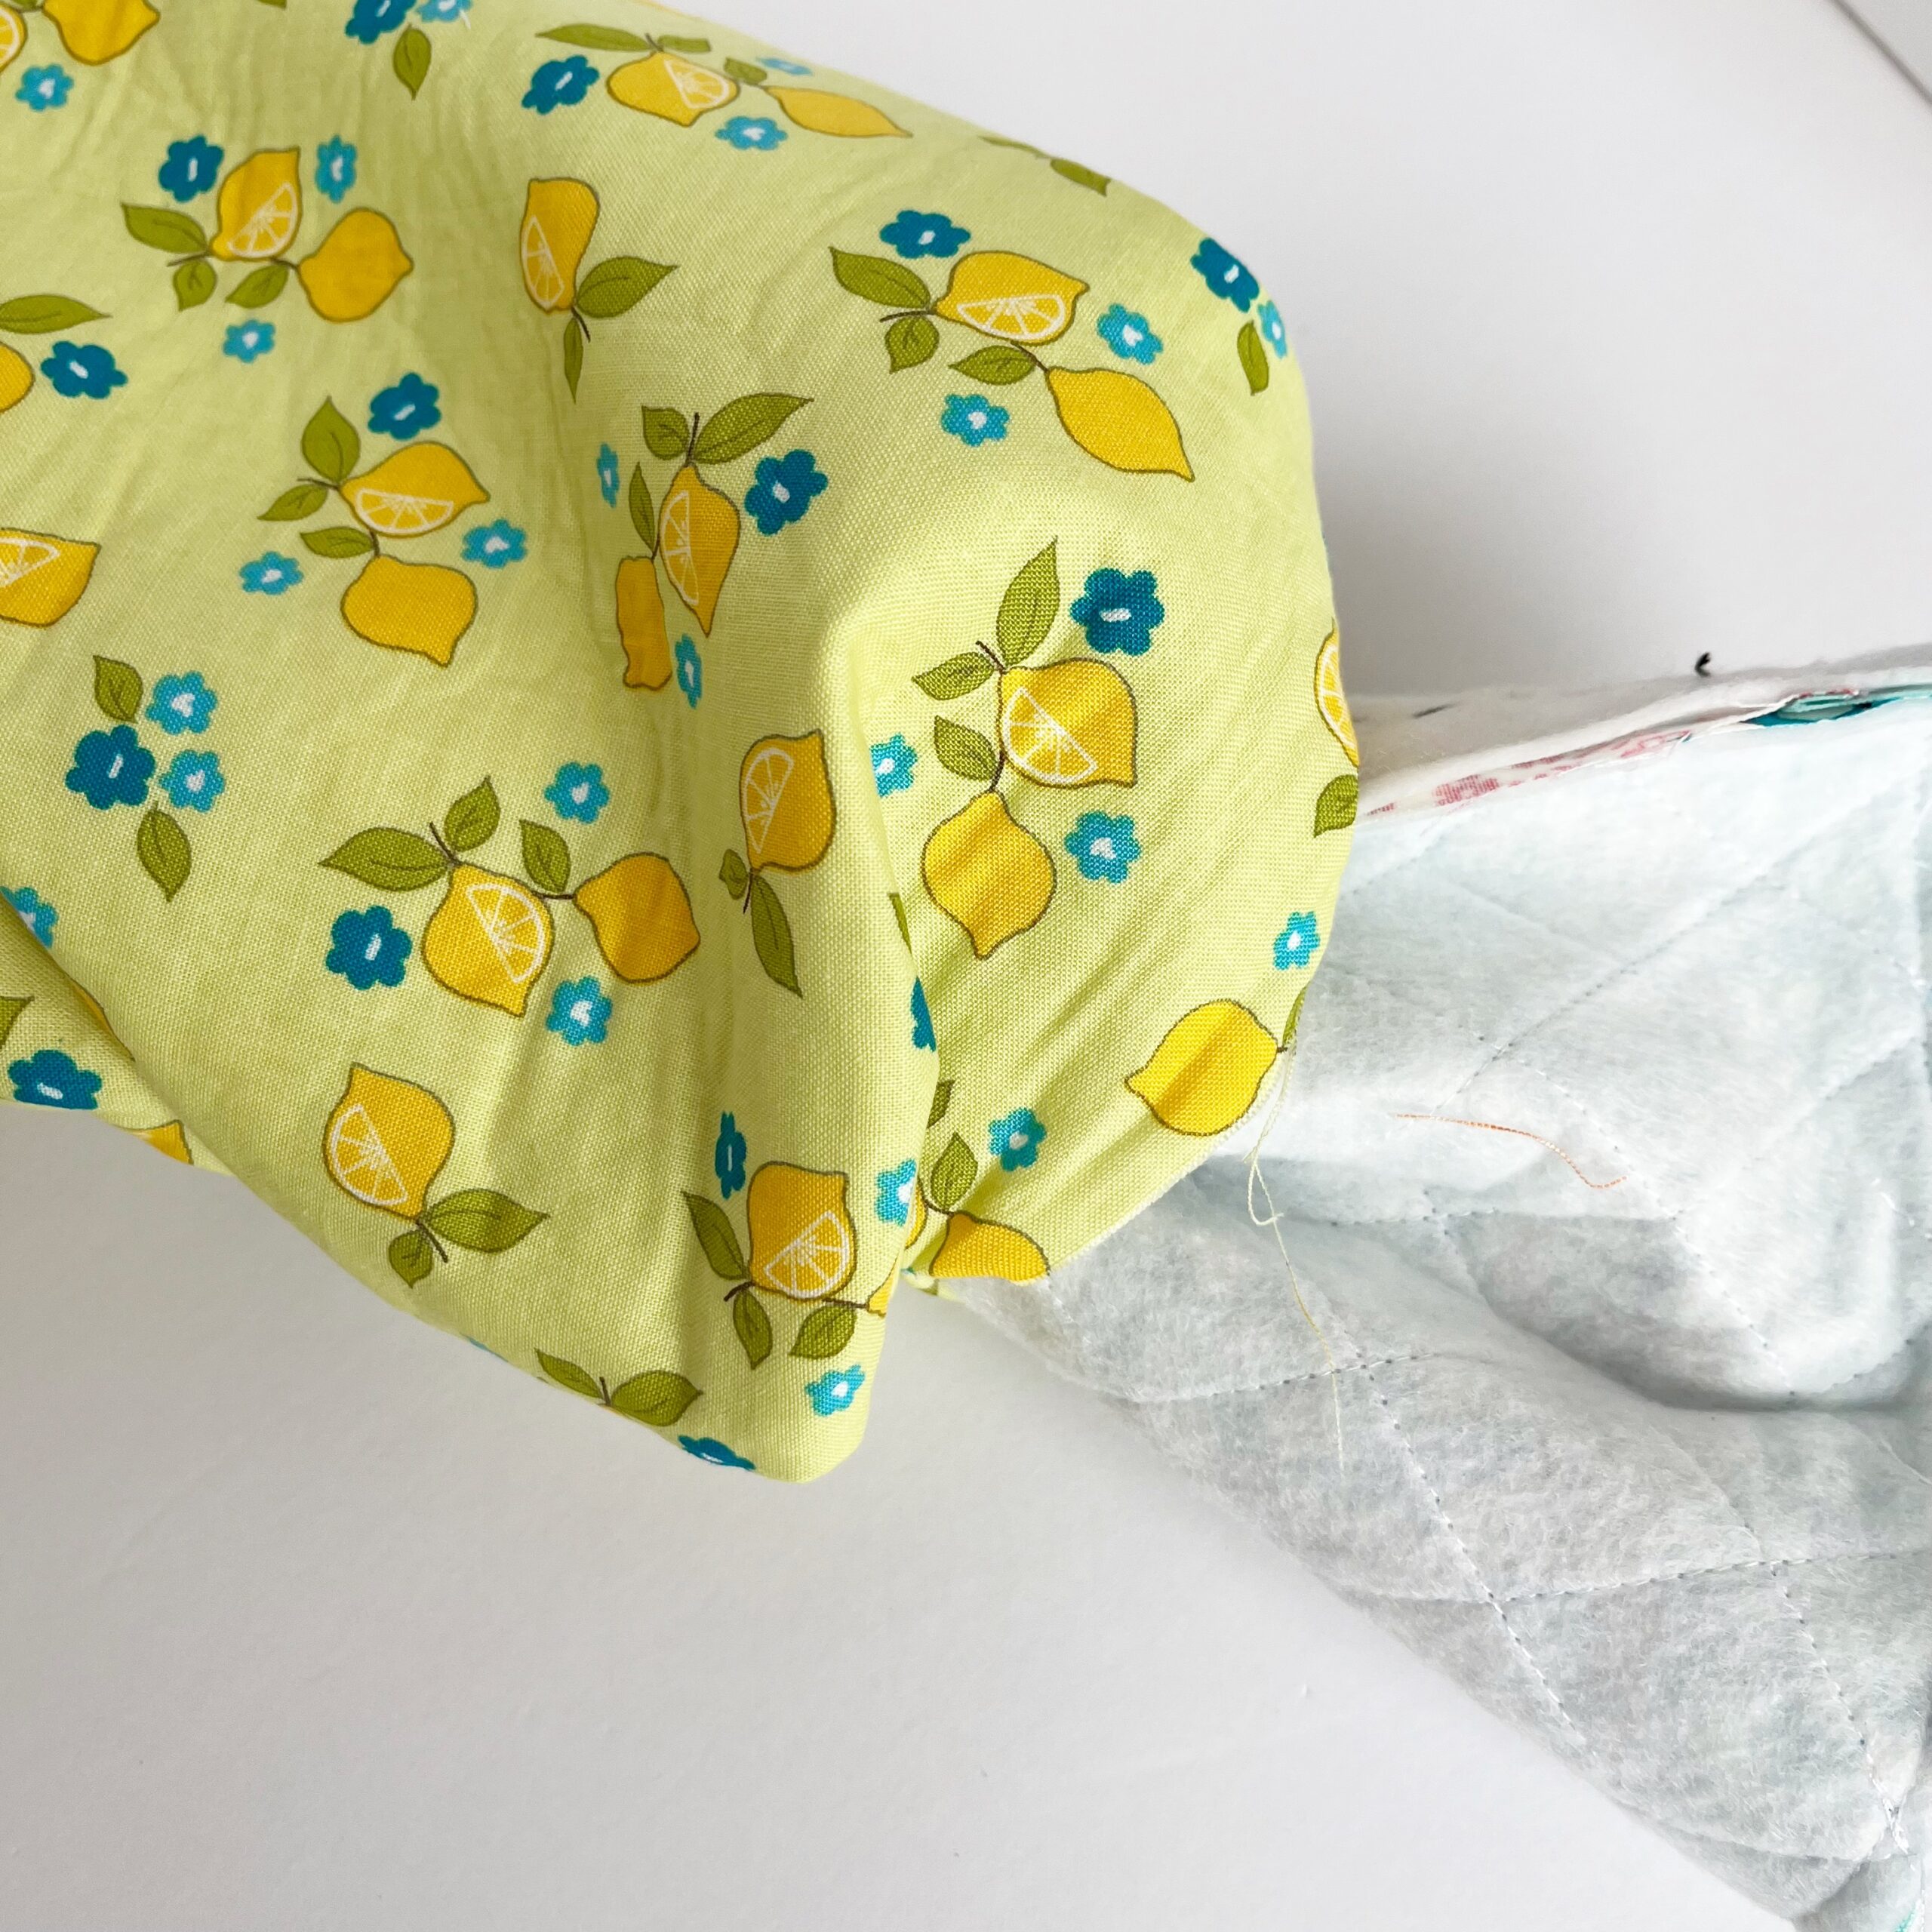
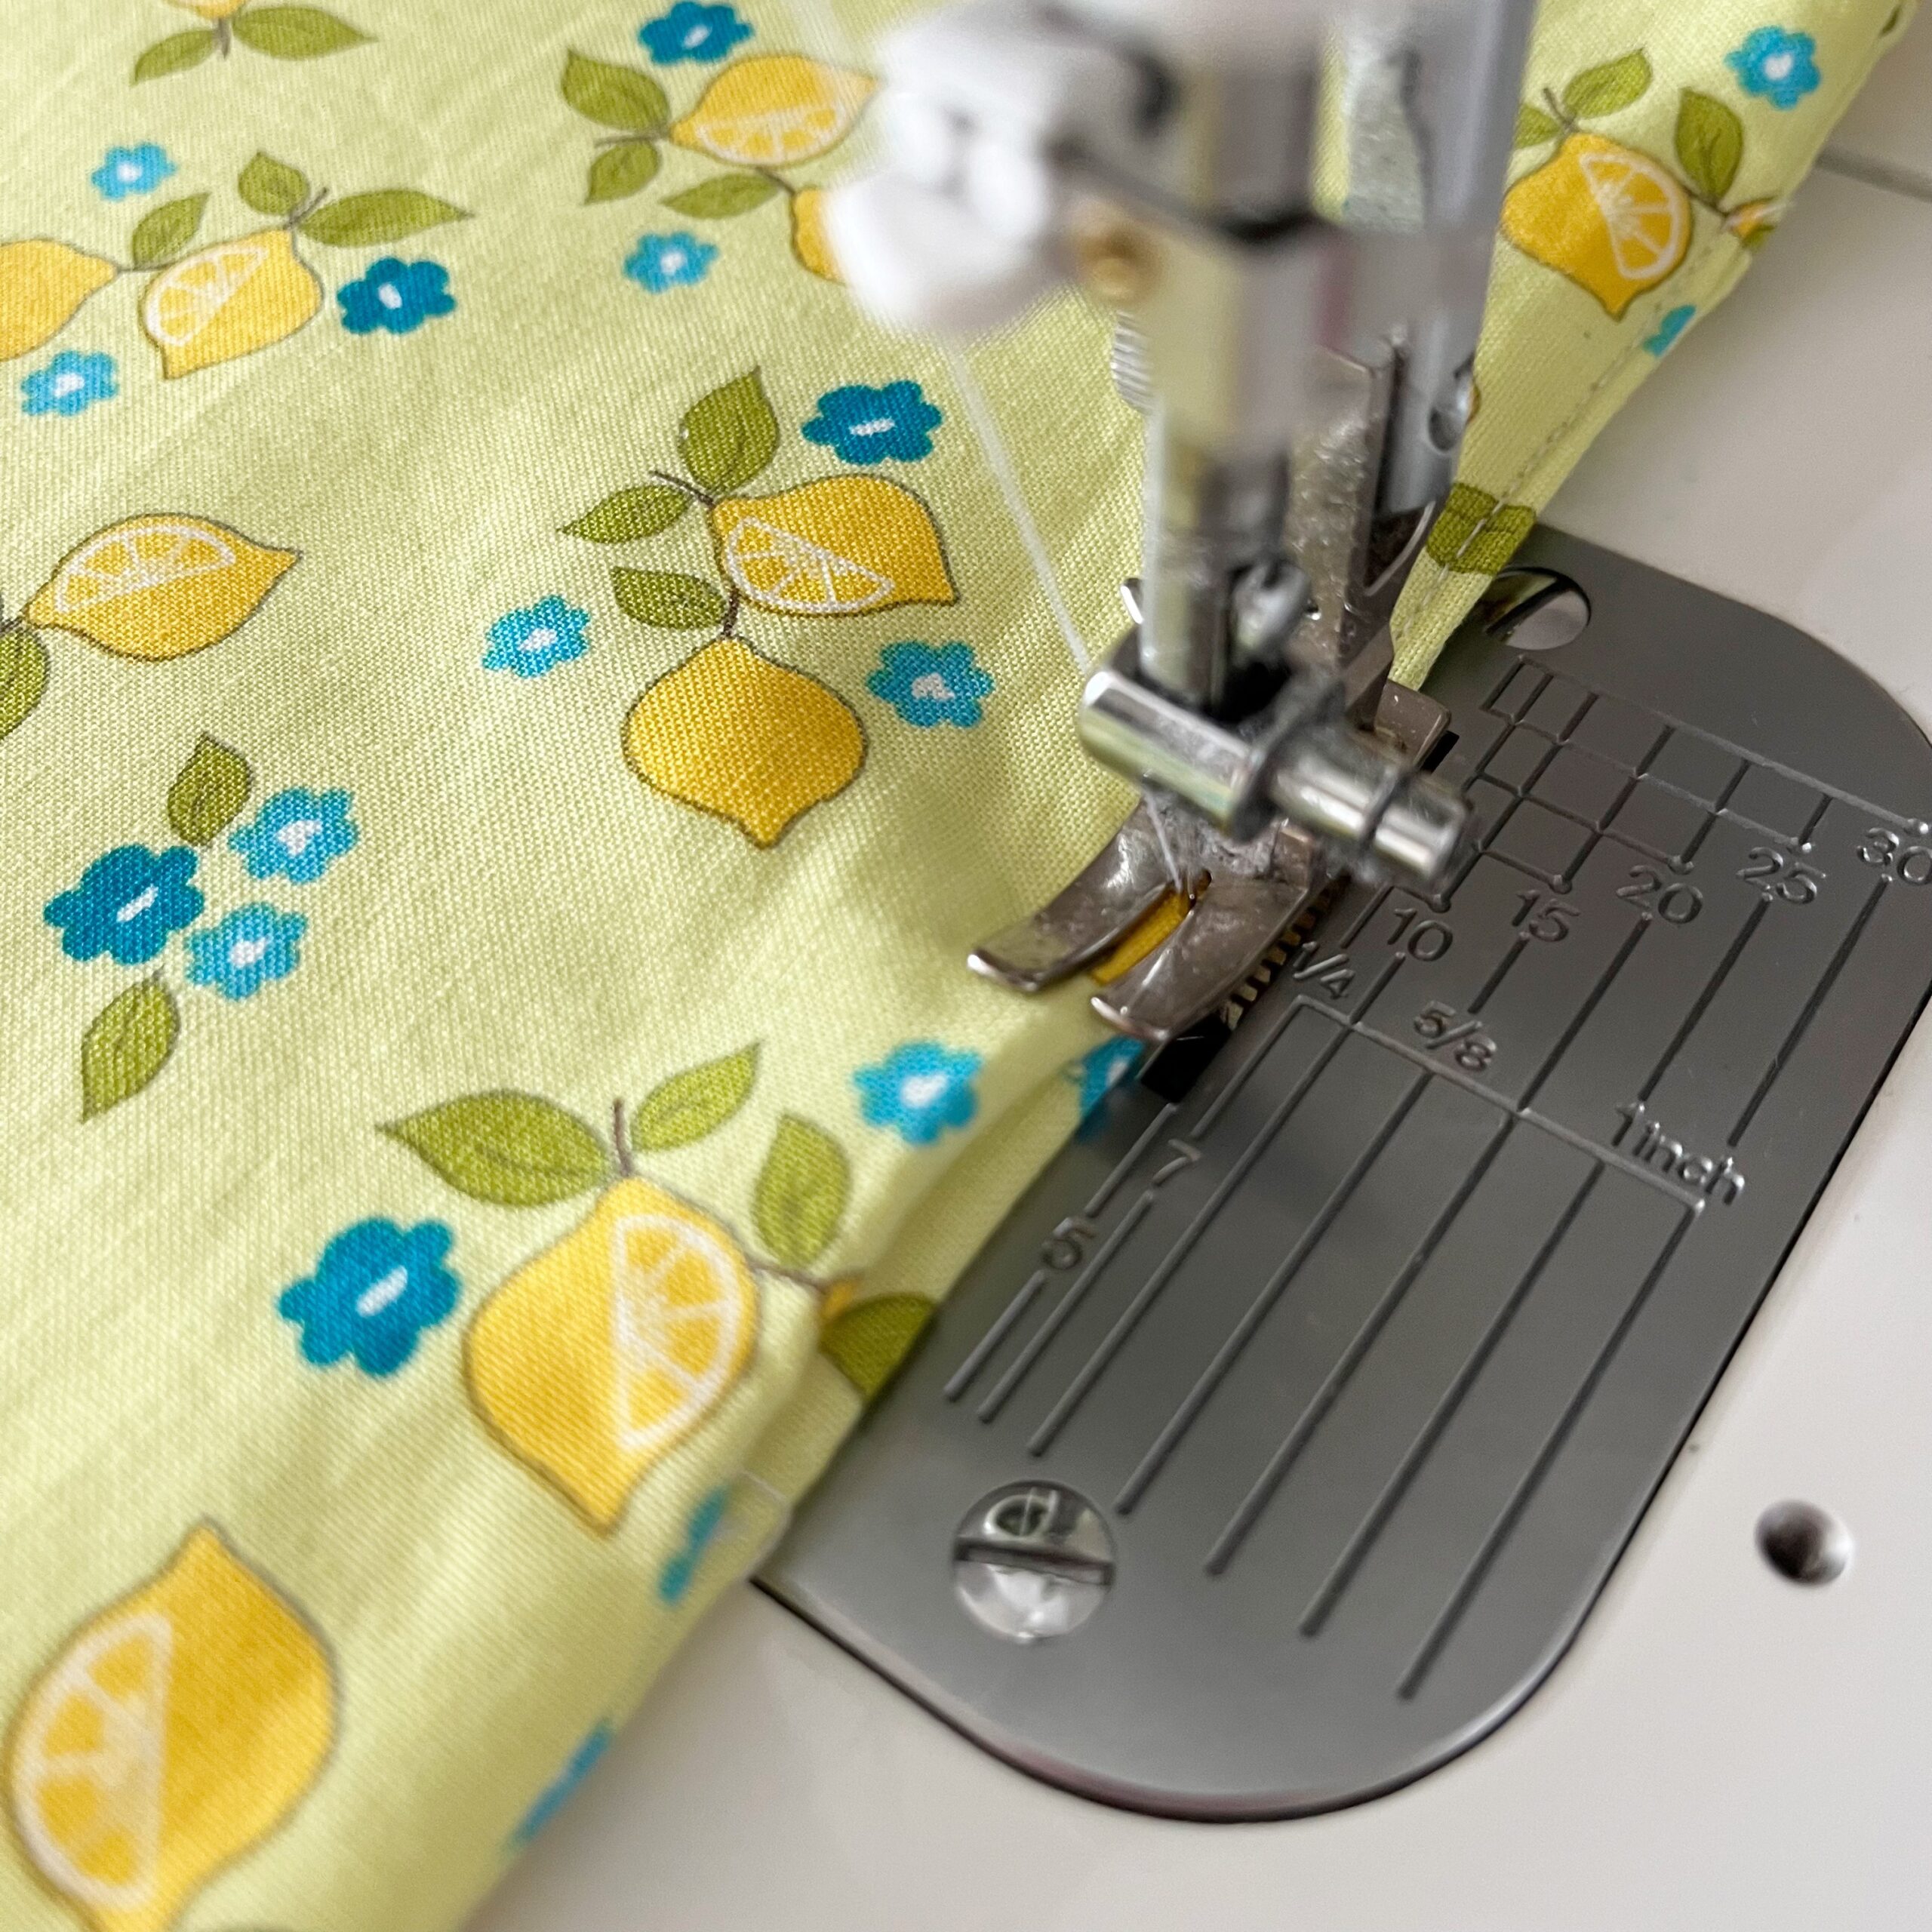
Step Eleven: We are almost finished! Push the lining into the outer portion of the case, right sides together. You will have to push and pull to get it in all the way. Line up the side seams and use clips to hold in place. Sew a 1/4 inch seam along the entire top portion of the case.
.
.
Step Twelve: Pul the outer portion of the case through the opening left in the lining. Then fold in the raw edges of that opening and topstitch it closed.
.
.
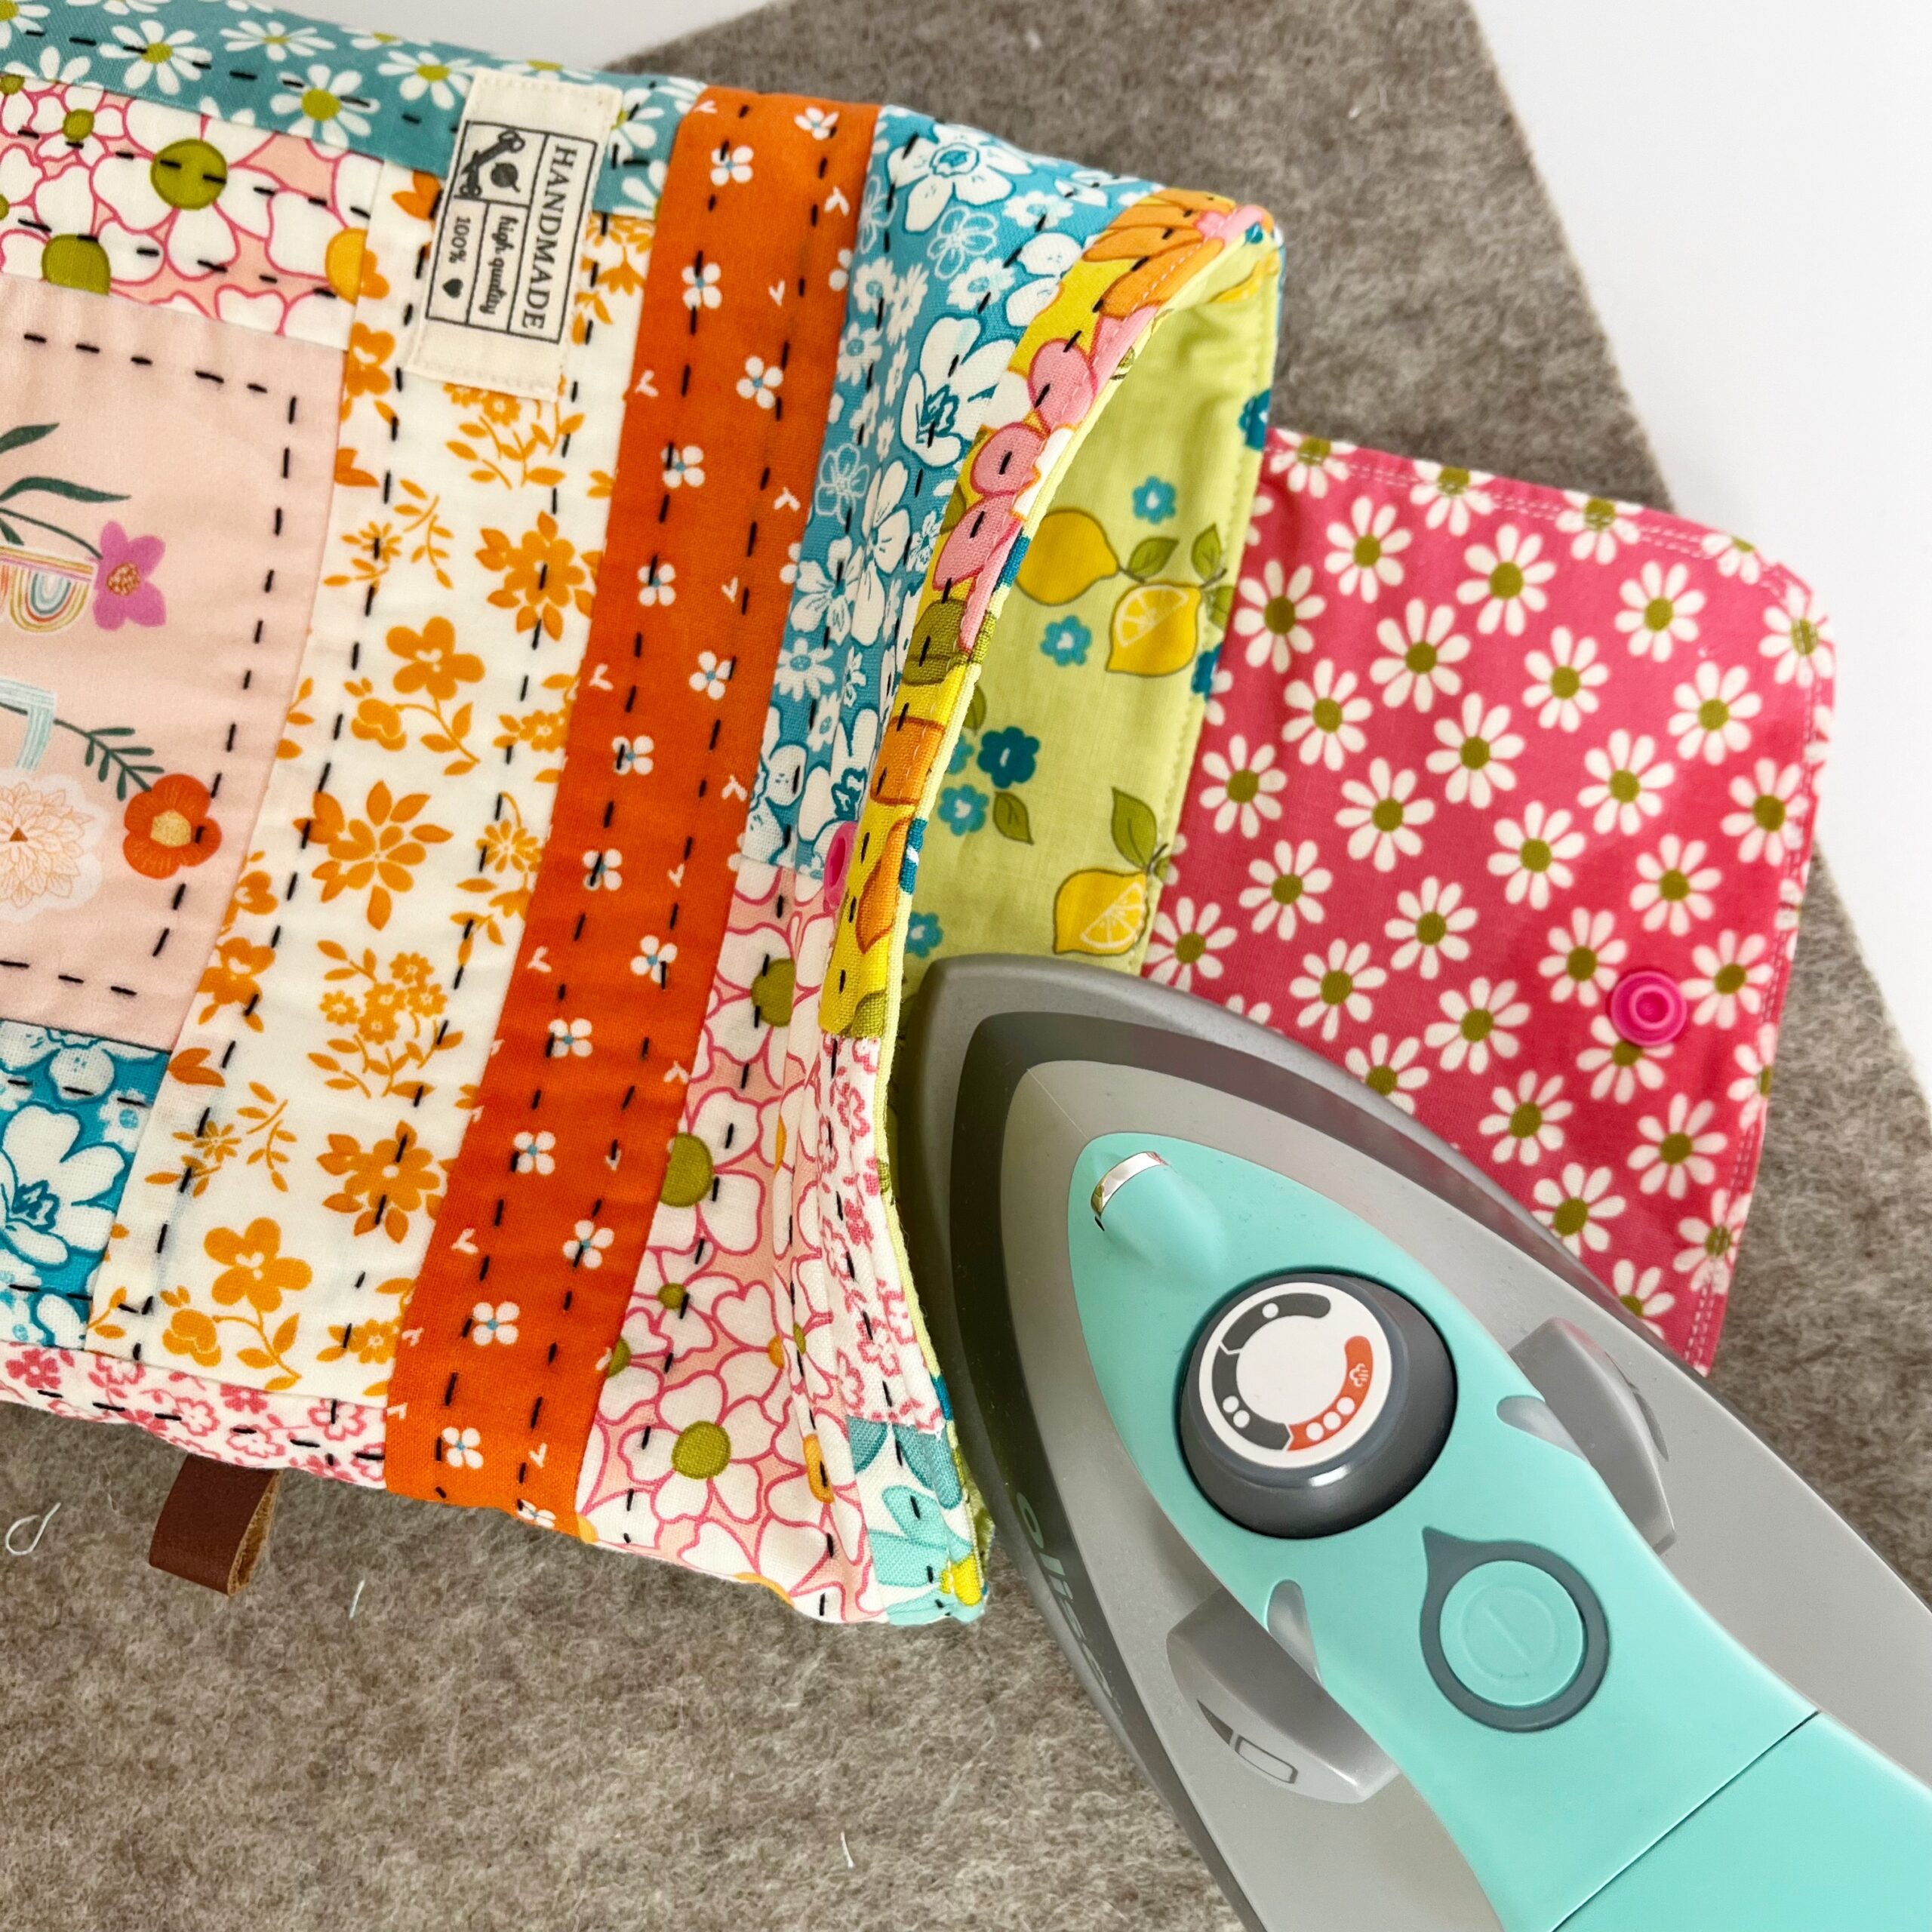
Step Thirteen: Push the lining into the case and iron it carefully. Topstitch along the top of the case, so that it holds the lining inside!
.

.
.
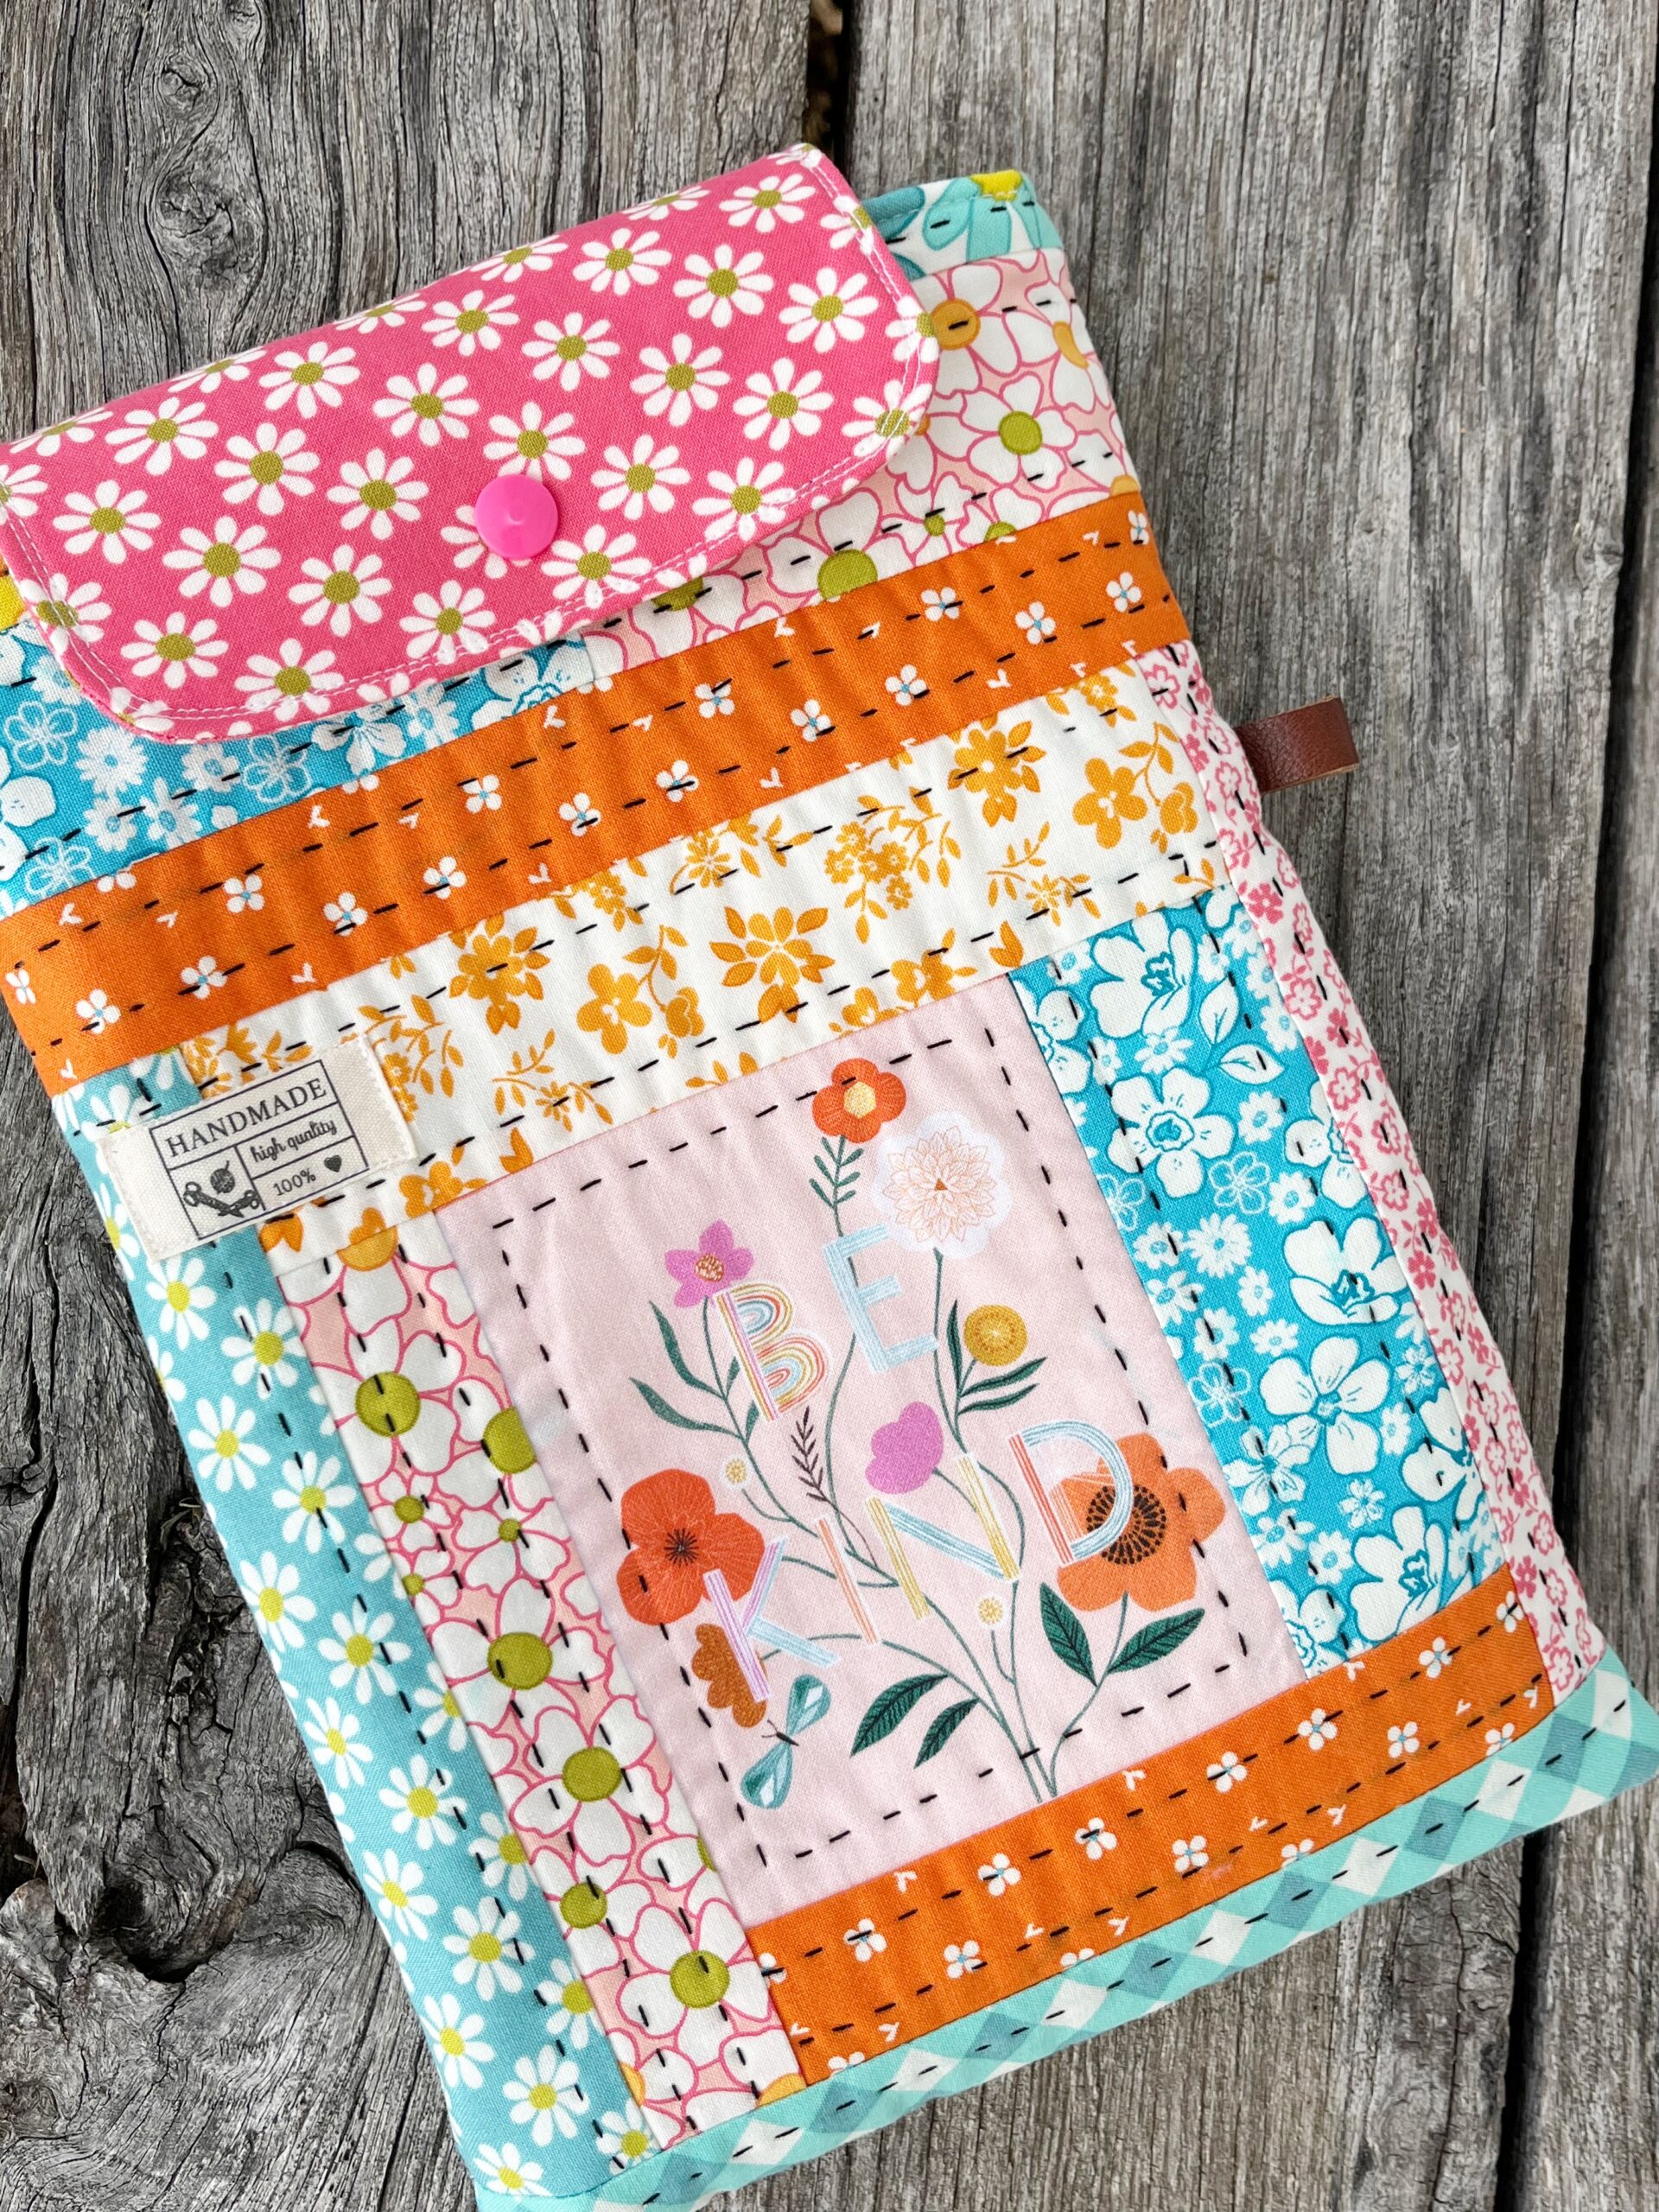
Your iPad case is complete! And look how fun this is!!!
Be sure to let me know when make one and tag me on IG @redfeedsack so I can see it!
Until our gravel roads cross again… so long.
Dori


It’s so darn cute!
Thank You for all the details and pics, who knows….I might even try it one day!
what a perfect idea! I need to make a birthday gift for a dear friend. This fits the bill to a tee!!! And she will appreciate it so much. Thanks, Dori.
Dori, you come up with the most clever designs, and the colors are always so cheery and fun! You’ve given great instructions, and I’m certain there are sewing machines humming away with grateful Sisters who now have names checked off their gift-giving list – it’s true: the best gifts are handmade! Hmmm, wonder if I can start up that vintage White sewing machine I found for free? Thanks again, Mary
Very pretty, beautiful workmanship, as well as a wonderful gift that is useful! Thank you for sharing the tutorial.