.
Hello Farmgirl Friends!
I’ve been working on some home sewn gifts and suddenly it occurred to me that I don’t think I’ve ever done a potholder tutorial for you on this blog. This seemed like the perfect time!
.
.
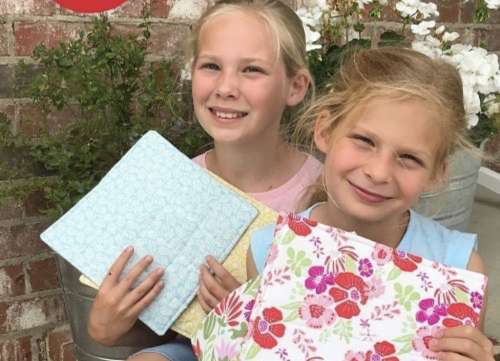
You can make your potholders as hard as you want, or as simple. I’ve taught my grand-girls and their friends how to make the most basic and simple of potholders but today I’m going to show you how to make some super fun and fast patchwork quilted ones.
Lets get started by gathering supplies!
.
.
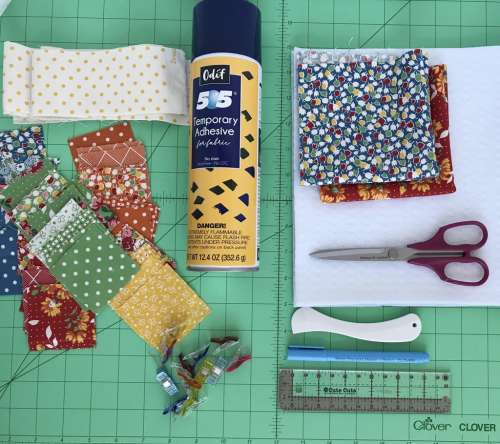
Supplies Needed (for two potholders):
- 32 scrap pieces of fabric, cut to 2.5 inches square
- 2 fabric backing piece cut 10 inches square
- 2 Fabric strips cut 2.5 inches wide by 45 inches long for binding
- 2 pieces of Insulbrite Batting cut to 10 inches square
- Sewing machine with white thread
- Scissors
- Hera Marker or a Fabric Marking Pen
- Ruler
- Wonder Clips or Straight Pins
- Fabric Spray Adhesive
.
.
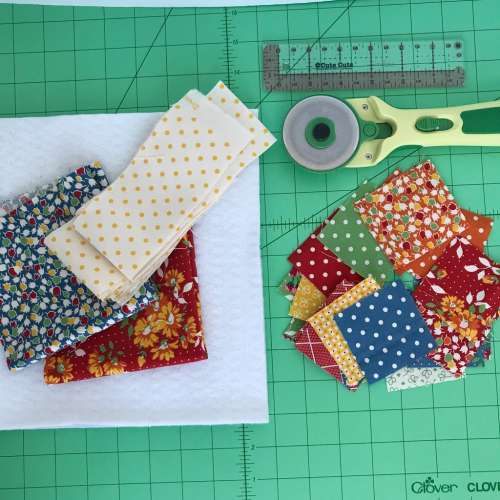
Step One: Cut all your fabric scraps, backing fabric piece, binding and Insulbrite batting according to measurements above.
.
.
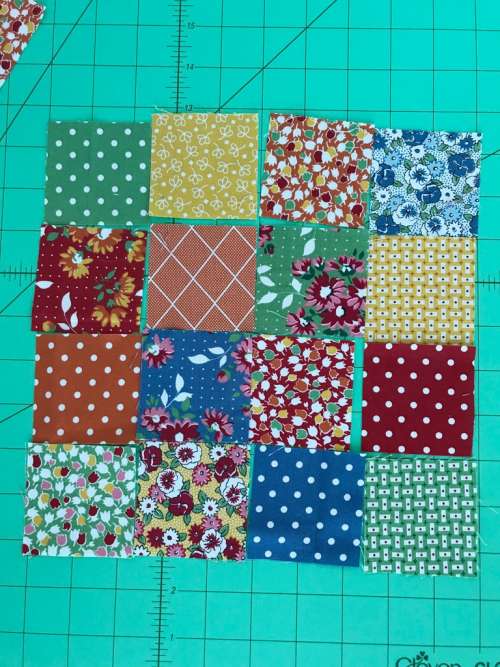
Step Two: Lay out your little fabric squares in a 4 x 4 pattern. Don’t spend a lot of time getting too worried on this step! After they are sewn together, they will all look perfect!
.
.
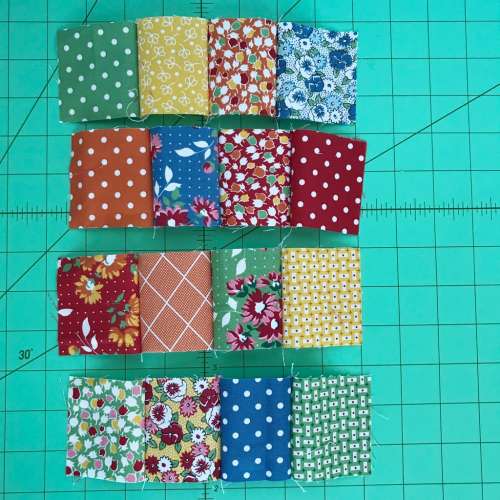
Step Three: Sew your first row of squares together using a 1/4 inch seam allowance. Repeat with remaining three rows.
.
.
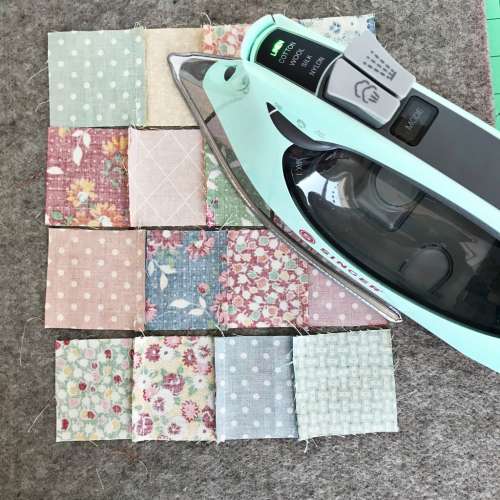
Step Four: Iron the first row with the seams all going in the same direction. Iron the second row with the seams going in the opposite direction. Repeat with rows three and four.
.
.
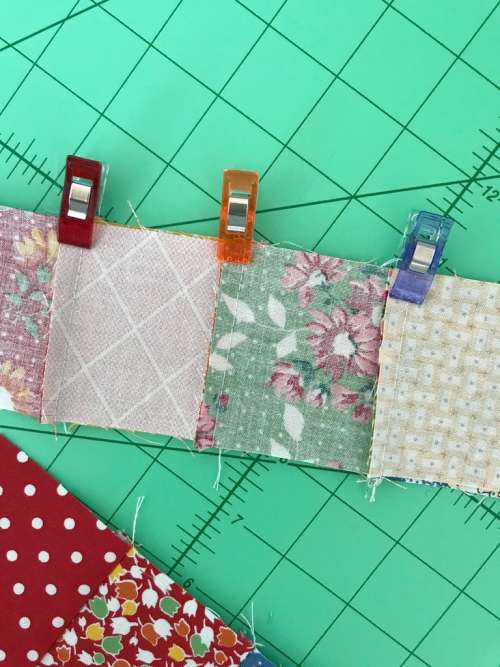
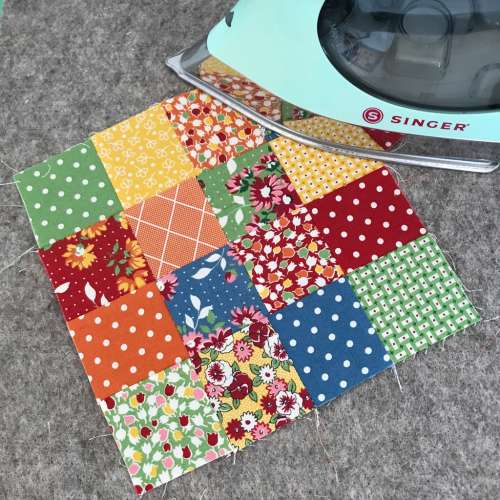
Step Five: Clip (or pin) row one to row two, matching the seams. Sew together with a 1/4 inch seams allowance.
.
.
Step Six: Repeat with remaining rows. Iron carefully until flat.
.
.
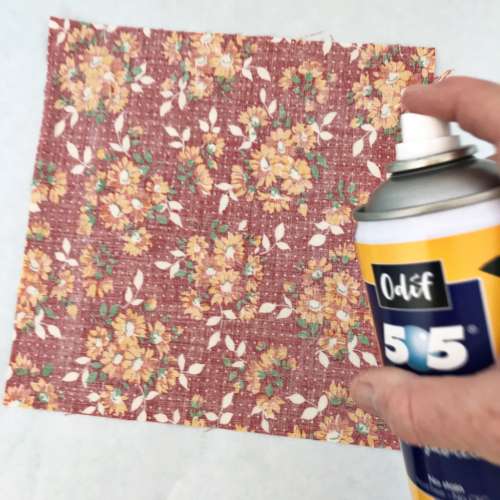
Step Seven: Lightly spray the wrong side of the backing fabric and place Insulbrite batting on top of that. Press gently until it adheres.
.
.
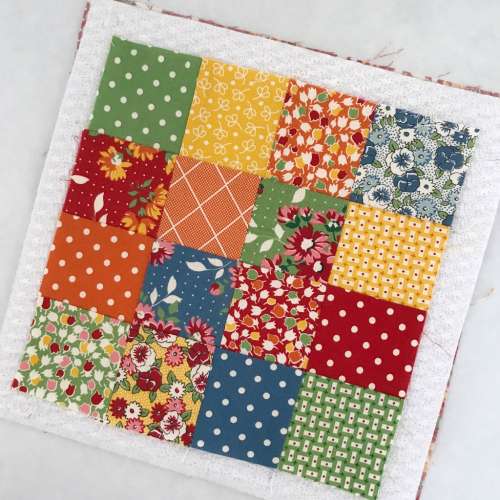
Step Eight: Lightly spray the wrong side of the pieced top and place it on top of the batting. Press gently until it adheres.
.
.
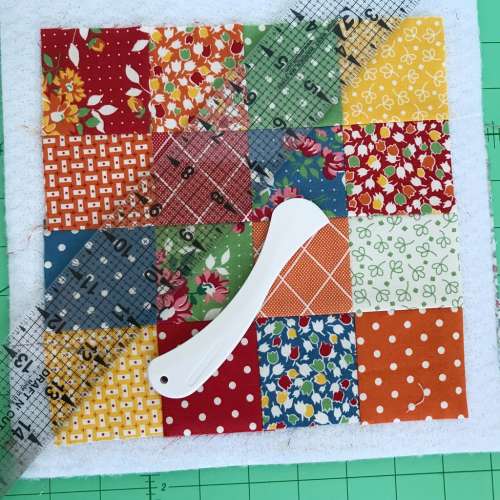
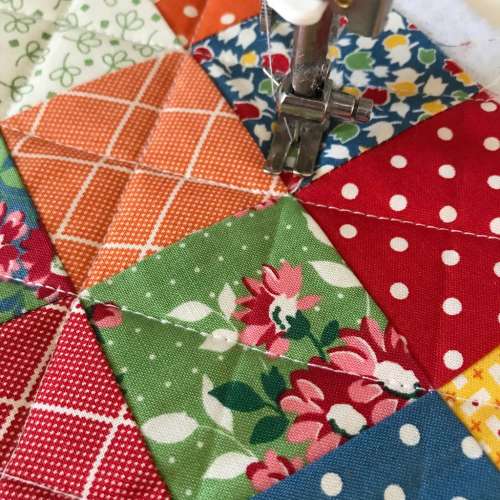
Step Nine: Using a Hera marker or a fabric marking pen, mark the potholder front however you would like for quilting. I like to sew mine on the diagonal from corner to corner of each little square.
.
 ..
..
Step Ten: Sew on the marked lines, easily quilting your potholder together.
.
.
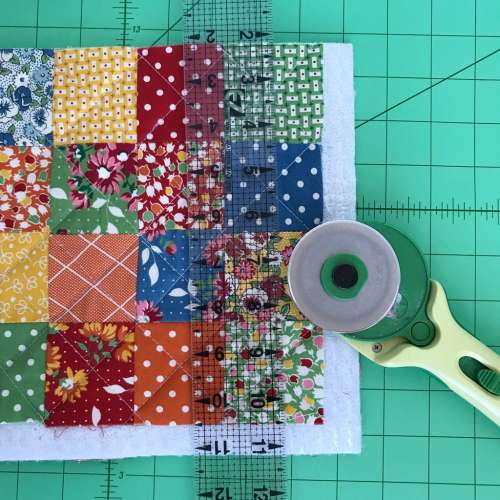
Step Eleven: Trim your potholder along the edges of the potholder front, so that all three layers are 8.5 inches square.
.
.
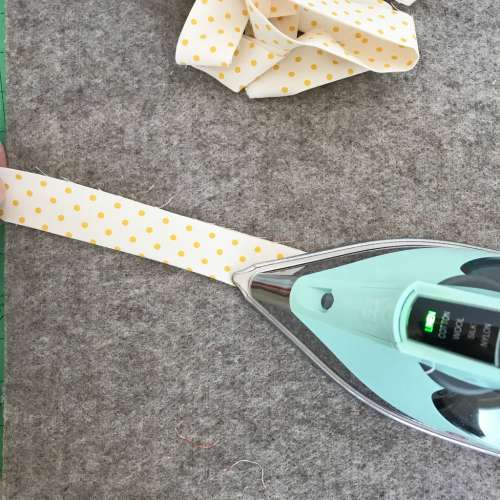
Step Twelve: Take the long binding strip of fabric and fold it in half, pressing the entire length.
.
.
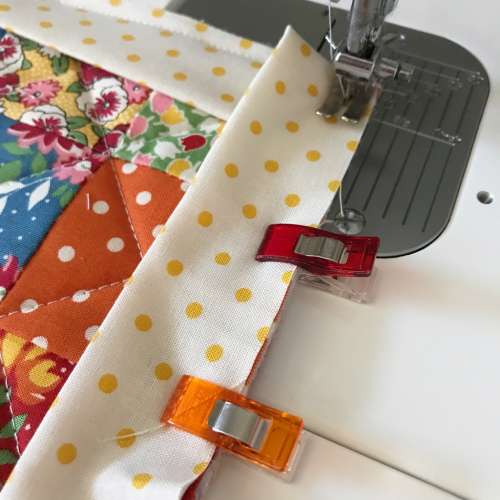
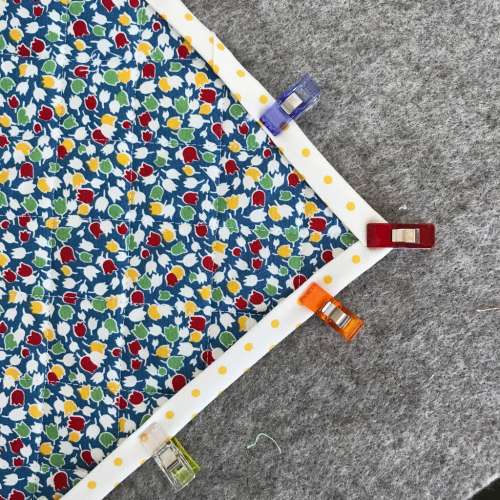
Step Thirteen: Place the raw edge of the binding to the raw edge of the potholder front and clip in place. Sew with a scant 1/4″ seam all the way around. (You will attach the binding just like you would on a quilt. If you’ve never done this before I would suggest watching a video tutorial on attaching quilt binding.)
.
.
Step Fourteen: Once your binding is sewn in place, fold to the back and press in place. Clip in place making sure that the fold goes past the previously sewn line.
.

.
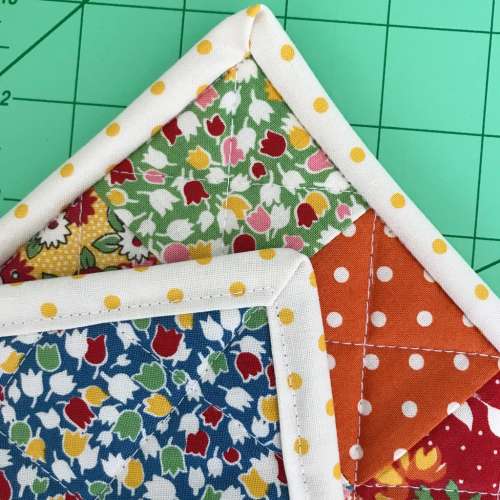
Step Fifteen: Turn potholder to the front and carefully sew in the ditch of the binding seam all the way around.
.
.
If you have sewn it properly, your stitching should just catch the binding on the back and be invisible on the front.
.
..
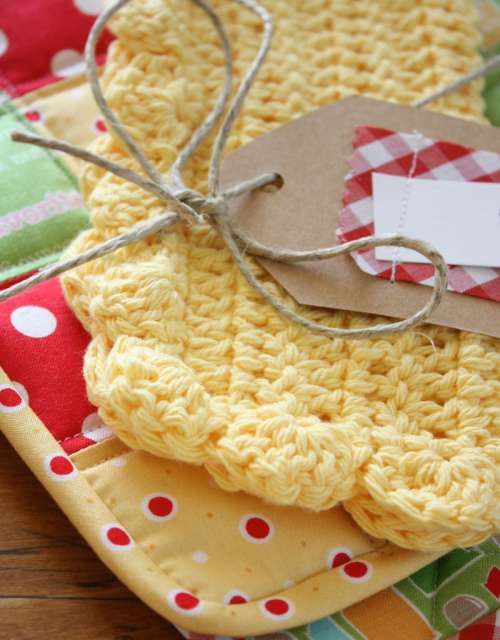
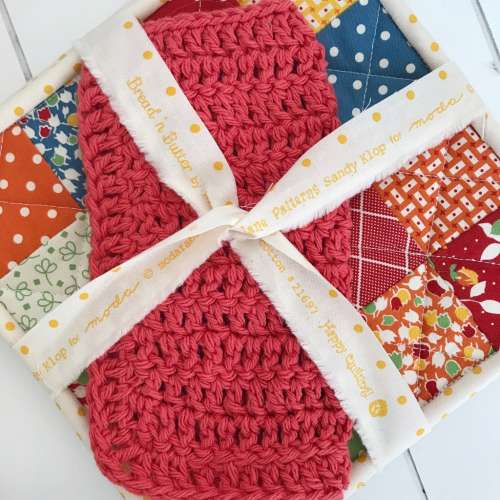
Your potholder is complete!!! I like to gift them in sets of two, tied with a piece of twine or a fabric scrap! They are super fun to gift along with a crocheted dishcloth! Because, honestly, anyone can use potholders right?!
.

.
I hope your Christmas Holiday is the very best!
.
Until our gravel roads cross again… so long.
Dori


Dori … I love this simple tutorial and I love making home gifts for my friends! Thank you for all of the great posts throughout the year. I hope your holidays are merry and bright! Carol
Thank you for the step by step tutorial Dori!!! I use my potholders you gifted me every single day!! Now if I can get your tutorial on that sweet dishcloth?? I love my cotton dishcloths!
Merry Christmas and warm hugs!!!
Kim
Very cute!
That is great idea! Thanks for sharing. I will give these potholders a try.
This is SEW awesome Dori! Thank you for posting! I’ve been trying to teach myself and was doing good until the final phase of the binding! Now I’m so good! Can’t wait to make a few gift bundles! Merry Christmas!
Love this! Thanks for sharing
Beautiful idea for a heartfelt gift. Something that everybody can use and appreciate. Thank you for sharing, and I wish you good health and happy holidays ahead.
Thanks for this tutorial on sewing pot holders. It looks fun to do and would be great for oneself as well as gifts for others. I use a lot of pot holders to set hot dishes on, on the table. You always have such great ideas. Hope you are staying warm this winter. Have a Wonderful Christmas and an even better New Year.
Such a beautiful and fun project! Love to quilt but getting too big to handle These are like mini quilts! So fun! Thank you so much for sharing
Love the pot holder. You have given me some new ideas.
Thank you for the potholder tutorial. Wishing you and your family a Blessed Christmas.
MERRY CHRISTMAS
Joan.Marion and Marilyn
Potholders are such a useful gift, and so pretty, too! I just happen to have a whole box of 2.5 inch squares that I cut from leftover scraps throughout the year so that I can make a checkerboard quilt – and now for this fun project too!
I love projects that don’t require a lot of time but are indeed thoughtful, useful
and can be completed at one sitting!
Thank you for these potholder projects! I love projects that don’t require a lot of time (and sitting) but are indeed thoughtful, useful for self or gifts, and can be completed in one sitting.
– Linda from Western Colorado
Such a fun and useful gift – thanks for the idea!!
I now see what I have been doing wrong! Thanks!
Awsom gift! You are a gal after my own heart. I loove giving and getting home made gifts.
I would love to have the crochrted dush cloth pattern. I assume there is a pattern out there…hoping.
Take care and Merry Christmas.
I very much enjoy reading your column. Would you consider sharing the pattern for the crocheted dish towel in a future post? My Mom would crochet these for all her daughters and she has now passed. It would be wonderful to carry on her craft. Thank you.
Loved reading this! Thank you so much for sharing. I haven’t sewn in quite a while but this was so inspiring I might just have to buy some new fabric and get to sewing!